This section covers the execution of tests. From the execution screen you can view all information related to the Script including: Script Description, Objects, Pre and Post Conditions and Script Notes. Enterprise Tester provides a number of ways to run tests, you can choose to execute tests using the single step mode or the multi-step mode.
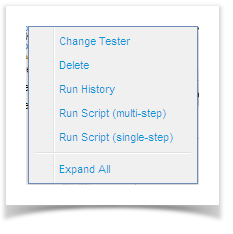
To open the Execution Screen click on the script to execute to open your preferred execution mode (set in your profile) or right click on the script to open the pop-up menu and selecting the mode.
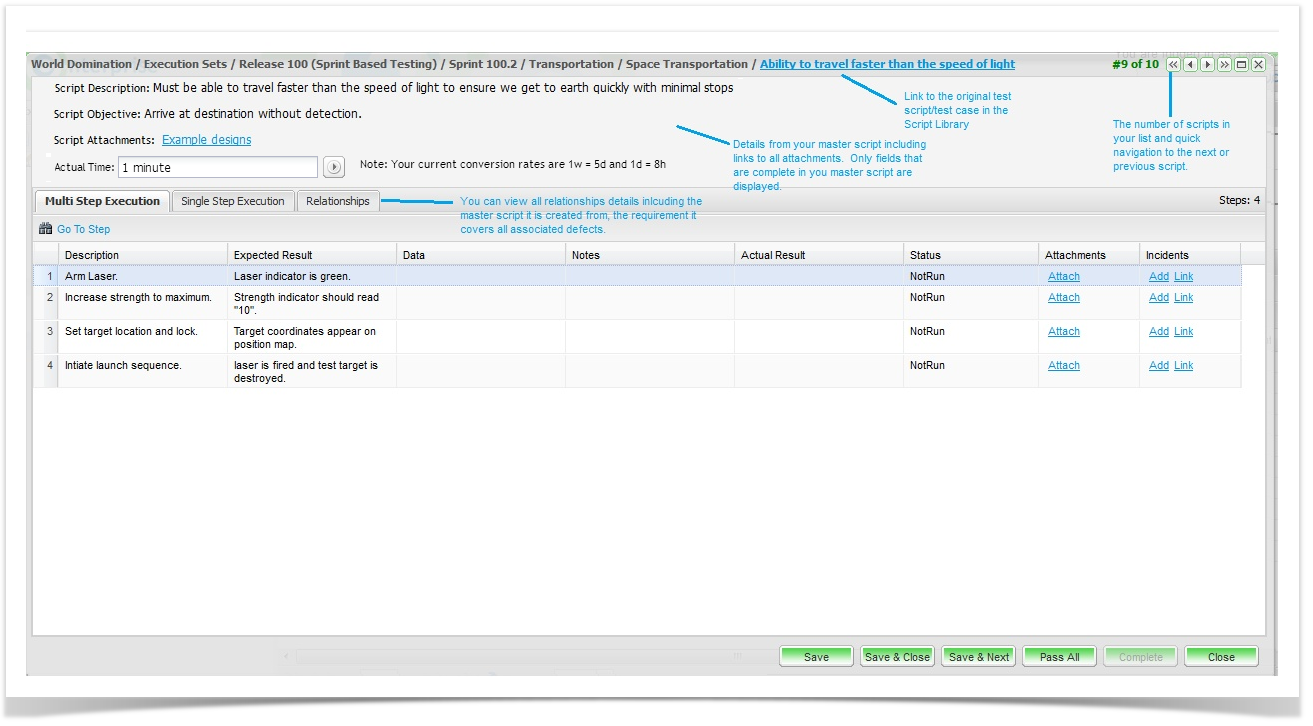
Features of the Test Execution Screen
All the details from the master script in the Script Library are available while testing. In the title bar there is a link to the original master script/ test case in the Script Library. If you have permissions you can click on this link and update the script while execution the test.
A stop watch feature is included for recording actual time spent testing. You can start and stop the time as require, close and come back to the run at a later time and start the time from where you left off. You can activate the timer by clicking on the play button next to the Actual Time field.
The changes will only be reflected on the next test run and will not appear on the current run.
- When you are executing a number of scripts from the summary grid view, when viewing scripts you can see how many scripts are left to execute and you can easily navigate the next or previous scripts by using the arrow buttons.
- The Relationships tab shows all associations with this script run including the original master script in the script library, the requirement that the script covers and any associated incidents raised during testing.
- Save and Next button allow you to move to the script on the list on your summary screen.