Creating your Project Links
Once the TFS connection has been created (see External Systems), you can begin associating projects in the defect tracker with projects in Enterprise Tester. Project links can be created and managed either from the Resources tab on your tree view navigator or on the External System Links tab.
External System Links Tab
From the Admin tab, Expand Extensions and double click on External Systems. From the External Systems summary grid, double click the External System you wish to create a link for. Then navigate to the Links tab. Click on Add from the tool bar.
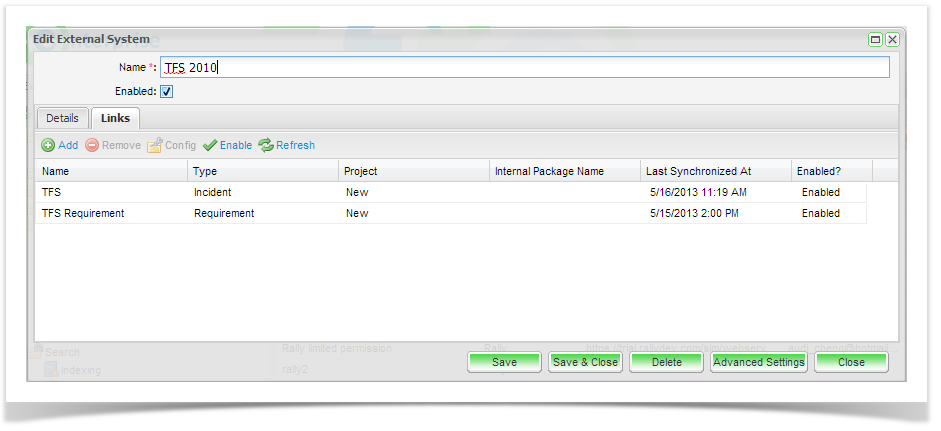
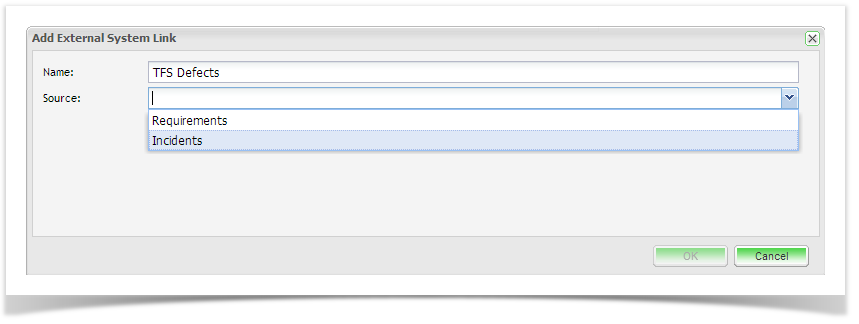
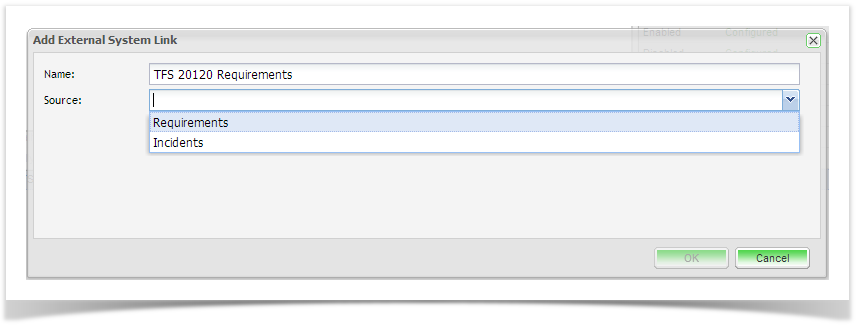
The Add External System Link screen will appear. Complete the name and select the Link Source. This is the entity type you wish to synchronize.
Once you have selected the Source additional fields to configure the ET project and the TFS project will appear.
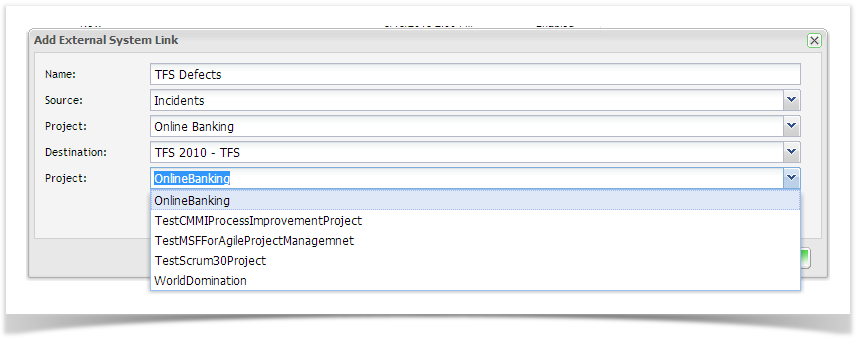
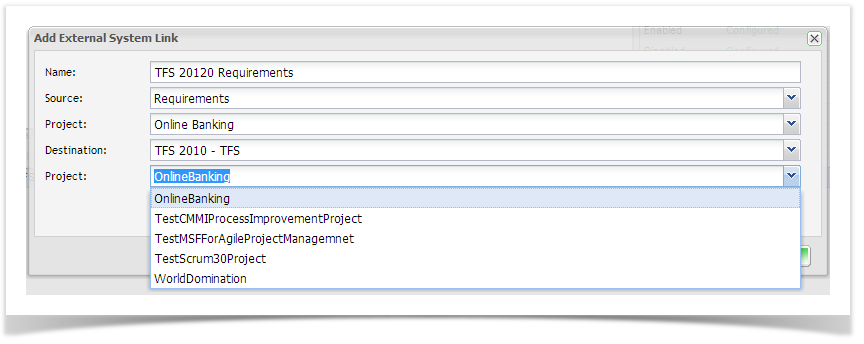
Once you have completed the screen click on OK. The External Links Details screen will appear. See the Field Configuration section below.
Resources Tab
From the Resources Tab, click to expand "Project Links". To view all configured links for your project, double click on your project.

To create a new project link select "New" from the toolbar or from the navigator you can right click on your project and select "Add New Project Link" from the menu or from the navigator you can right click on your project. Complete the details selecting the TFS connection that you created in the steps outlined in the above section, and your TFS project to link to. Now click on 'Save'.

Once the project link to TFS has been created, Enterprise Tester will initiate a refresh of all the metadata. This may take a few minutes.
Field Configuration
Once the refresh look up completes the next step is to configure Enterprise Tester inbuilt fields to TFS fields.

- Click on ‘Configure Inbuilt Fields’.
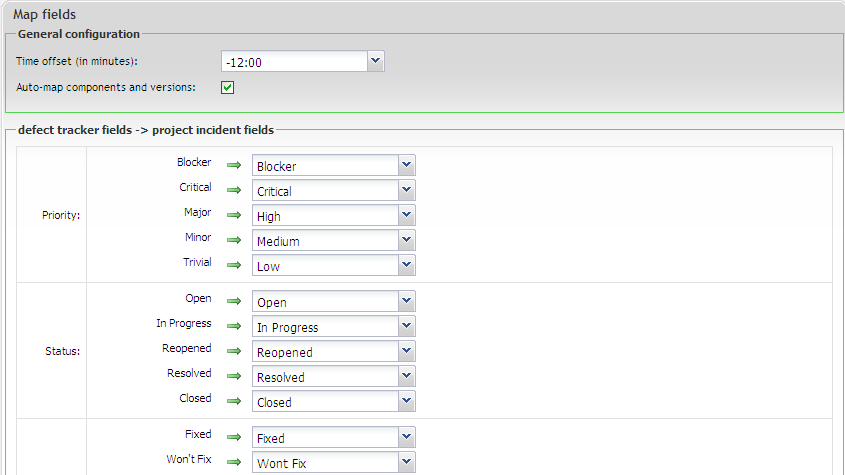
- Ensure to complete the time offset field this time needs to be the same as the time on your TFS server. Although this maybe GMT +/- X hour you will need to enter it as GMT -/+ X hours. For instance in New Zealand the time zone is GMT +13 but the setting is GMT -13.
- An optional configuration to pull component and version values from TFS is available. To enable the auto-mapping of component and version, check the “Auto-map component and versions” check box. When this option is selected you do not need to add values to your pick list for Version and Component fields in Enterprise Tester. Values will automatically be synchronized from TFS.
In the mapping areas, matching field values will automatically be mapped. Complete the additional field mappings and click ‘Save’.
It is recommended that you align your TFS and Enterprise Tester picklist values in advance of this configuration and all values will automap.
Configuring Custom Fields
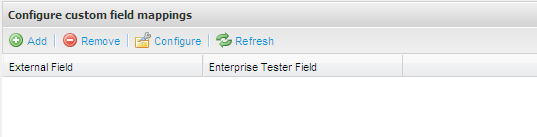
Before beginning this configuration, ensure that custom fields have been set up in Enterprise Tester including picklist values, if applicable Click on the 'Configure Custom Fields' button from the External Link Details screen to open the Configure Custom Fields Mapping screen where you can map ET custom fields to TFS custom fields.

Click on the 'Add' button. For the Internal field, select your Enterprise Tester Custom fields, for your external field, select your TFS custom field. Click on 'Save'. If you have selected a custom field with multiple values, you will need to map these field values. Click to select your custom field and click on 'Configure'. Map your custom field values and click 'Save'.
The project link will automatically be enabled once the configuration is complete.