RoverX is a tool that enhances the testing capabilities of Enterprise Tester, particularly useful for remote or offline environments. Here’s a summary of its key features and requirements:
Key Features:
- Offline Testing: Allows running tests without the need for internet connectivity, ideal for remote locations.
- Synchronization: Supports synchronizing both script assignments and incidents with Enterprise Tester.
- Creating Incidents: Incidents can be created during the testing process.
Internet Connectivity Requirements:
- Downloading Data: Internet access is required for downloading test executions, test runs, and associated incidents from the Enterprise Tester server.
- Uploading Data: Internet access is also necessary for uploading test run results and new incidents to the Enterprise Tester server.
Limitations:
RoverX does not currently support the following Enterprise Tester features:
Agile Runs: RoverX does not support agile runs, which are specific to agile methodologies and workflows.
Run Timer: The run timer feature, used to track the duration of test runs, is not available in RoverX.
These limitations mean that certain features available in Enterprise Tester will not be accessible while using RoverX.
The Getting Started article provides an introduction to help users become familiarized with RoverX.
Managing Incidents
In RoverX, you have the option to manage incidents by either creating new ones or linking them to existing downloaded incidents.
Create New Incidents: You can create new incidents directly within RoverX if needed. This allows you to document and manage issues encountered during test runs.
Link to Existing Incidents: Alternatively, you can link to an existing downloaded incident. This is useful for maintaining continuity and associating new issues with previously documented incidents.
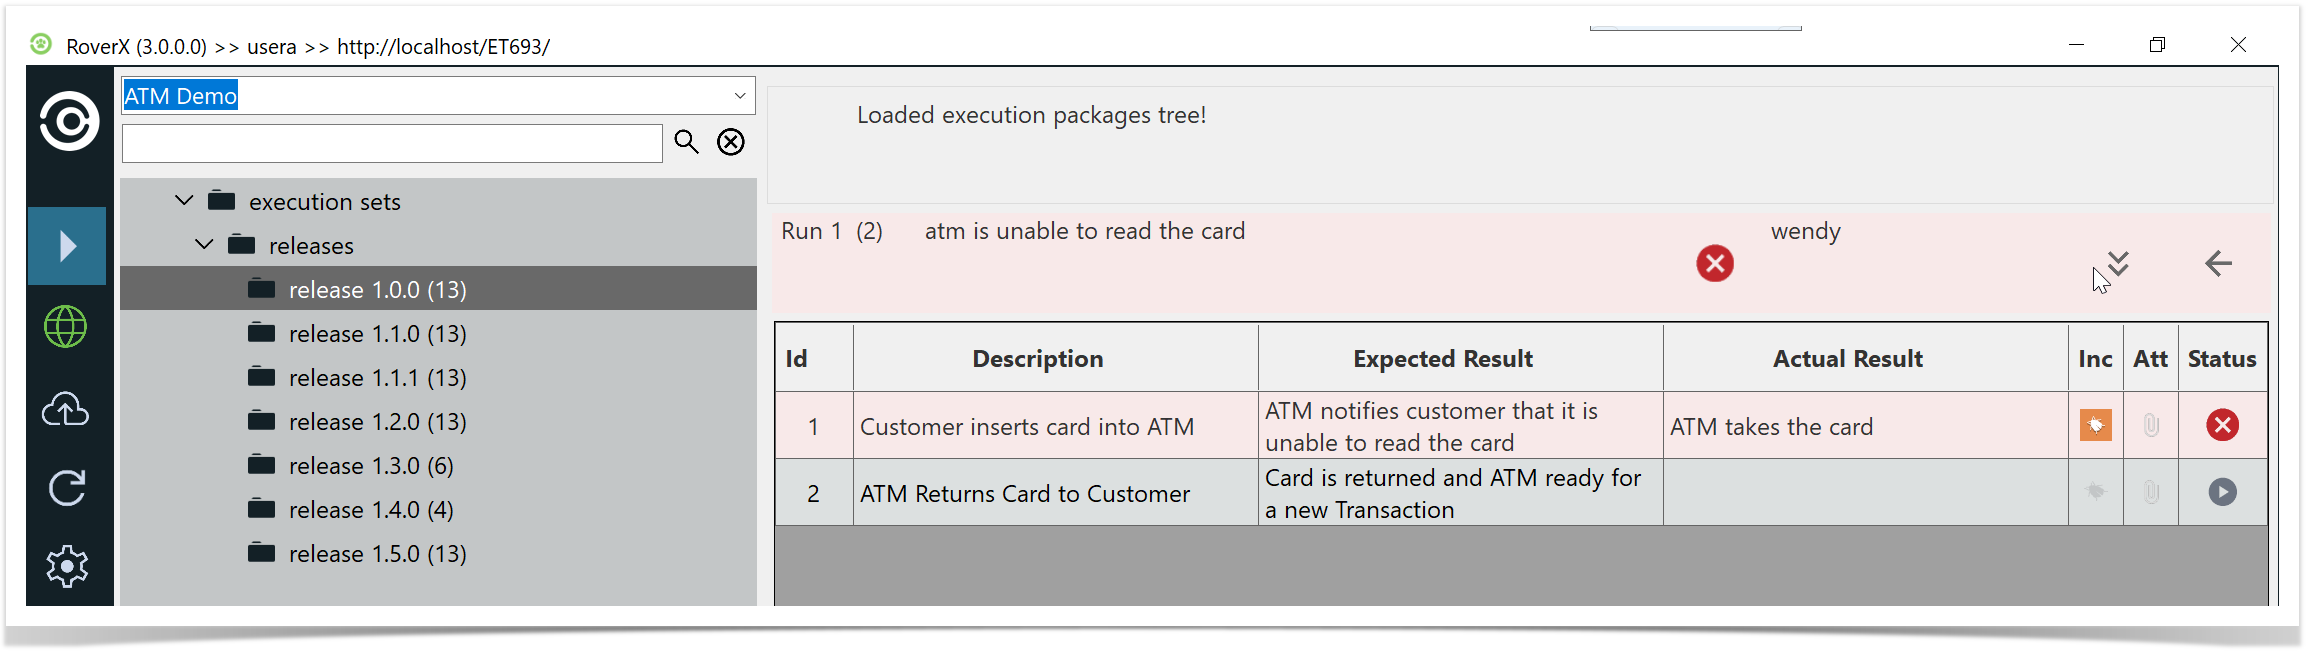
Create Incident
To log an incident on a failed test step, follow these steps:
Select the Incident Button: Click the
 button in the Incident column for the test step that has failed.
Access the Create Incident Screen: The Create Incident screen will be displayed.
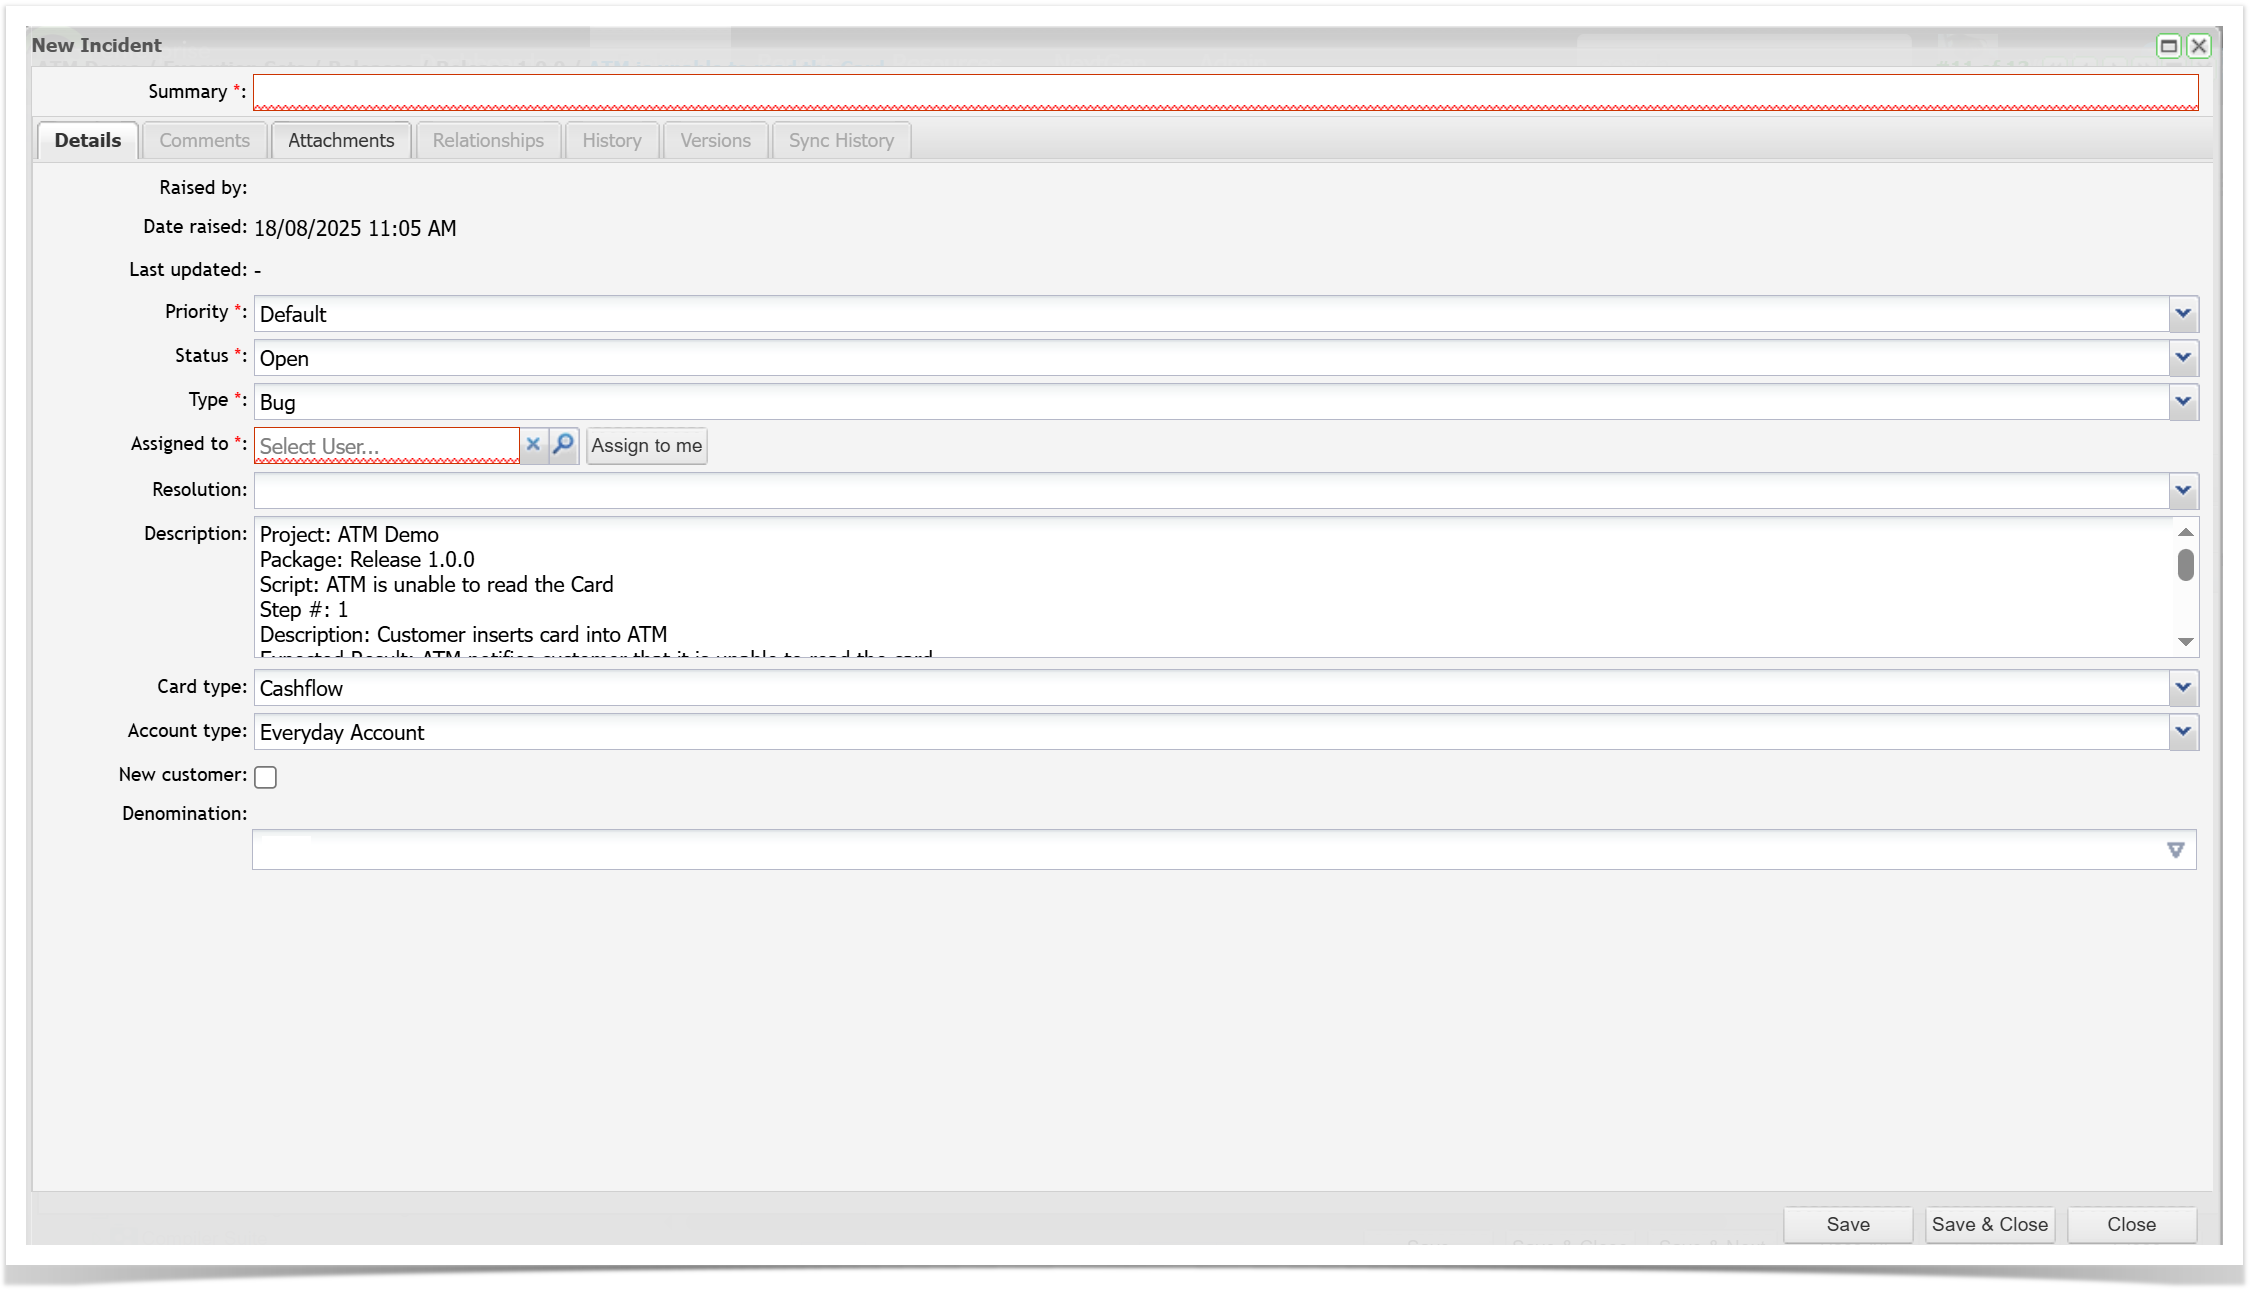
Default Summary: By default, the Test Script Name will automatically be populated in the Summary field. You can choose to keep this default summary or edit it as needed.
Fill Out Required Fields: All fields that are present in Enterprise Tester will be visible on the Create Incident screen. If a field is mandatory in Enterprise Tester, it will also be required in RoverX.

Save the Incident: Once you have completed entering the details, click the Save button. The Create Incident screen will close, and you will be returned to your test run.
Incident Icon: A bug icon will now be added to the test step, indicating that an incident has been created for this step.
External Jira Links
When creating an incident, you have the option to link it to an external Jira system, provided that integration has been configured in Enterprise Tester for your project.
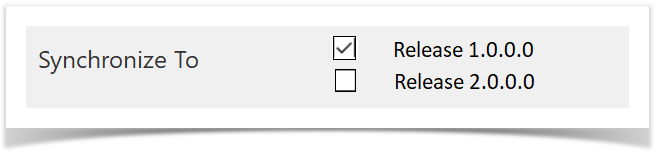
Select External Jira System Link: If your project has been configured with external Jira system links in Enterprise Tester, you can select the appropriate link from the Synchronize To: dropdown list.
Automatic Selection: By default, the first external Jira system link configured in Enterprise Tester will be selected. If there are multiple Jira system links, choose the one that is appropriate for your needs.
Sync with Jira: Once selected, the incident will be synchronized with your external Jira system when the incident is uploaded to Enterprise Tester.
No Jira Integration: If Jira integration is not set up with Enterprise Tester, there will be no options available for the Synchronize To: field.
This allows you to ensure that incidents are properly linked and synchronized with your external Jira system if configured.
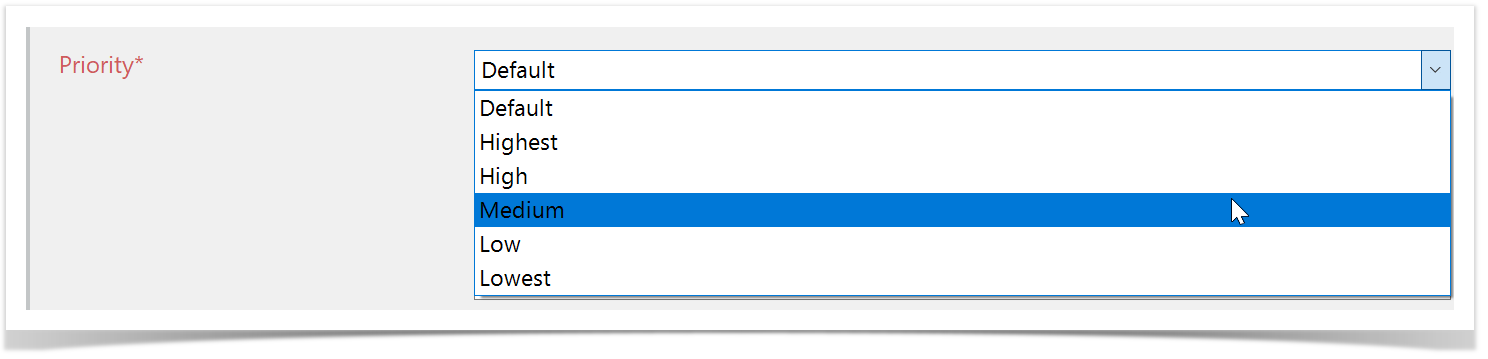
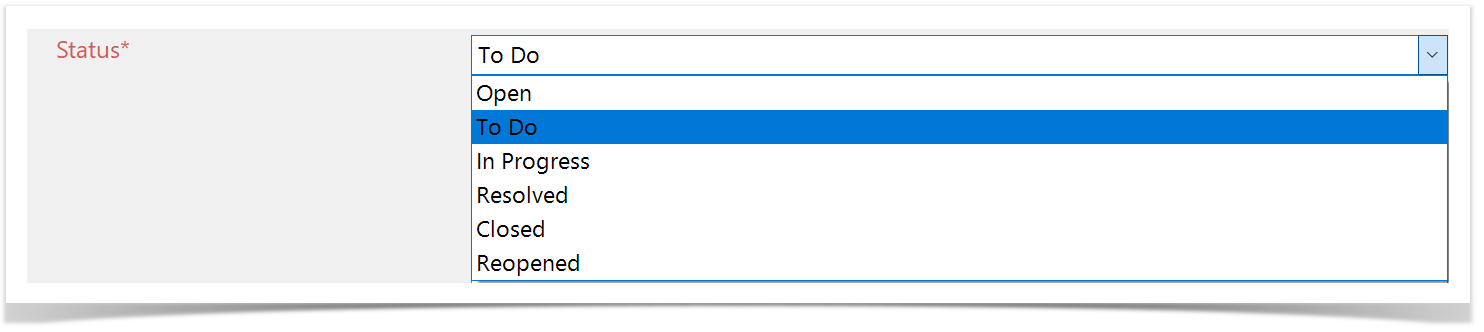
The following are drop down lists and can be changed. The values in the fields are from the Project in Enterprise Tester.
Priority:
Status:
Type:

Resolution:
By default the Resolution field is blank. But you may if change this if you need to.

Assigned To:
Only Active users in Enterprise Tester are displayed. If the Assigned To field is mandatory it will default to the user that is logged in.
![]()
To do this, make sure you are connected to the Internet, select Online mode and click on the Login button. This will download all active users from Enterprise Tester.
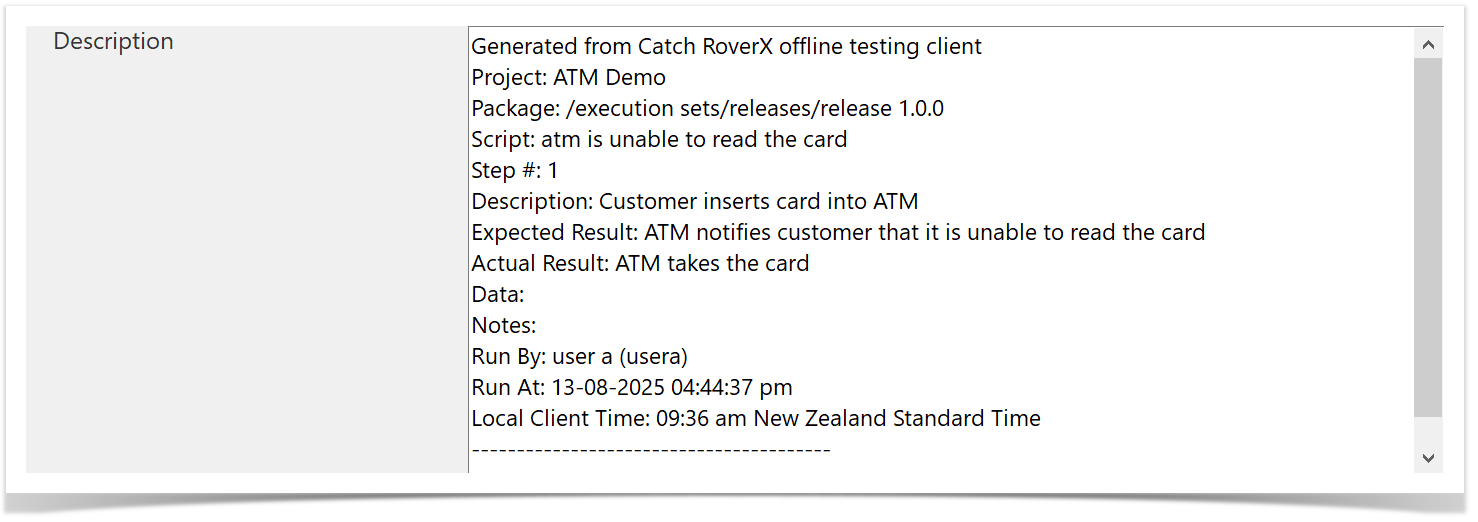
Description field
The Description field will be populated with the same data that is created in Enterprise Tester when you create an incident from a test step.
In Enterprise Tester:
In Rover:
Editing an Incident:
You can edit an incident while it is still local (i.e., has not been synchronized to Enterprise Tester).
Open the Incidents Pop-up: Click the
 button to display the Incidents pop-up. This pop-up shows all incidents linked to the selected test step.
View Incidents: The Incidents pop-up will display all incidents associated with the selected test step.
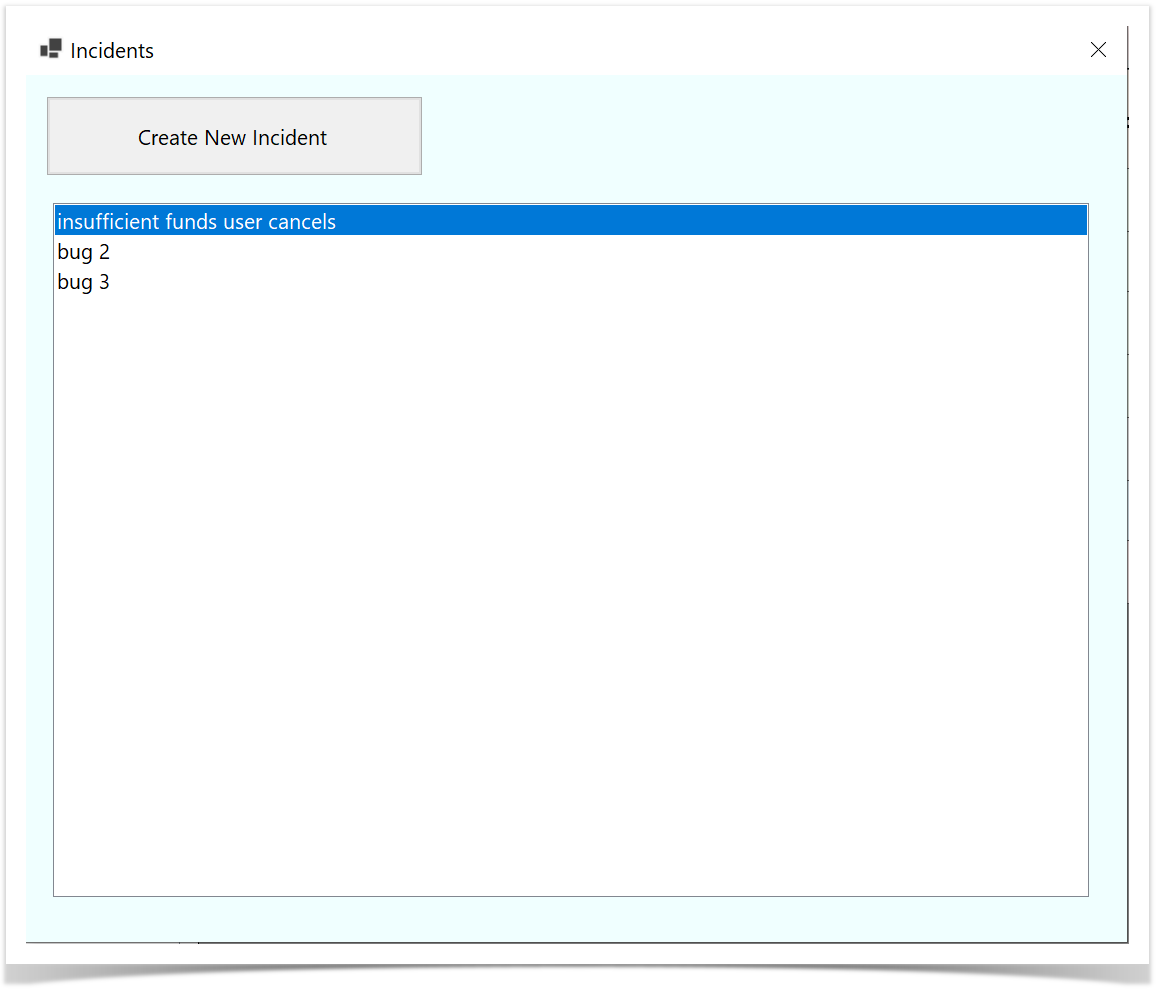
Edit an Existing Incident: To modify an existing incident, select the incident from the list and make the necessary changes.
Create a New Incident: If needed, you can also create a new incident from the Incidents pop-up.
Save Changes: After editing or creating incidents, ensure to save your changes to update the local data.
Linking Incidents to a Test Step
You can view all linked incidents, link additional incidents, or create a new incident. Here’s how to manage incident links:
Select the Incident Button: Click the
 button in the Incident column for the test step that has failed.
Access the Create Incident Screen: The Create Incident screen will be displayed.
- Open Link/Unlink Incidents Screen: Click on the Link/Unlink Incidents link at the top left of the Create Incident screen.

View Link/Unlink Incidents Screen: The Link/Unlink Incidents screen will be displayed with the following elements:
- Step Description: Shows details about the current test step.
- Search Bar: Allows you to search for incidents.
- Back Button: Navigate back to the previous screen.
- Linked Incidents: Lists all incidents already associated with the test step.
- All Incidents: Displays all local incidents that can be linked.
- Link Button: Link incidents to the step by selecting this button.
- Unlink Button: Remove incidents from the step by selecting this button.
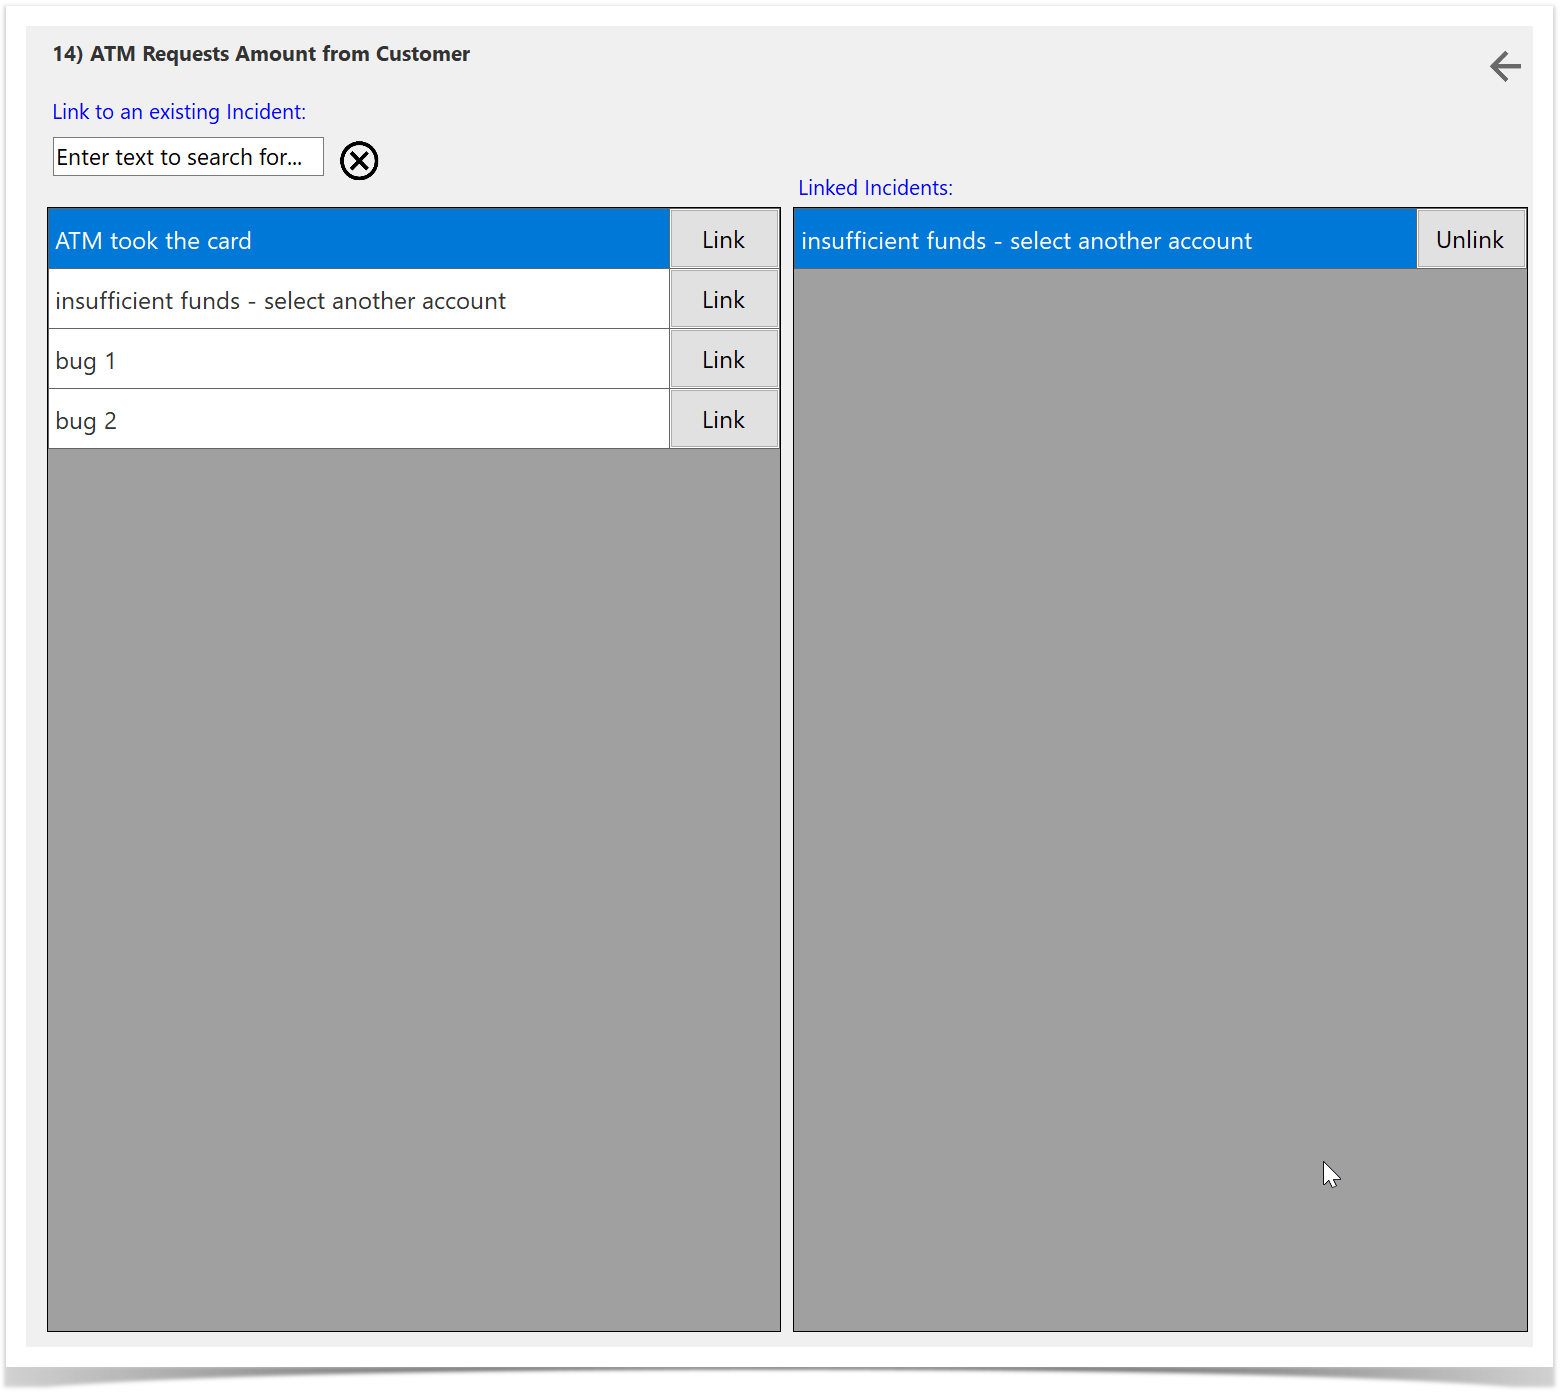
Filter Incidents: To filter existing incidents, start typing in the Summary field. The list of incidents will automatically update to show only those that match the text you have entered.
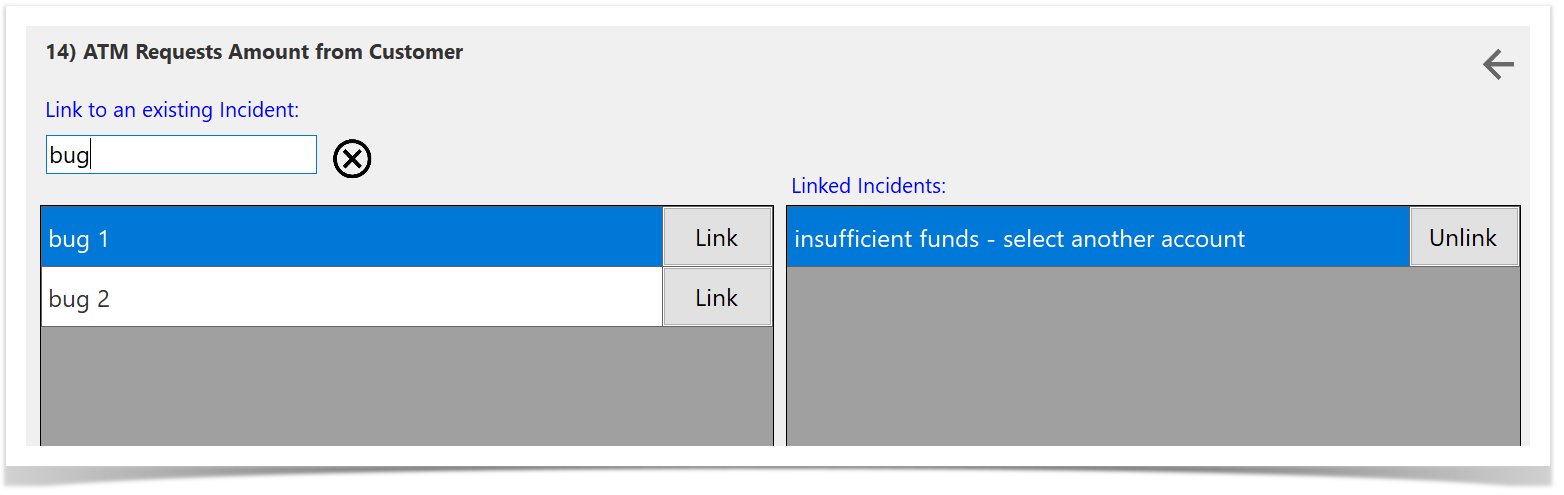
Link Incidents: To add incidents to the test step, select the Link button next to the desired incident in the All Incidents section.
Unlink Incidents: To remove incidents from the test step, select the Unlink button next to the incident in the Linked Incidents section.
Returning to the Test Execution Screen
To return to the Test Execution screen after managing incidents:
Navigate Back: Click the Back button to return to the Create Incident screen.
Return to Test Execution: Click the Back button again to navigate back to the Test Execution screen.
This process ensures that you exit the incident management screens and return to your test run view.
Synchronizing Runs and Incidents
Once you have completed your testing, you can synchronize your runs and incidents back to Enterprise Tester. For detailed instructions on how to perform synchronization, please refer to the Synchronization article.