In order to allow you to group test execution scripts in a meaningful way you can add sub-folders (Execution Packages)to the Execution Sets folder.
Creating a new Execution Package.
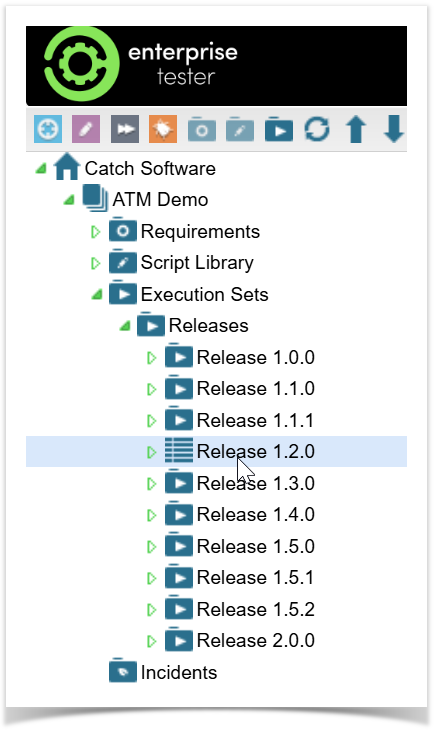
- Navigate to the Execution Sets section of the project in the Explorer view
- Go to the Execution Sets folder.
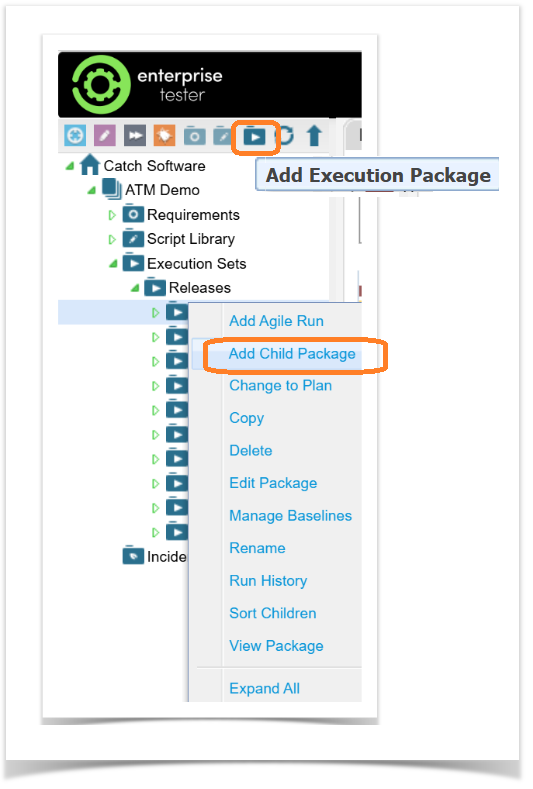
- Right click on the Execution Sets or a folder within it and select Add Child Package or select the Add Execution Package icon at the top of the tree view.
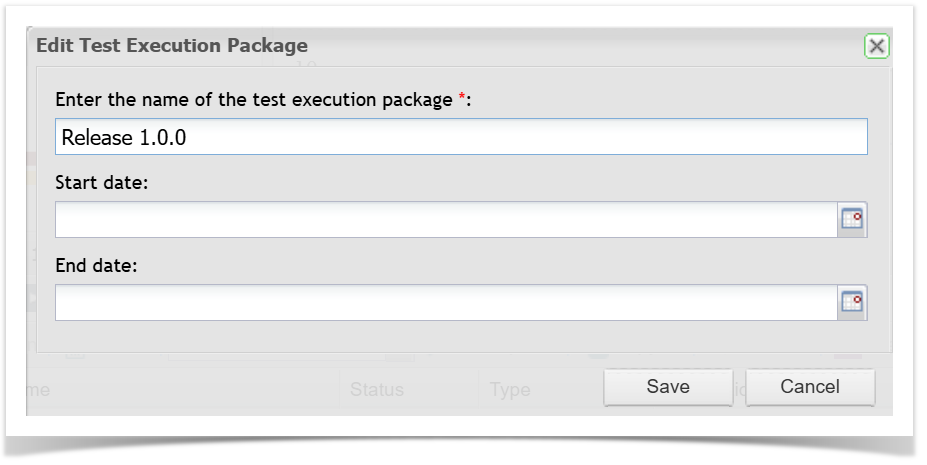
Enter a name for your Execution Package.
Fill in the Start Date and/or End Date (optional).
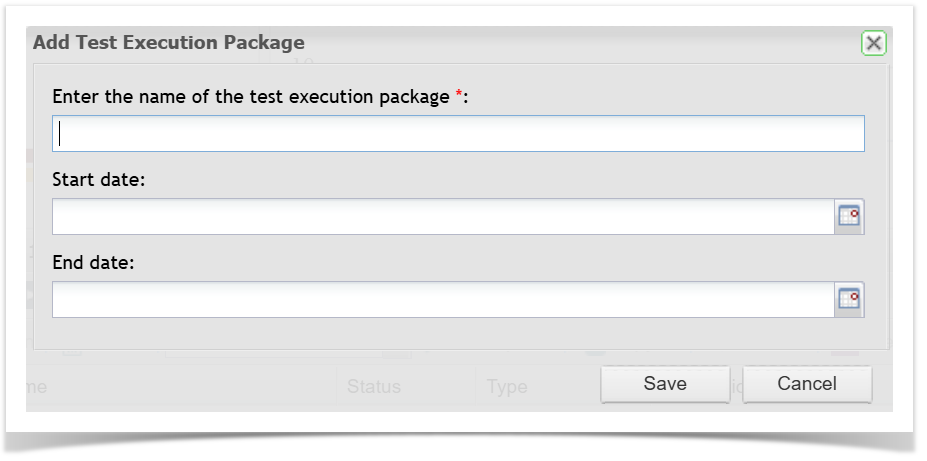
- Click Save to finish. The test Execution Package will be created under the selected area.
Updating an existing Execution Package:
Find the Execution Package you want to update.
Right Click and select Edit Package.
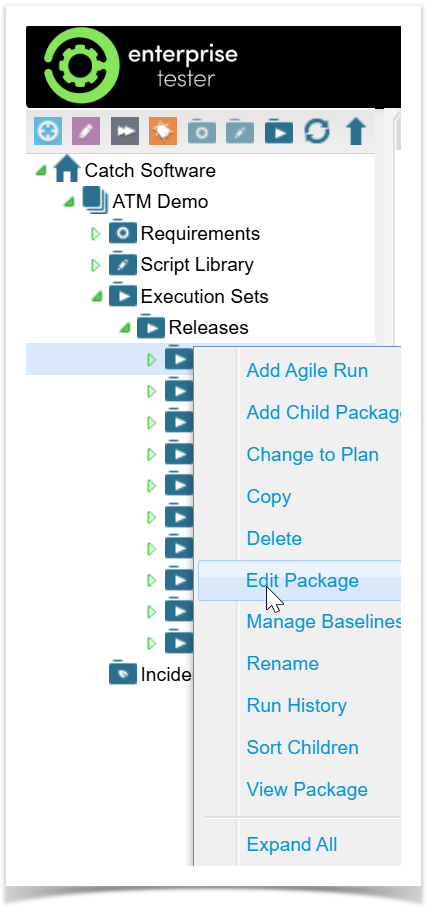
Enter or update the Start Date and/or End Date.
Save your changes.
Moving Test Execution Folders
You can move Test Execution folders if required. To do this:
- Expand the Explorer tree until you can see the Test Execution folder.
- Select the Test Execution folder and drag it to the required location.
The Test Execution folder and everything within it will move to the selected location.
Change Folders to Plans
You can change a Test Execution Folder to a Plan and vice versa as required to achieve a more layered approach in the tree view, this does not change functionality. To do this:
- Expand the Explorer tree
- Right click the Test Execution folder and select Change to Plan (or Change to Package as is relevant).
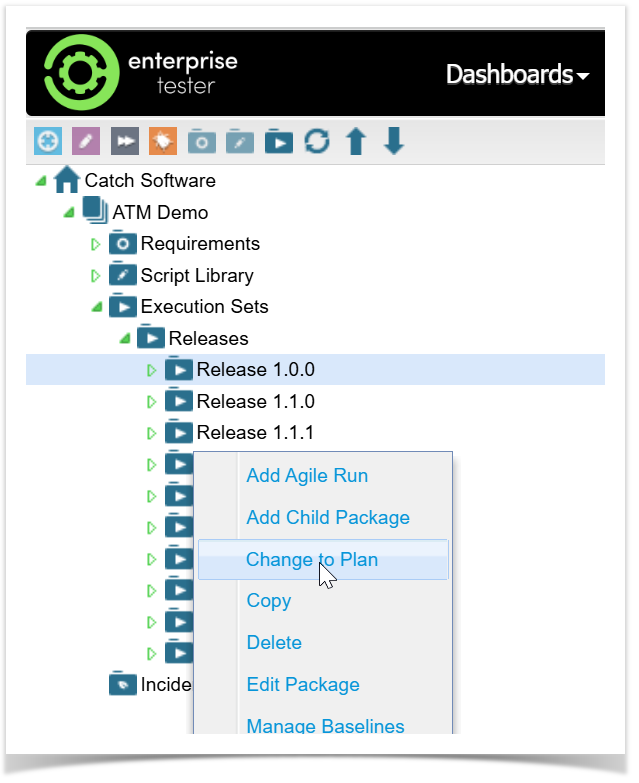
The icon for the folder will now change.