Groups allow you to create predefined security profiles for users within an organization. This is a fast and efficient way of managing users’ permissions. By assigning a user to a group, they will then be granted the permission that the group has been assigned.
You can also make a user a member of several groups in which case they will be granted the combined permissions assigned to the groups.
You must have “Manage User and Group Security” permission to manage groups.
Adding Groups
To add a group:
- Select the ‘Admin’ tab.
- Expand the view to the organization you want to add the group to.
- Right click on the group folder and select to add a group - add Group screen will display.
- Supply a name and description for the Group.
- Select the ‘Permissions’ tab.
- Click the required permissions.
- Click ‘Save’.
The group will have been saved and you can now assign users to it.
Editing Groups
To edit an existing group:
- Select the ‘Admin’ Tab in the tree view.
- Expand the view to the organization you want to add the group to.
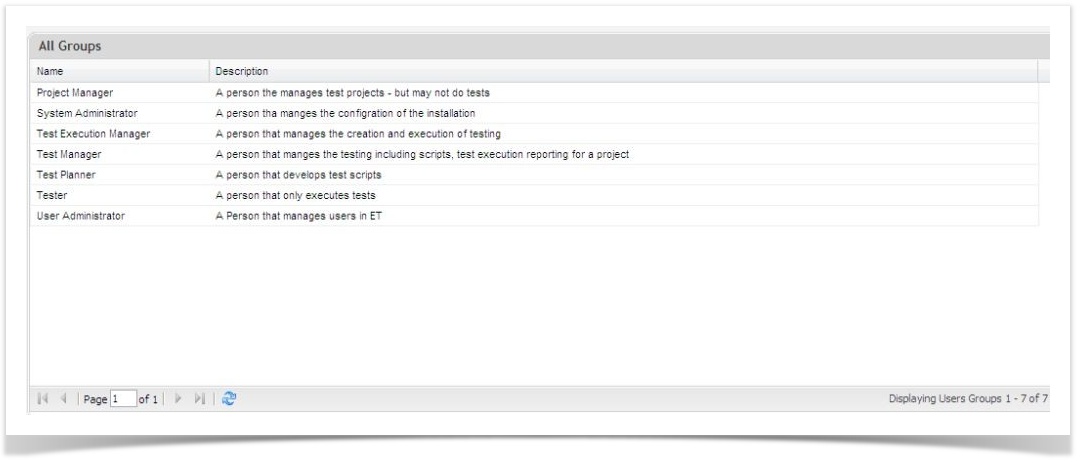
- Right click on the ‘Group’ folder and select to view group - all Groups screen will display.

- Double click on the group you wish to edit.
- Update details.
- Click on ‘Save’ to update.
Adding Group
You can add groups to Enterprise Tester through the Admin section which can be accessed from the Admin tab on the navigator.
To add a group:
- Select the ‘Admin’ tab in the navigator
- Click to expand to the Users folder
- Right click on the ‘Groups’ folder and select ‘Add Group’ - the Add Group screen will display
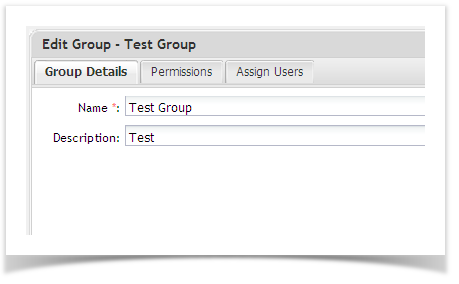
- Complete the following details:
- Name
- Description
- Click on the 'Permissions' tab to begin assigning permissions. For more information on granting permissions, see the help topic Granting_Permissions
- On the 'Assign Users' tab you can select the users to associate with the group. Type in the user's name or username and select the user from the results returned. Note that permissions granted here will apply application wide and not just to the assigned projects.
- Click on ‘Save’ to create the group.
Editing Groups
To edit a group:
- Select the ‘Admin’ tab in the tree view.
- Click to expand to the ‘Groups’ folder.
- Right click on the user folder and select View Groups - the view users screen will display.
- Double click on a group to edit.
The Group screen will appear and you can now update the details.
Deleting Groups
To delete a group:
- Select the ‘Admin’ tab in the tree view.
- Expand to the Groups folder.
- Right click on the ‘Groups’ folder and select View Users - the view users screen will display.
- Double click on a group to edit them.
- Click ‘Delete’.
- Click on ‘Yes’ to the prompt - the group will now be removed.
Assigning Users to Groups
Assigning Group membership to a user is a more effective way of controlling access to the application as it uses predefined security profiles.
Assigning a user to a group can be done in a number of ways, either within Edit Group, Edit User of by dragging and dropping a user onto a group:
To add a user to a group from Edit User:
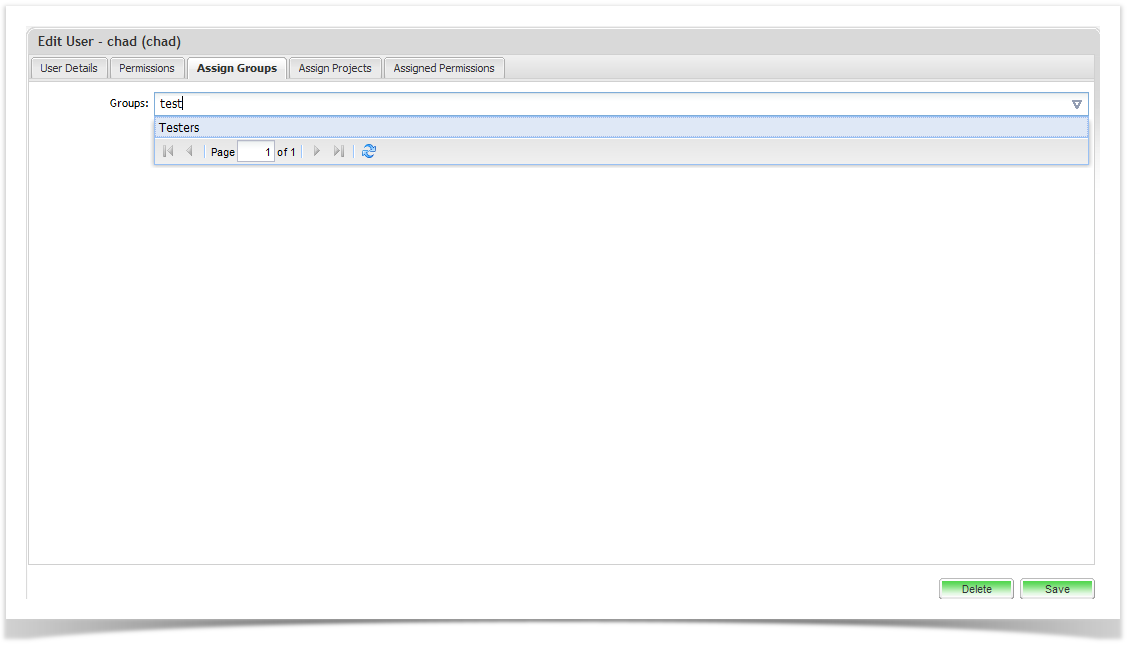
- Double click on the user and select the ‘Assign Groups’ tab.
- Select the required groups by typing in the group name and select the group from the auto search filter results.
To add a user from the Edit Group screen:
- Double click on the group whose membership you would like to edit.
- Click on ‘Assign Users’.
- Select a user from by typing in the user name and select the group from the auto search filter results.
Assigning New Users to Existing Projects
You can assign users to projects when you are creating or editing them, saving time.
You need to have Manage Project permission assigned to you before you can do this.
To assign a user to a Project:
- During the creation or editing of a user select the ‘Project’ tab.
- Select the required projects from the ‘Available’ list and click on the arrow to add them to the ‘Selected’ list.
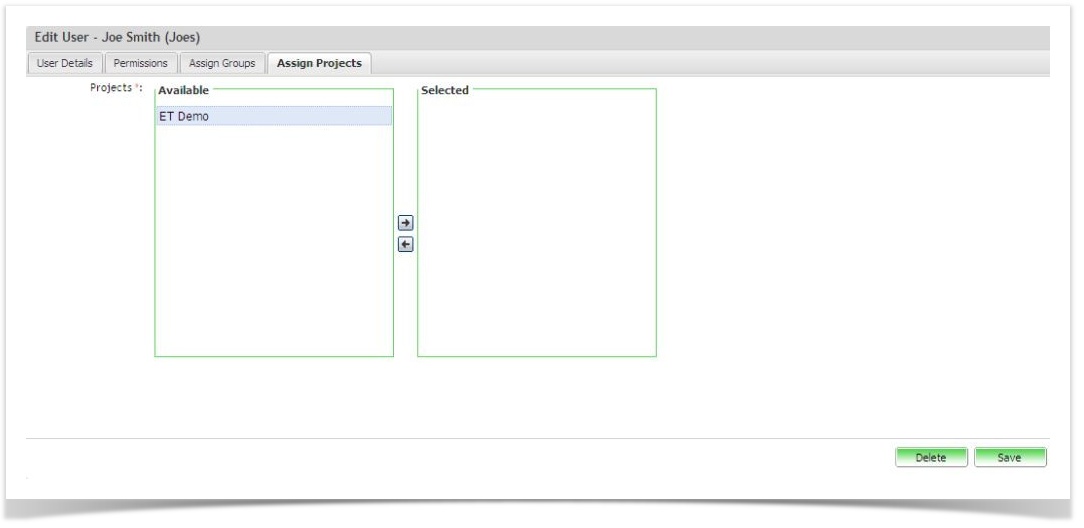
To remove a user from a group:
Select the group from the selected list and click on the arrow to remove them.