After creating External Systems Integration, project specific mappings must be added.
Note: Before performing project mappings, an optional JIRA add-on may be installed in JIRA. This supports improved workflow integration between Enterprise Tester and JIRA.
JIRA add-on: Catch-to-JIRA Workflow Extension
To support improved workflow integration between Enterprise Tester and JIRA Software 7.0+, a Catch developed JIRA add-on is now available.
This is an optional add-on that allows Enterprise Tester to understand and adhere to JIRA workflows.
- Transitions between statuses will be enforced in Enterprise Tester in-line with the associated JIRA workflow.
- If the add-on is not installed, transitions will still occur but are not validated against the JIRA workflow within Enterprise Tester (this is the status quo for existing installations of Enterprise Tester).
To find and install the add-on:
- Search the Atlassian Marketplace for Catch-to-JIRA Workflow Extension to find and install the JIRA add-on.
- If the add-on is installed to an instance of JIRA that is already integrated with Enterprise Tester, you must perform Refresh Lookups for your project after it is turned on. This will ensure the relevant workflow information is pulled in to Enterprise Tester.
Add Project Specific Mappings
Mappings must be added between Enterprise Tester and JIRA at a project level, this allows synchronization between systems for Requirements and Incidents:
Synchronizing Requirements with JIRA
Synchronizing Incidents with JIRA
Creating a New Connection
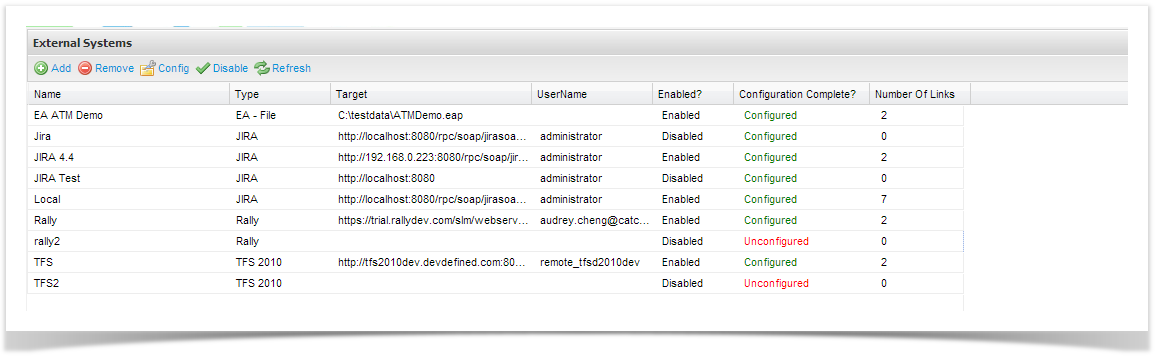
- Open the ‘Admin’ tab of the tree view and navigate to External Systems

- Double click External Systems
...
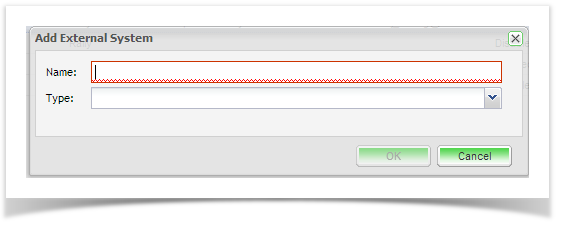
- The configuration screen of the external system type you chose will appear:
Field | Description |
|---|---|
| Name | Enter a name for the tracker that will identify it within Enterprise Tester. |
| Type | Select the tracker type from the list of supported trackers. |
On the edit External System Screen complete the following fields:
| Field | Description |
|---|---|
| Enabled? | Check this box to enable the connection to the defect tracker. |
| URL | Enter the URL path for the defect tracker. e.g. JIRA: http://yourjiraserver |
| UserName | Enter a gateway* username for the defect tracker. |
| Password | Enter the password for the gateway username. |
| Ignore Invalid Remote Certificates? | Check this box to ignore invalid remote certificates. |
| Info | ||
|---|---|---|
| ||
*The Gateway Account must be assigned to the JIRA Administrators, Developers and Users default groups in JIRA. This will allow creation, and update of incidents across all projects and will hold sufficient privileges to support enhanced functionality when further integration features are implemented. |
When you have completed all the details click on ‘Save’.
Enterprise Tester will automatically test the tracker and will save all details if the connection is validated. The next step is to set up your Enterprise Tester project configuration to your JIRA project. Please refer to the topics Synchronizing Requirements with JIRA and Synchronizing Incidents with JIRA.