...
- Requirements Import - Name
- Test Script Import - Name, Step Description, Step Expected Result
To import more than one Test Script, or multiple Steps, format the CSV file as per the below example which contains two Test Scripts with three Steps each.
Any other fields, including Custom fields can be added to the CSV file and imported.

CSV Preparation TipsMandatory fields may change depending on the Field Configuration settings in the Admin Tab.
- Having a header row in your CSV file is a good idea, the mapping process is much easier.
- Mandatory fields may change depending on the Field Configuration settings in the Admin Tab.
- Ensure that no two columns have the same heading.
- Enterprise
...
- Tester also allows you to easily import data into your specific file structure, simply set up a column in your CSV file with the
...
- header Package
...
- .
- For each Requirement enter the pathway: Requirements|package name.
- For each Test Script enter the pathway: Script Library|package name.
Importing Many Steps for a Single Test Script:
When importing many steps for a single test script, for the rows containing step 2 and above, simply leave all fields blank except for the Step Description and Expected Result. These must be complete. If you have a field for step number, Enterprise Tester will place the steps in the order you have indicated otherwise Enterprise Tester will list the test steps by order of appearance. See rows 8 and 9 in the screenshot above. Row 9 is an example of how to format an additional step in your script. In this example, the details in row 9 will import as the second step of the script in row 8.
Start CSV Import
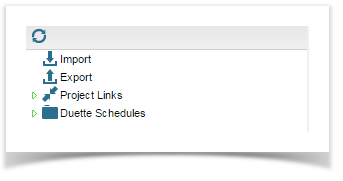
Select the Resources tab and double click Import.
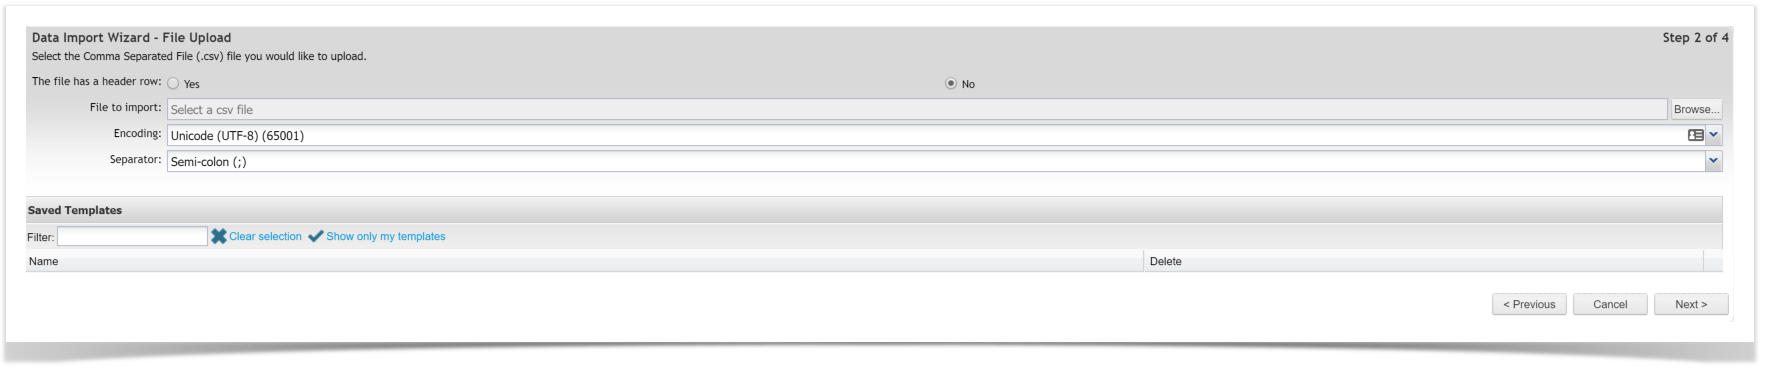
Select the Project you would like to import your data to and the Type of data to be imported (Requirements or Test Scripts).

Browse to your CSV file and specify if the file contains a header row, then click on Next.
The application will read the CSV file, use the drop down boxes to map the Import File fields to the fields in Enterprise Tester.
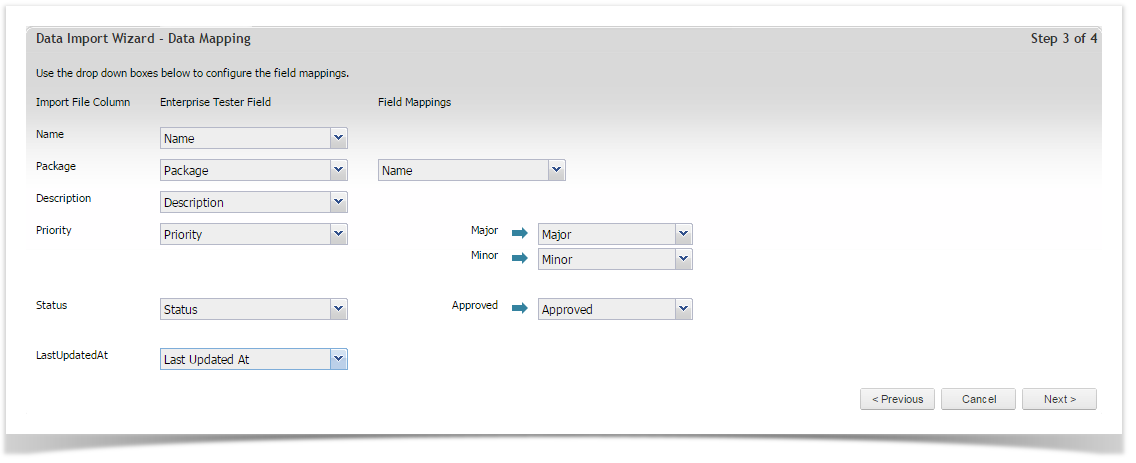
Once the fields have been mapped, click on Next at the bottom of the page, followed by Yes to begin importing.
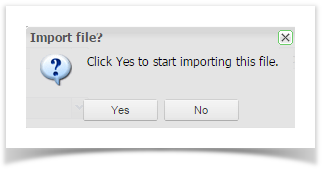
When the import is complete the following status window will appear. If there have been errors, click on the click here to view the error log link for information on why the export failed. If the export was successful, click Cancel.

To view the imported Requirements or Test Scripts, select the Explorer tab and open the relevant folder
...
| title | Additional Tips |
|---|
Additional Tips
...
- a Requirements import enter the file structure that you want the data to be imported into e.g Requirements|"package name"
- For a Test Script import enter the file structure that you want the data to be imported into e.g Script Library|"package name"
- If you wish to create/add
...
- further child
...
- packages you can
...
- add additional paths to the Package e.g
...
- Requirements|
...
- "package name"|"package name"|"package name"
- The pipe “|” is the default file path separator but
...
- “/” is also commonly used.
- Script, Requirement and Package names must not include your file path separator “|” or “/” in the name.
- Enterprise Tester will automatically import your records in the same order they appear in the CSV file.
...
- If you wish to control the order in which records are imported, add a column to your CSV file called Order Number and number
...
- records in
...
- the order you would like them to appear
...
- .
...
- Breaking entities into packages of less than
...
- 200 individual items will ensure optimal performance.
...
- Field
...
- mappings must be one-to-one, two import fields cannot map to one Enterprise Tester field.
- Field “ID” is reserved for the Enterprise Tester GUID number, which should be in format {XXX-XXX-XXX-XXXX}.
- Only include “ID” if importing data that has been exported from the same instance of Enterprise Tester and you wish to update already existing Requirements or Test Scripts
- An invalid ID number will cause your import to fail. In all other instances, leave ID blank or exclude from your import CSV.
- Some fields will prompt you for additional information pertaining to that field e.g. you will be asked to indicate if the value in the CSV file is the package name or ID.
Start CSV Import
Select the Resources tab and double click Import.
Select the Project you would like to import your data to and the Type of data to be imported (Requirements or Test Scripts).
Browse to your CSV file and specify if the file contains a header row, then click on Next.
The application will read the CSV file, use the drop down boxes to map the Import File fields to the fields in Enterprise Tester.
Once the fields have been mapped, click on Next at the bottom of the page, followed by Yes to begin importing.
When the import is complete the following status window will appear.
...
If there have been errors, click on the click here to view the error log link for information on why the export failed. If the export was successful, click Cancel.
To view the imported Requirements or Test Scripts, select the Explorer tab and open the relevant folder.
Update Data By Importing a CSV File
Updating scripts Requirements or Test Scripts by importing a CSV file is similar to creating new scriptsdata. Some Some additional points to note are:
- You must include the script's A unique ID . The script ID or GUID is a unique identifier that will allow required in the CSV file so Enterprise Tester to can match the update in the CSV back to the existing script. When exporting scripts from Enterprise Tester, ensure that you include the Id field. You should always retain this in the CSV if you are importing updates.At a minimum, the following fields must be included in the CSV file:
- Id
- Name
- Step Data
- Step Description
- Step Expected Result
- Step Notes Step Number
...
- records that need to be updated.
- To obtain the ID or GUID, perform an export of the records you want to update and include the ID column in the export.
- When importing the data make sure the ID and any fields that need updating are included in the CSV file.
Importing Data from External Systems
...
Importing Data via the API
The Enterprise Tester Rest API is extensive and can be used to perform the majority of functions available in the user interface.
Refer here for more details on our API.