...
- Expand the resources tab of the tree view to the required project links.
- Right click on the project and select to add a project link.
The Add New Project Link Dialog dialog will appear.
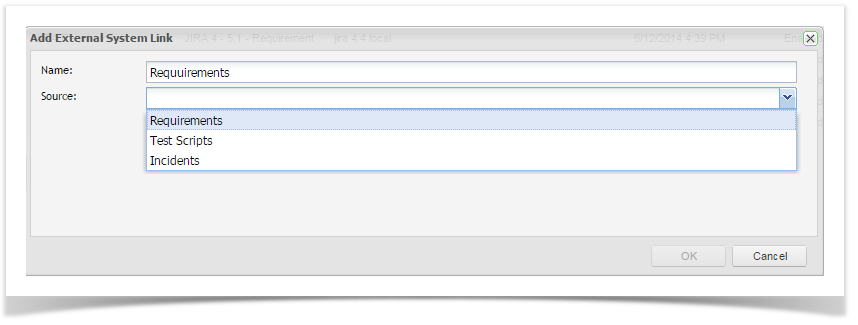
- Add a Name and a Source Select the Connection to use for the link.
- Select the Type (Use Case or Requirements).
- Click on Save - you will now be required to select the source and destination packages/ folders
- Click on the Package and navigate to the node within Enterprise Tester.
- The Source is the entity type you wish to link.
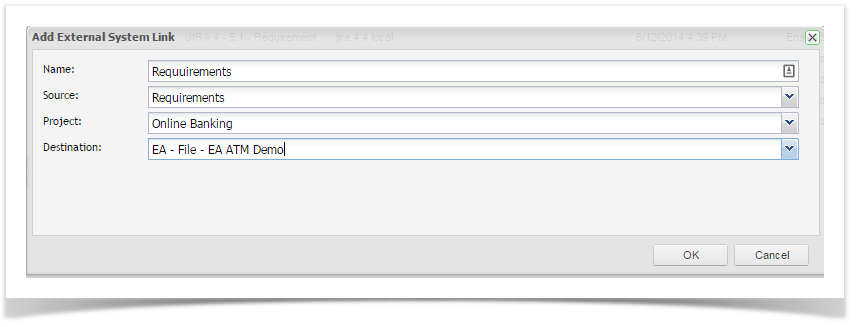
- Once you have selected the Source, the Project and Destination Fields will appear. Here, select the ET project you wish to link and the external system you wish to use.
- Click on OK.
- The External Link Details screen will appear. Click on the drop down on the Requirements Package field and navigate to the package/ folder within the Enterprise Tester project you wish to link to.
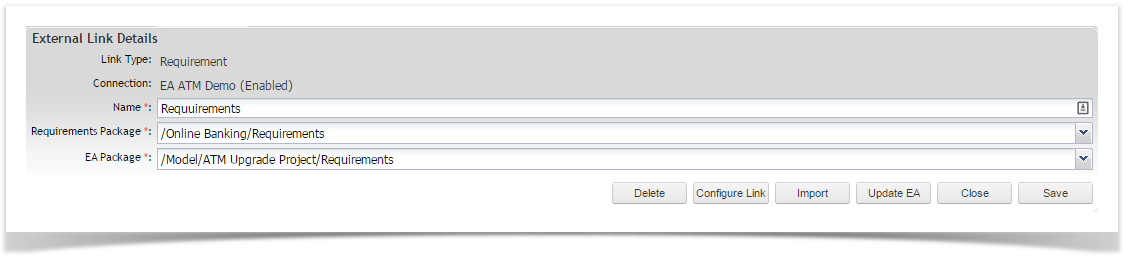
- In the EA Package field, Now click on Enterprise Architect package and expand out the view until you can select the required package that contains the Requirements requirements or Use Case package for the linkuse case package you wish to link to.
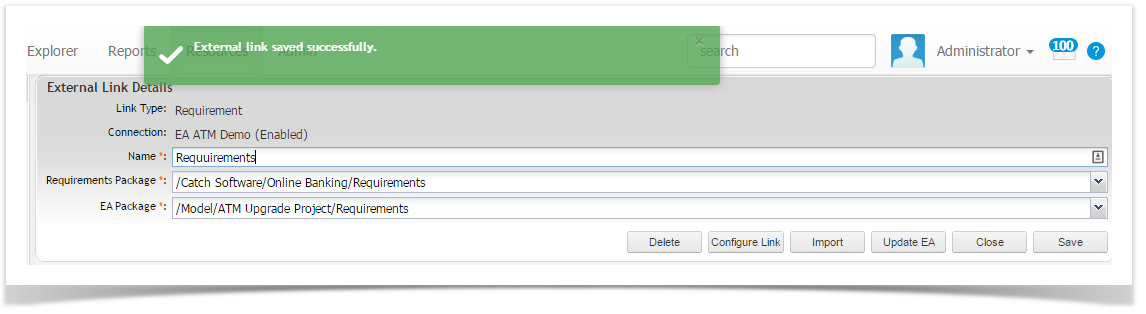
- Click on Save - the . The link has now been created and you are ready to configure or to importthe link.

Configuring External Links
...
To configure the link:
Click on the Configure Link button
- The Map Fields screen will appear

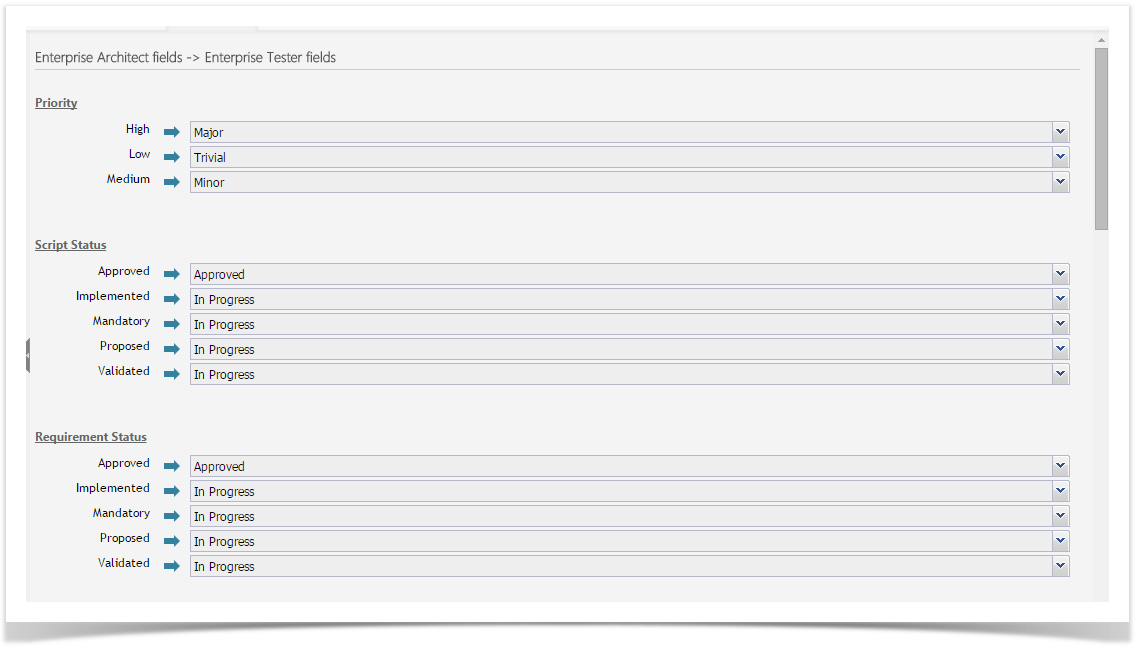
- For each field select the corresponding field to map to.
- Click on ‘Save’Save. This will take you back to the External Links Details screen.
| Info |
|---|
This Field mapping needs to be done complete in both directions between EA & Enterprise Tester |
...
The import function will either create or update requirements/ test scripts in Enterprise Tester by importing them from EA. New requirements/ or Test Cases test scripts will be created and entities that have previously been imported that have been updated/changed in EA since the last import will also be updated in ET. To Import :
- Click on Import.
The Confirm Import dialog will be displayed

Click on Continue.
- A window will pop up and show dialog will appear showing the progress during of the import and will notify you once confirm that the import has completed,.
...
The Update EA function will only update EA requirements where the requirements were originally created by importing from EA and updates/changes have been made in ET. New Requirements created in ET will not be created in EA. In addition, deleted requirements in ET will not delete requirements in EA.

| Warning |
|---|
Proceed with caution. The procedure cannot be undone. This feature will overwrite all changes in EA even those that have been made after the changes in ET. This feature can be disabled on the Enterprise Architect Configuration Screen. Application Administration permissions are required to add or edit EA configurations. |
...
Enterprise Tester also provides the ability to disable these features from the Edit External System screen.
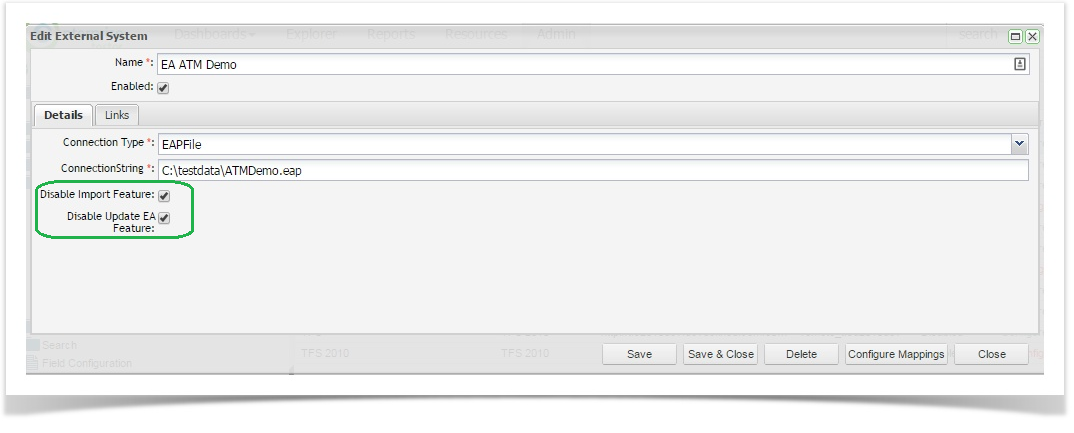
This . This feature can be useful if you would like to enable the features for an import or update and then disable them after the process is complete. As the Update EA feature will update all values in EA regardless of which system holds the latest change, this feature can give you some control over updates. When disabled the functions are no longer available on the project link screen.