...
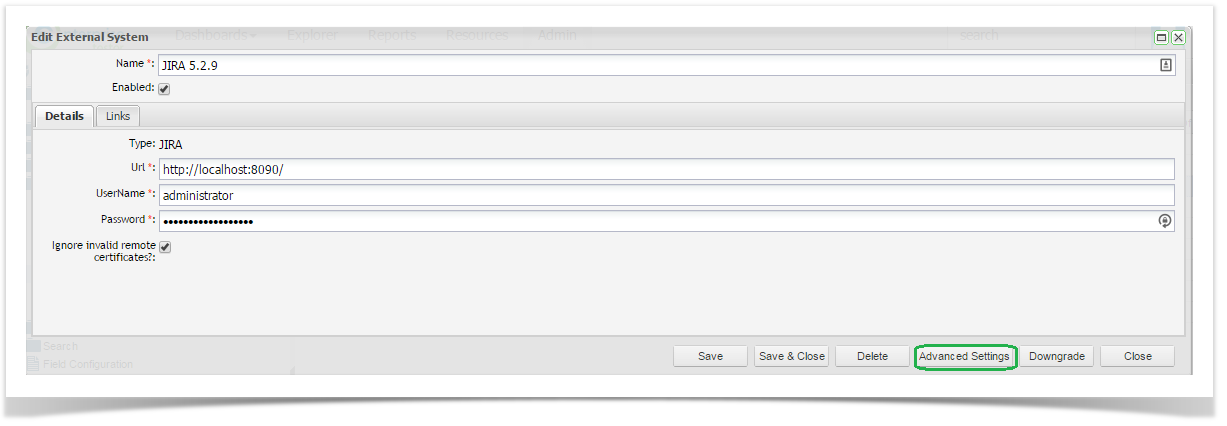
To access the Advanced Setting screen, from the Edit External Systems screen select the Advanced Setting button on the bottom right corner of the screen:
The Advance Setting edit screen will appear. Here you can select the custom fields to synchronize. Note that if you chose to custom configure the custom fields to synchronize, you will need to manually select any additional custom fields that are added to your external system if you wish to synchronize them. By default, they will not be selected for synchronization. An Enterprise Tester system administrator will need to update this configuration to include the new custom fields for synchronization.
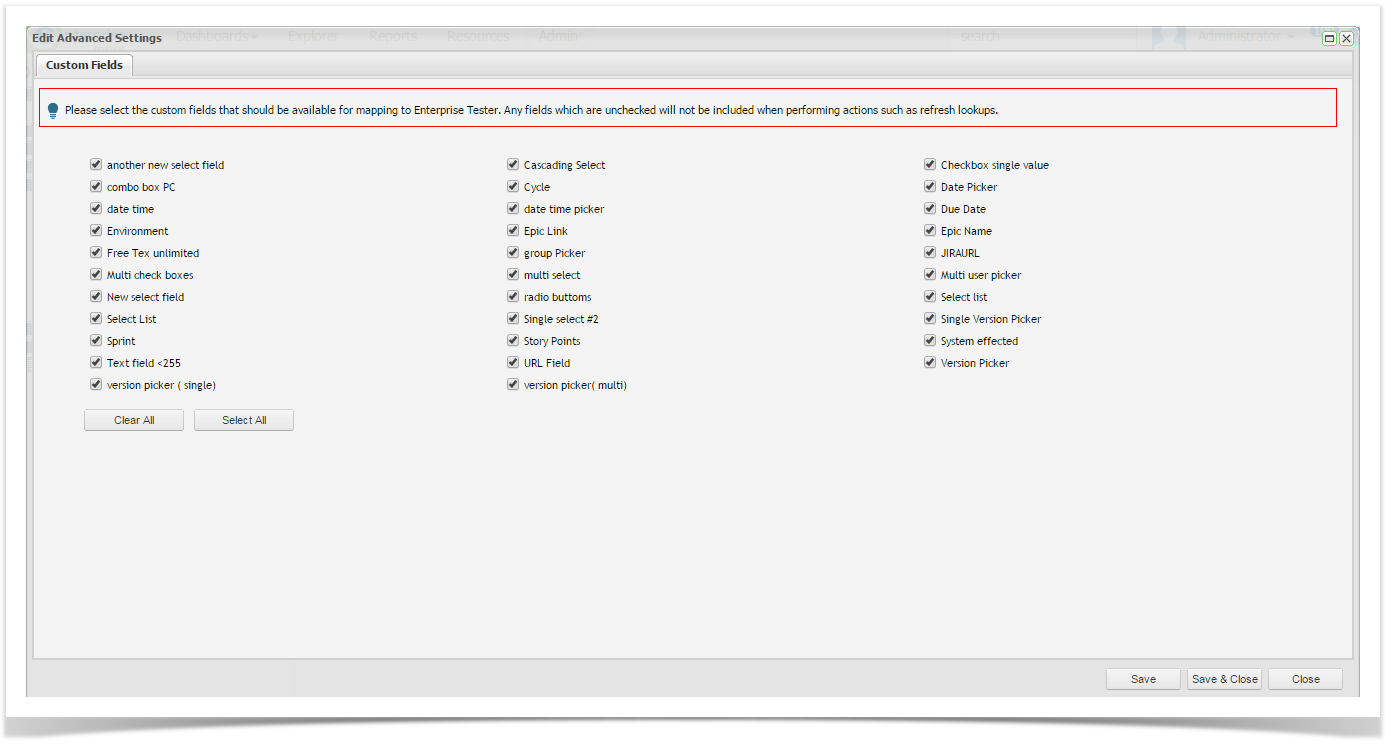
Once you have updated the custom field synchronization configuration click Save and Close. A refresh lookups will also need to be performed after adding custom fields to the synchronization configuration.
...
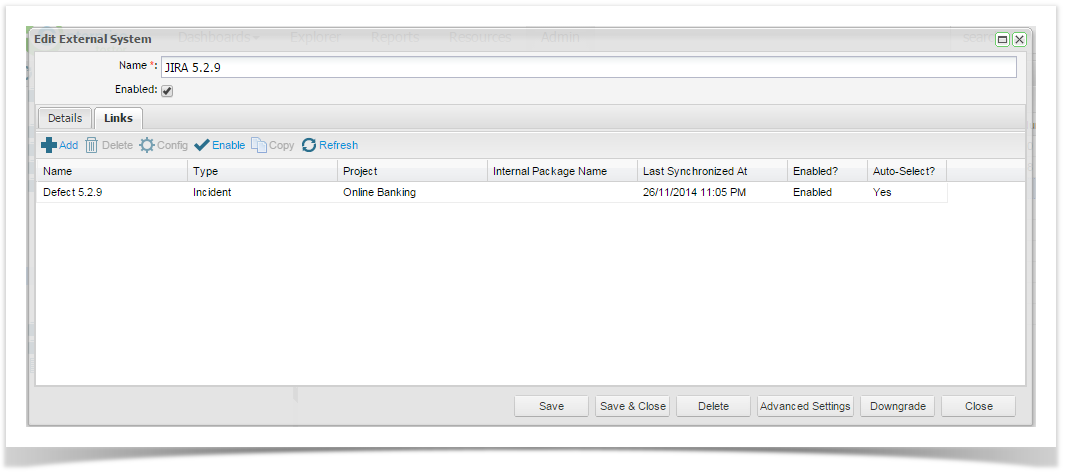
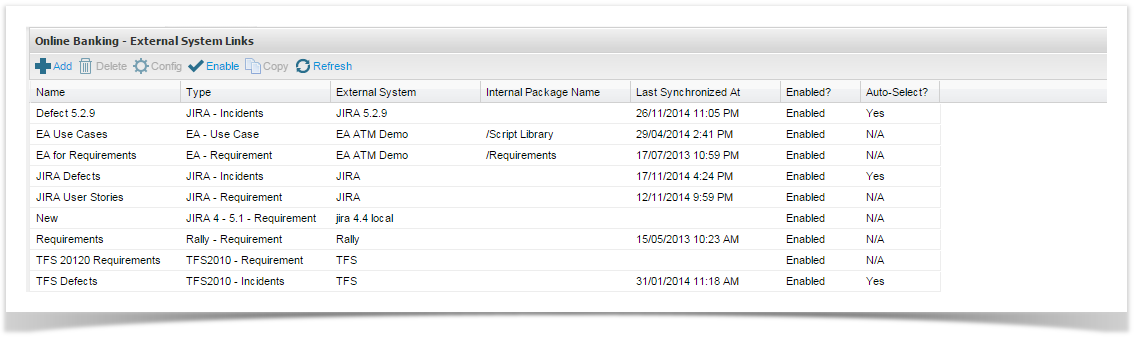
Once you have created your connection to the external system, click on the Links tab from the Edit External System screen. Click on Add from the tool bar.
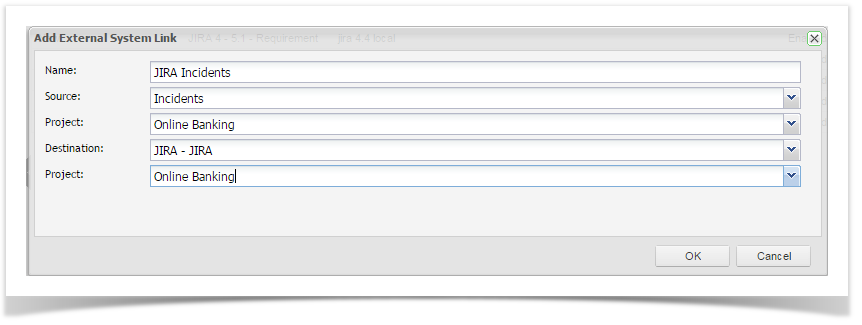
The Add External System Link screen screen will appear. Complete the name and select the Link Source. This is the entity type you wish to synchronize only the entity types that are available to your external system type (EA, JIRA, Rally, TFS) will be available for selection.
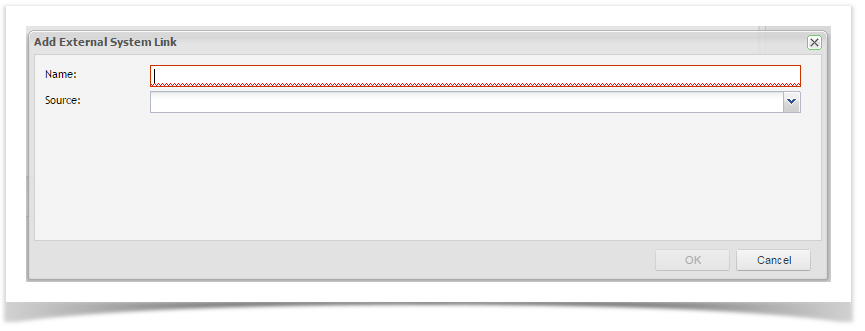
Once you have selected the Source, additional fields to configure including the ET project and the project will appear.
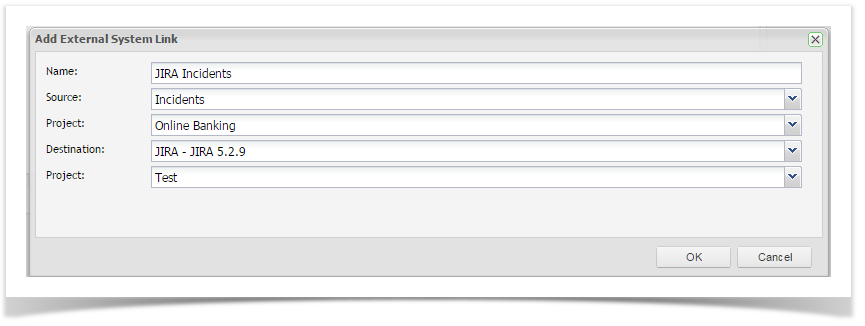
Once you have completed the screen click on OK. The External Links Details screen will appear. Now you will need to complete the field configuration. Please see the help topics for the tool you are integrating with. See the end of the page for a list of topic links.
...
From the Resources tab, click to expand Project Links. To view all configured links for your project, double click on your project.
To create a new project link select "New" Add from the toolbar or from the navigator you can right click on your project and select Add New Project Link from the menu or from the navigator you can right click on your project. Complete the details selecting the JIRA connection that you created in the steps outlined in the above section and your JIRA project to link to. Now click on Save.
Once the project link to JIRA has been created, Enterprise Tester will initiate a refresh of all the metadata. This may take a few minutes.
...