...
- Select the ‘Admin’ Tab in the tree view.
- Click on the Groups Folder.
- Click on the 'New' on the toolbar of the All Groups page.
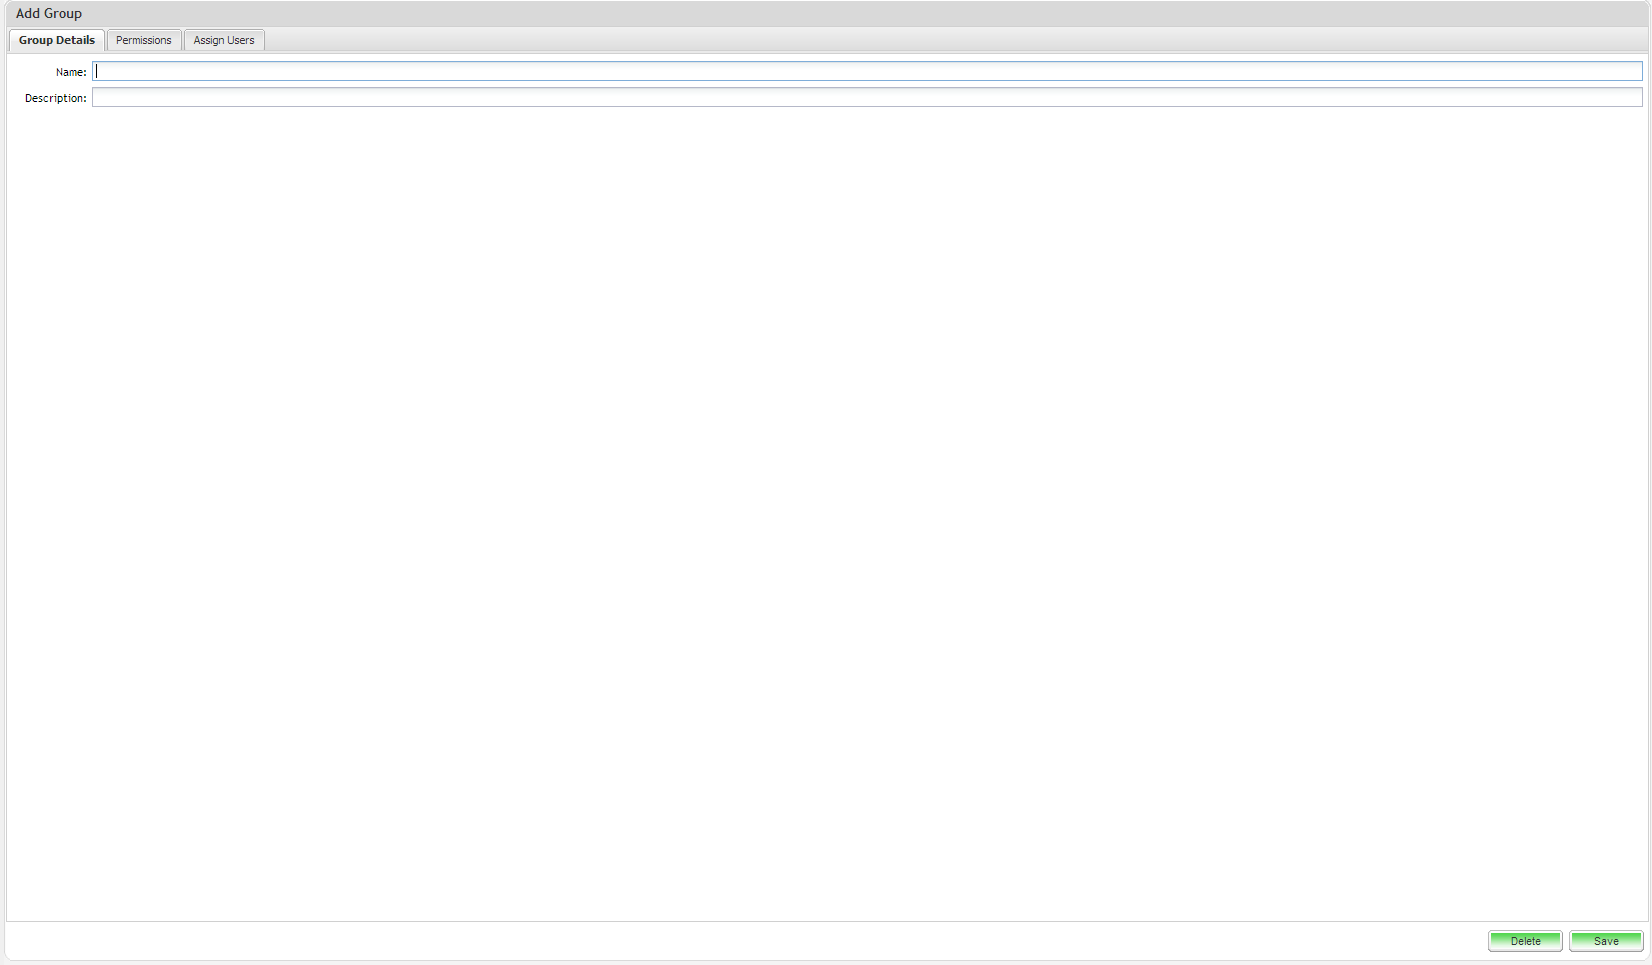
- Supply a name and description fro of the Group.
- Select the 'Permissions' tab.
- Click ‘Save'.
...
- Select the ‘Admin’ Tab in the tree view.
- Click on the Groups Folder.
- Click on the group that you wish to edit on the All Groups page.
- Update details.
- Click on ‘Save’ to update.
...
- Select the ‘Admin’ tab in the tree view.
- Click on the Groups Folder.
- Double click on a group to edit them..
- Click ‘Delete’.
- Click on ‘Yes’ to the prompt - the group will now be removed.
...
- From the All User view, double click on the user and select the ‘Assign Groups’ tab.
- Add groups in the Groups field by typing in the group names or selecting groups from the auto search filter results.
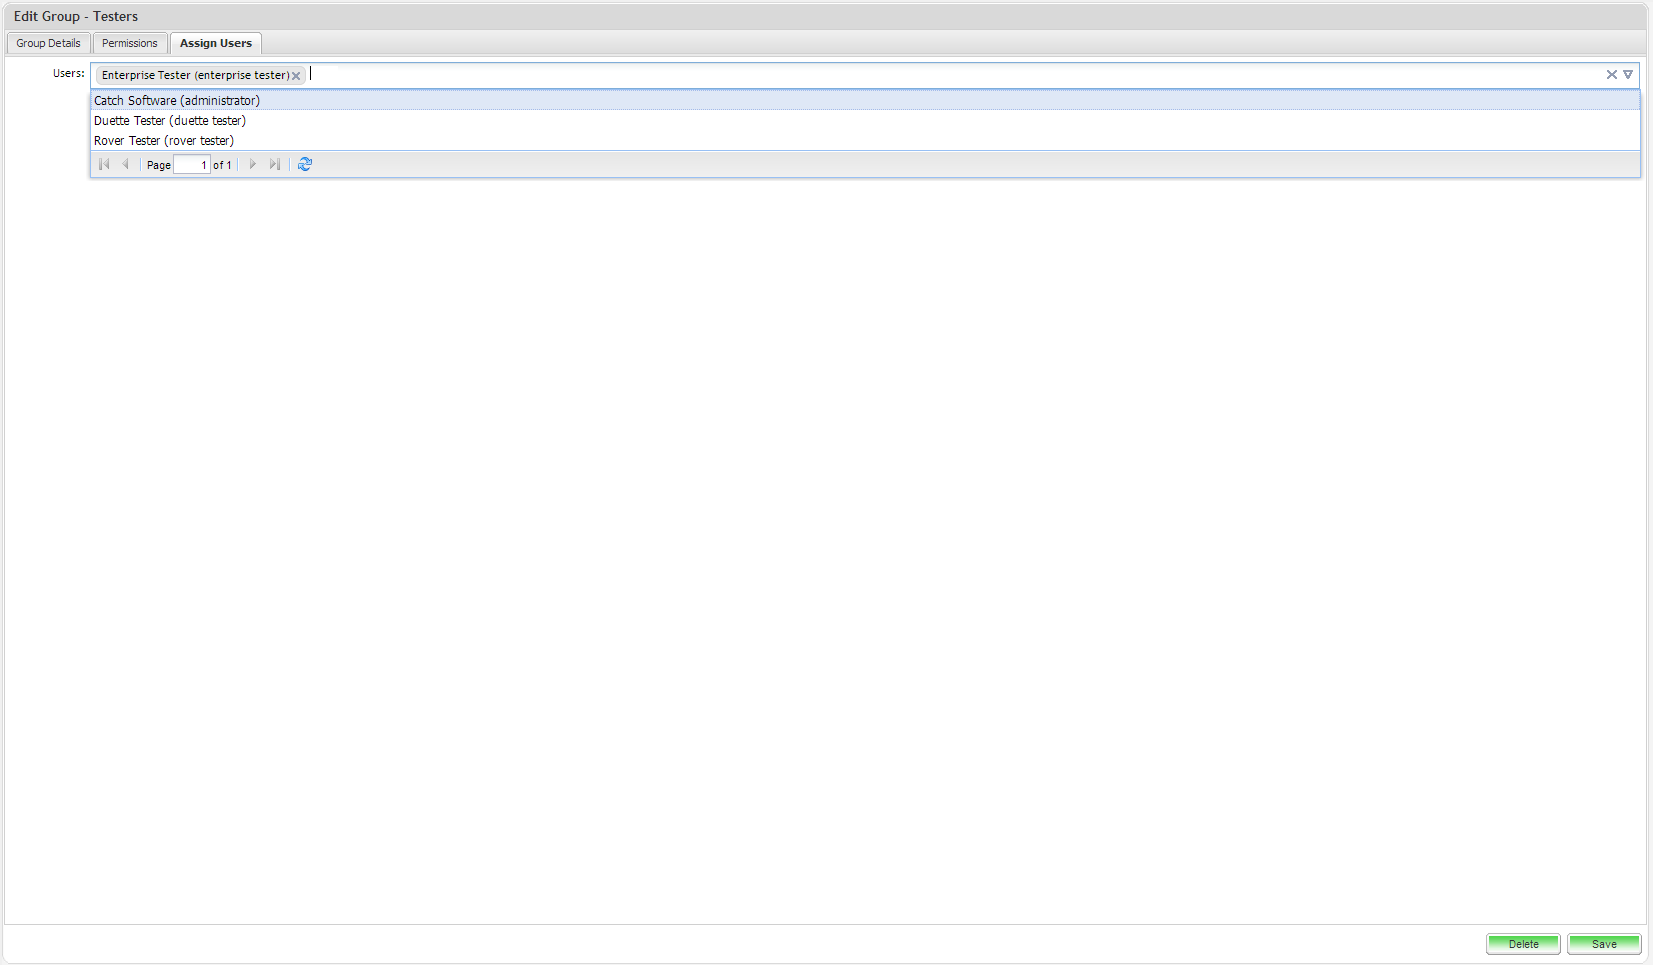
To add a user from the Edit Group screen:
- From the All Groups view, double click on the group whose membership you would like to edit.
- Click on ‘Assign Users’ tab.
- Add users in the Users field by either typing in the user names or select the users from the auto search filter results.
To remove a user from a group:
...