...
Here is a list of inbuilt fields on the incident screen. The fields available on your screen may differ depending on the field configuration set by your system administrator.
| Name | A brief description of the incident. |
| Synchronize To | This field will automatically populate with all of the project links that you have configured for this project. You can easily remove project links by clicking on them |
| Raised By | This is a non-editable field that will record the user who logged the incident. |
| Type | Select the type of issue from the from the picklist or begin typing to find all matching values. |
| Priority | Select the priority the from the picklist or begin typing to find all matching values. |
| Components | Select the component from the picklist or begin typing to find all matching values. |
| Affected Versions | Select the versions that are affected by the incident or begin typing to find all matching values. |
| Fixed Versions | Select the version that the incident should be fixed in or begin typing to find all matching values. |
| Assign To | Select the user from the pick list. Note that this field only provides a list of Enterprise Tester users |
| Description | Enterprise Tester automatically adds a description that captures all the details provided in the test execution for you. You can add further details as required. |
| Status | Select the status from the pick list or begin typing to find all matching values. |
Enterprise Tester also supports custom fields and your system administrator may have configured an a number of these for your incident screen depending on the requirements of your organization or project.
...
- Click on the ‘Attachment’ tab of the incident and click on Paste Image to paste an image from your clipboard or click on ‘Attach’ to add a file.
The Add Attachment dialog will appear.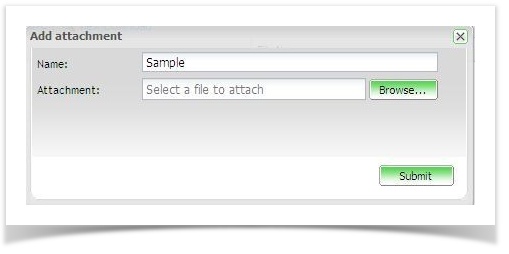

- Click on browse and navigate to select the required file.
- Enter a name for the attachment and click on ‘Submit’the Submit button.
- Click on ‘Save’ the Save button to save the incident
The attachment will now be added to the incident.
Note that the : The attachment will also be created in the associated external system ticket that this incident is synchronized with.
Attachments from your external system will also be added here if you are synchronizing in both direction directions (e.g. ET to JIRA and JIRA to ET).
To delete an attachment, select the attachment and click on the delete Delete button.
Relationships Tab
You can view and manage Incident Relationships from the Relationships tab.
Associated Requirements, Scripts, Script Runs, Automated Tests, Automated Test Runs and Incident relationships are displayed. These relationships are created automatically when an incident is raised during a test run. When an incident is raised during testing, it will automatically be associated to the run, the master script (in the Script Library) and the requirement covered by the script.
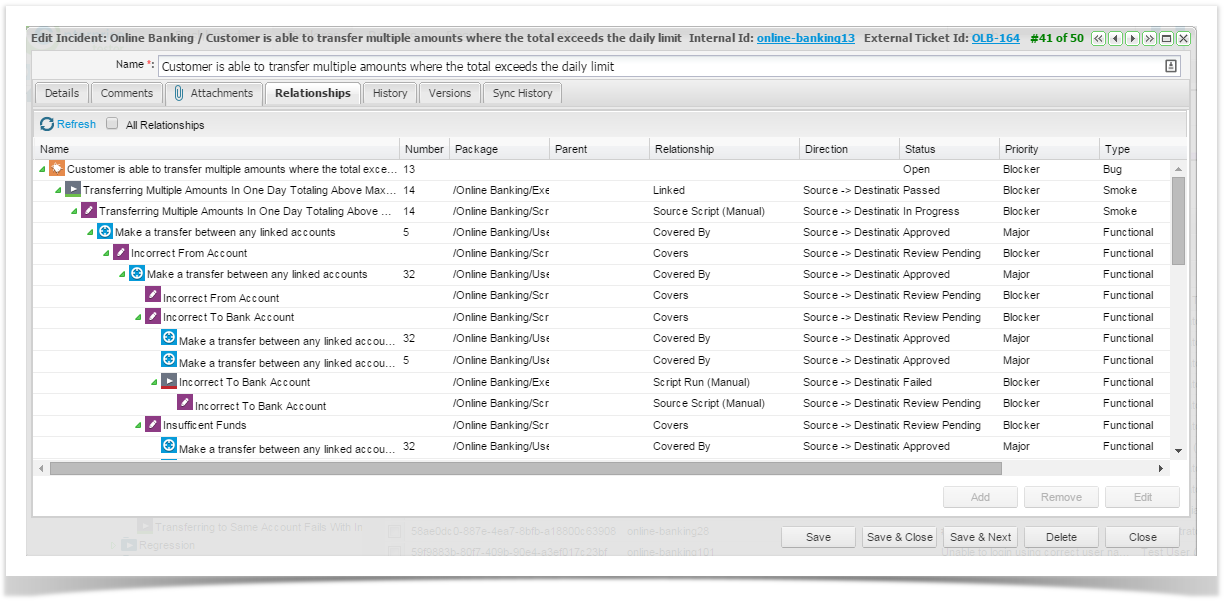
Editing Relationships
You cannot edit incident relationships. Relationships are based on the the steps which the incident is linked to within automated test runs, script runs and agile runs.
...
The history table allows you to view the changes made to an incident over time, with support for filtering by property name, user, and date range Property Name, User, Date range and Change Id.
- Select the History tab of the incident when you have the incident open for editing - the history of changes will be displayed.
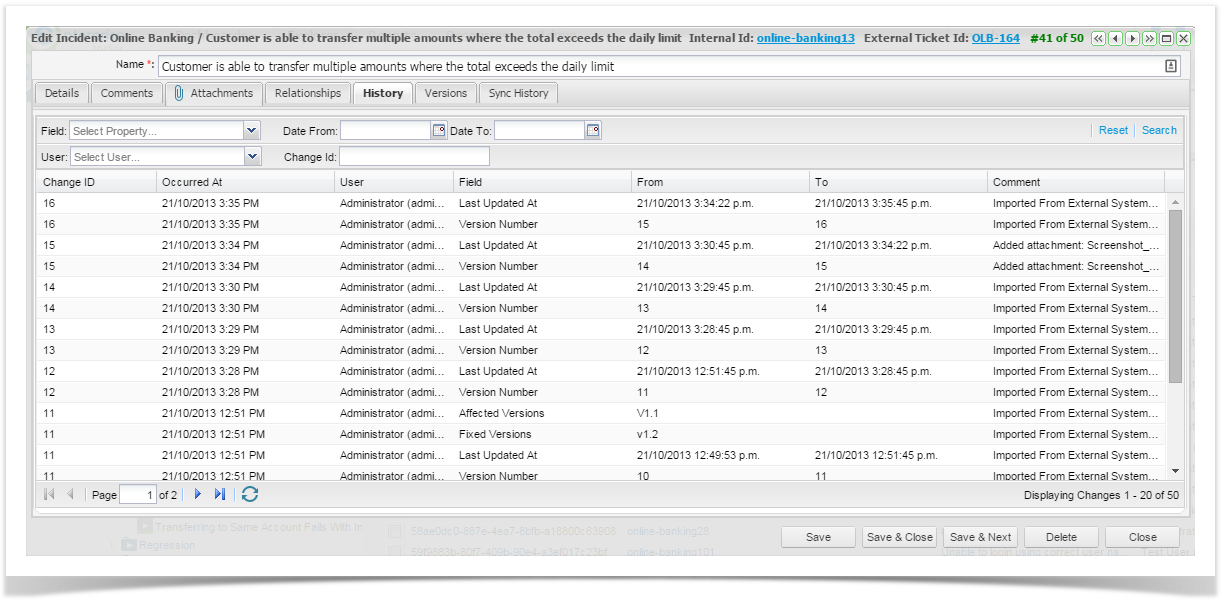
You can filter the list of changes displayed by selecting from the filters below and clicking on ‘Search’.
Field
Select the field that you want to filter by
User
Select the user you want to filter by
Date From
Select the start date you want to filter by
Date To
Select the end date you want to filter by
Change ID
Select the Change ID you want to filter by
- The filtered list will be displayed.
- To clear the filter, click on ‘Reset’.
...
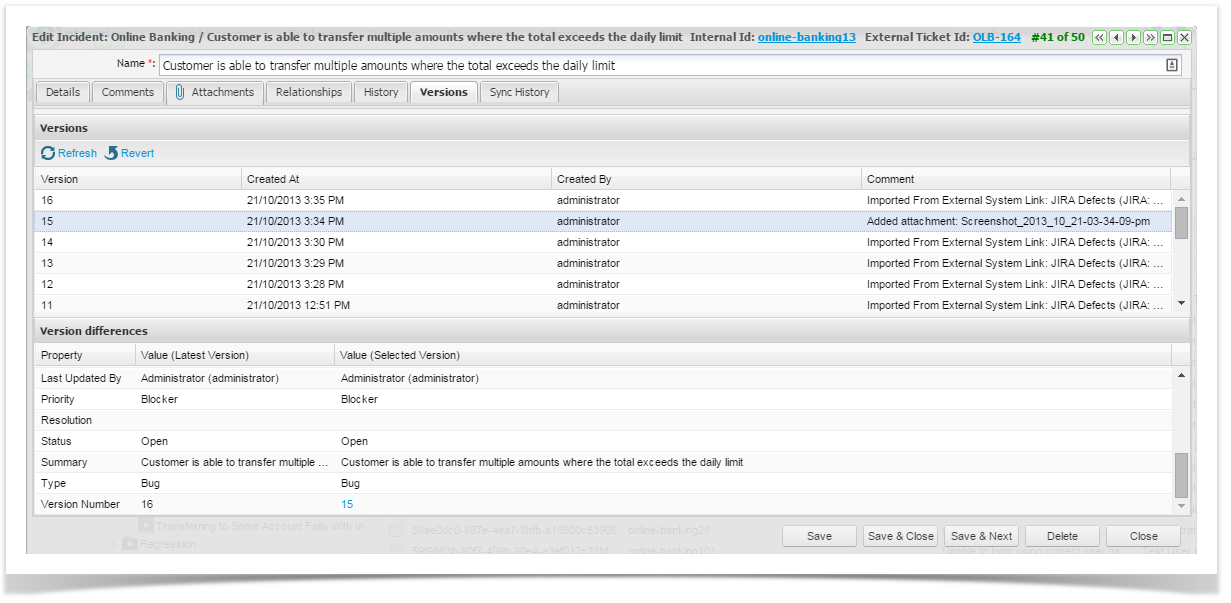
Enterprise Tester also creates versions of the incident each time a set of changes are made. The Versions tab lists the versions that have been created over time and provides the following information.
Version | Sequential version numbers |
Created At | Timestamp at which the version was created |
Created By | The user that made the change |
Comment | Comments regarding the source of the version |
This tab also displays detailed information for the selected version showing the difference between that version and the latest version. Details provided are:
Property | The name of the property |
Value (latest ver) | The current value of the property for the version |
Value (selected ver) | The value of the property for the selected version |
Sync History Tab
On the Synchronization History tab, you can view a list of all synchronization events. A list will appear showing the date and time of each synchronization that has updated the incident details.
...