Gadget subscriptions in JIRA and Confluence are recommended when adding Enterprise Tester gadgets to JIRA and Confluence, however there are alternative methods available:
This feature is not compatible with On Demand instances of Confluence and JIRA.
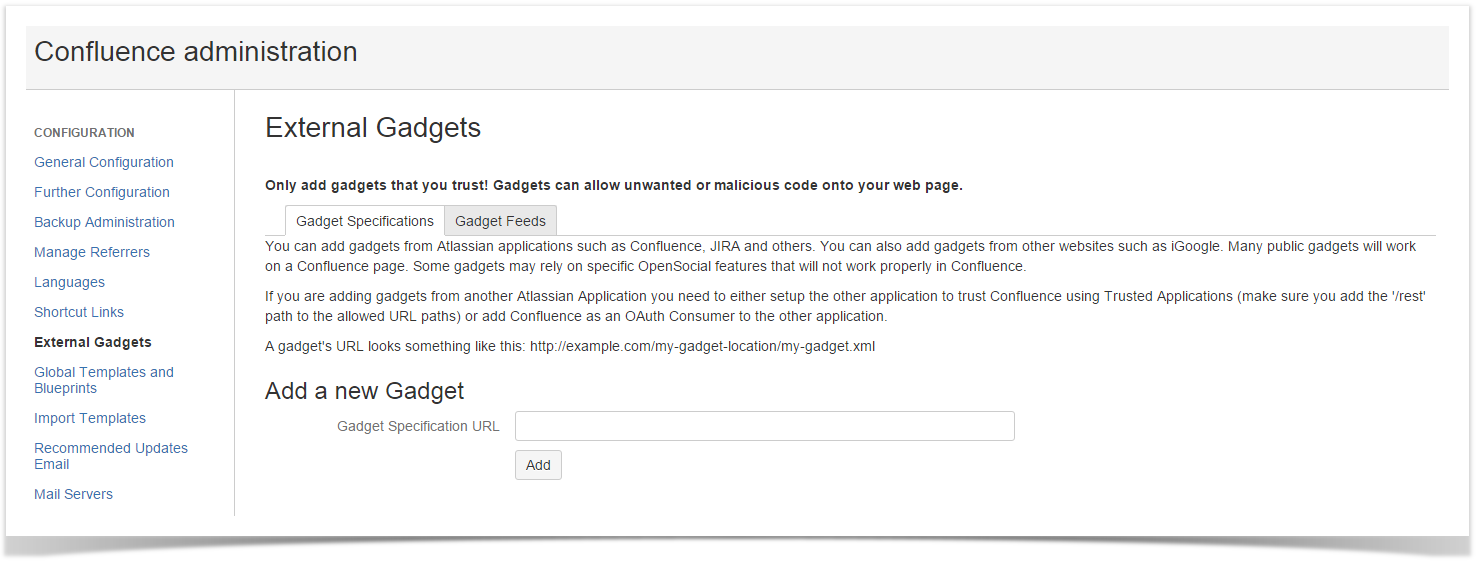
- To add Confluence Gadgets log in to your instance of Confluence and select the Browse Menu, Confluence Admin.
- Click the “External Gadgets” link on the left hand side of the screen.
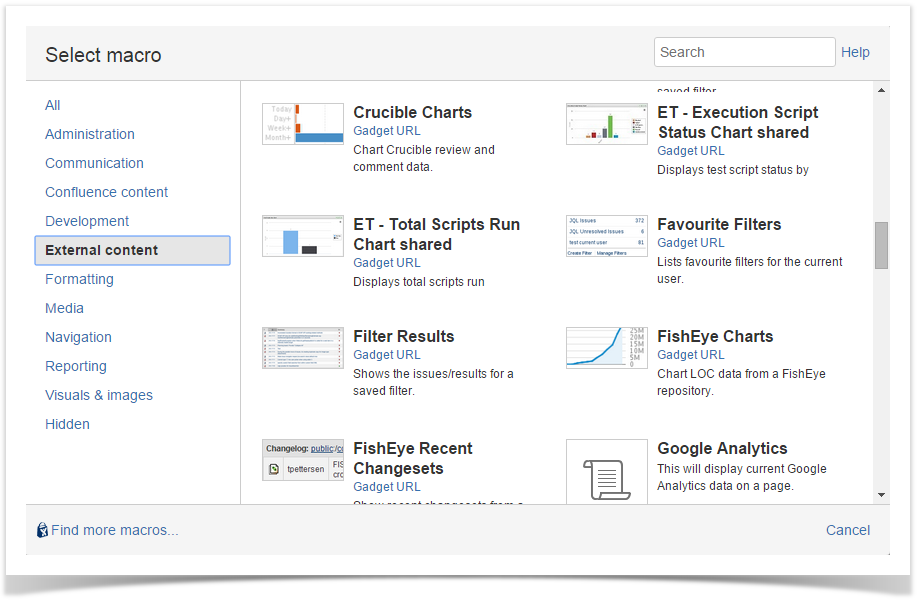
In the External Gadgets screen you will be able to add a new Gadget. Paste the URL you have already copied from the Enterprise Tester portlet to the clipboard and click ‘Add’. - Go to your Confluence dashboard or page and click the “Insert/Edit Macro” button
- Click the “External Content” link. You should see your gadget displayed.
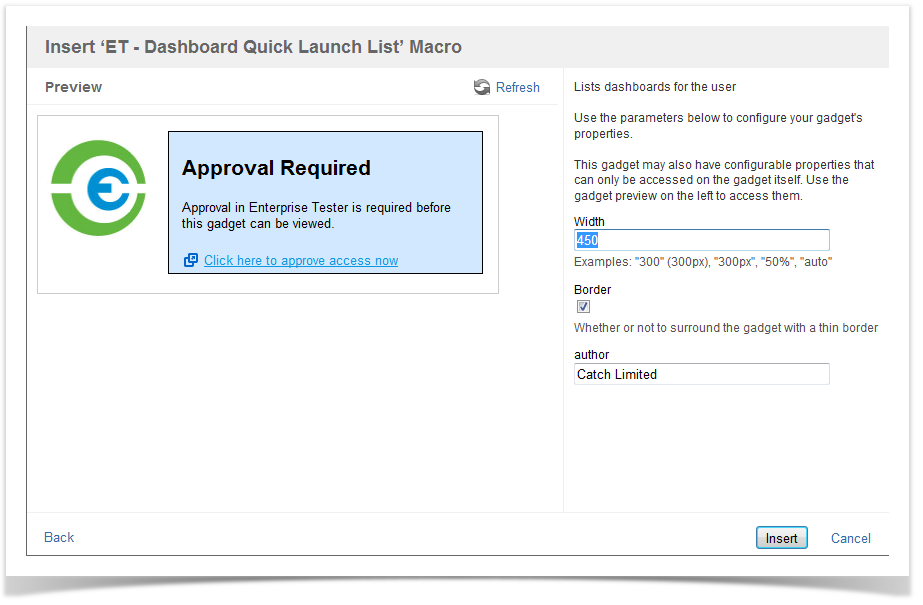
- Click on the gadget. The Insert Macro screen should be displayed. Click the “Insert” button.
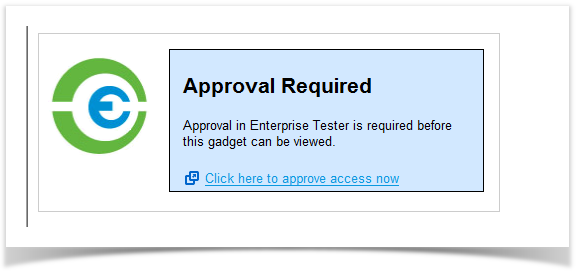
- The gadget link will display on your dashboard / page, “Save” your changes.
- If you used Shared Authorization, the gadget will now display on your dashboard.
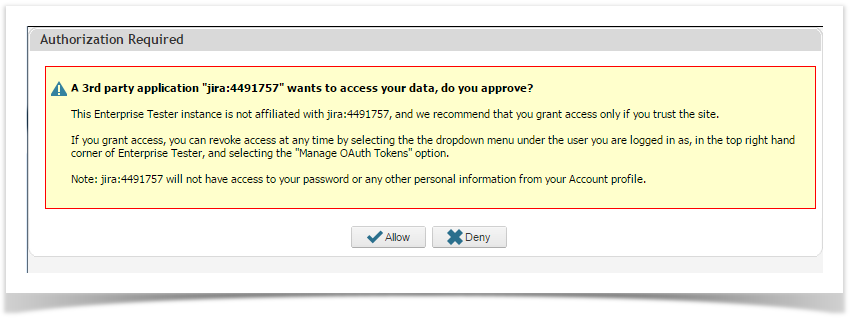
- If you used Individual Authorization, the gadget link should now display on your Confluence dashboard or page but will not be authorized. Click on the "Click here to approve access now" link.
If you are currently logged into Enterprise Tester the authorization screen will appear. If you are not logged into Enterprise Tester you will need to log in first, then the authorization screen will appear. - Clicking "Allow" or "Deny" here will close the window and refresh the gadget - if you clicked "Deny" an error will be displayed in Confluence gadget indicating access has been denied, if you clicked "Allow" you should see the gadget in Confluence refresh to display the correct content.
- Gadget now displays the portlet content from Enterprise Tester within Confluence.
