Importing using a CSV file is the most effective method of test scripts with third parties or users that are unable to share a link with Enterprise Architect. A script CSV file can be either created manually or exported from tools such as Enterprise Architect.
Preparing Your CSV File
At a minimum, Enterprise Tester requires your CSV file to contain fields that map to Step Name, Step Description, and Expected Result. Also ensure that no two columns have the same heading.
Importing into Packages
With Enterprise Tester you can easily import your Test Scripts into a new file structure will little preparation of your CSV file. Simply set up a column labeled “Package”. For each Test Script enter the pathway: Script Library/package name.
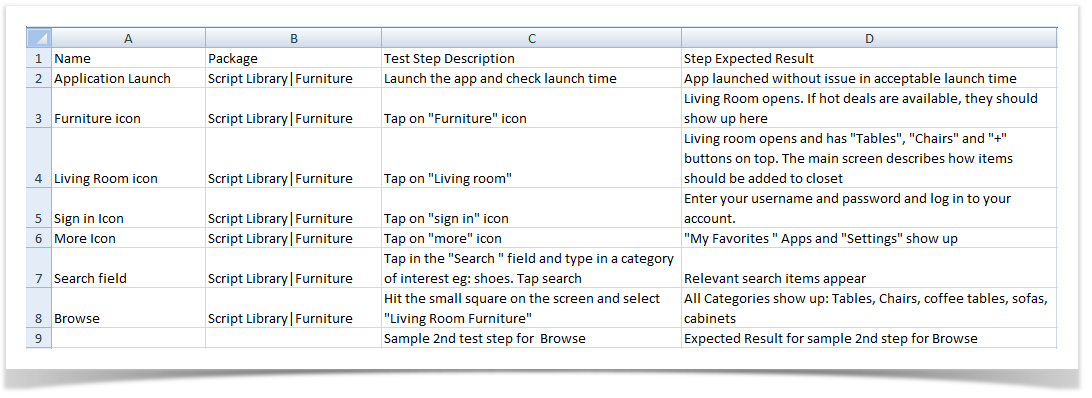
To import into further child packages you can simply add an additional folder name to the pathway: Script Library|package name|child package name. You can continue to build your file structure in this way. The example below shows the minimum fields that must be imported to create a script. You can add many more fields included custom fields (ensure that your custom fields are created and picklist values are configured (if applicable) in Enterprise Tester first).
Importing Many Steps for a Single Test Script
When importing many steps for a single test script, simply leave all field blank except for the Step Description and Expected Result. These must be complete. If you have a field for step number, Enterprise Tester will place the steps in the order you have indicated otherwise Enterprise Tester will list the test steps by order of appearance. See rows 8 and 9 in the screenshot above. Row 9 is an example of how to format an additional step in your script. In this example the details in row 9 will import as the second step of the script in Row 8.
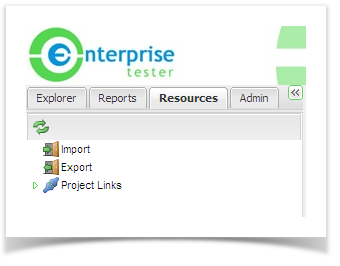
Now Select the Resources tab and double click ’Import’.
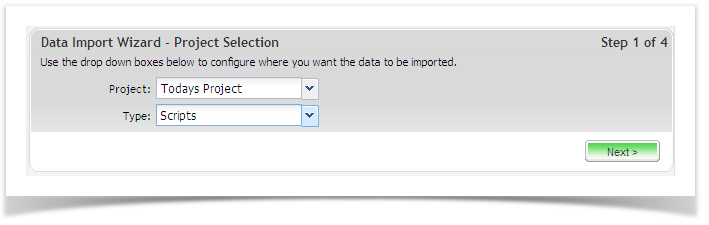
Follow the four step import wizard; starting with configuring where you would like your test scripts to import to. Use the drop down boxes to select the destination project for your data and the type of information being imported e.g. requirements or test scripts.
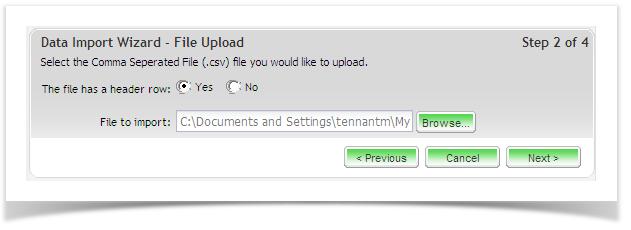
Browse to where your CSV file is stored and specify if the file contains a header row using the radio buttons provided, then click on ‘Next’.
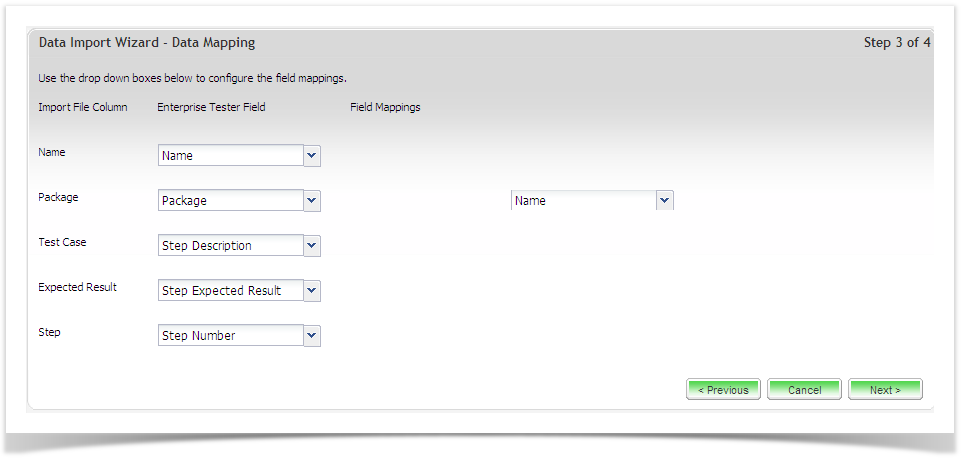
The application will read the CSV file and ask you to map the fields in Enterprise Tester to those in your CSV. Use the drop down boxes to map the fields in your CSV file to the fields in Enterprise Tester. Since V2.3, Importing to Enterprise Tester custom fields is also supported.
Some fields will prompt you for additional information pertaining to that field e.g. you will be asked to indicate if the value in the CSV file is the package name or ID.
Field “ID” is reserved for the Enterprise Tester GUID ID number, which should be in format {XXX-XXX-XXX-XXXX}. Only include “ID” if importing data that has been exported from the same instance of Enterprise Tester and you wish to update already existing Scripts, Requirements or Use Cases (an invalid ID number will cause your import to fail). In all other instances, leave this field blank or exclude from your import CSV.
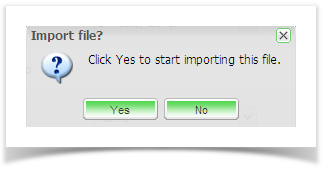
Once the fields have been mapped, click on ‘Next’ at the bottom of the page, followed by ‘Yes‘ to begin importing.
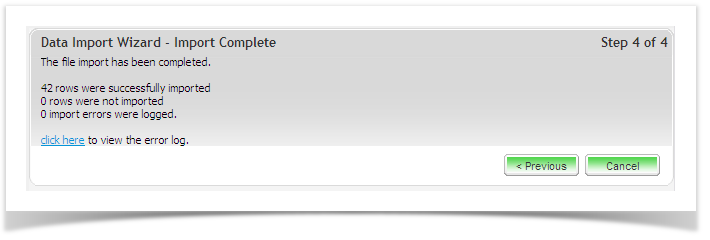
When the import is complete the following status window will appear. If there have been errors, click on the ‘click here to view the error log’ link for information on why the export failed. If the export was successful, click ‘cancel’.
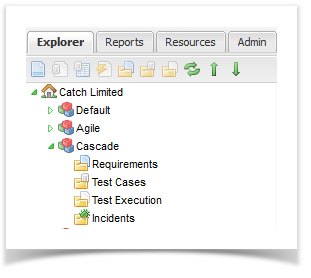
To view the imported test scripts, select the ‘Explorer’ tab and open the project script library you imported to. The test scripts you have imported will be displayed here.