To import automated test results, in the script library you first need to add an automated test script. This is not the script that your automated tool will run. It is a placeholder in the Script Library for your Automated Test that specifies the type of results and the pathway to the results to import.
To do this, from the Explorer tab in the tree view navigator, select the package you wish to add your automated test script to.
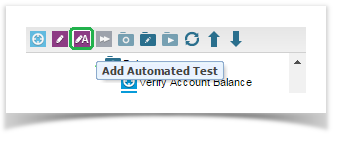
Then either click on the Add Automated Test icon from the menu bar.
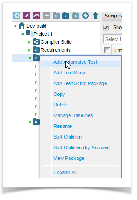
Or right click on the Package and select Add Automated Test.
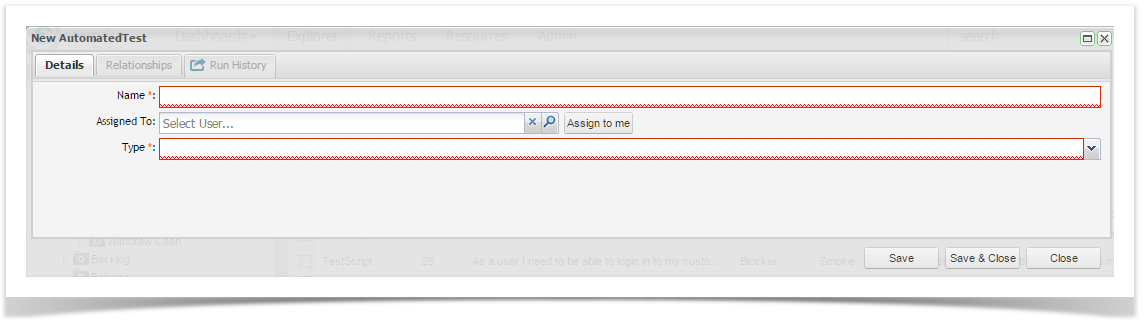
The New Automated Test screen will appear. Complete the details and save:
| Field | Description |
|---|---|
| Name | Enter a name for your test. |
| Assigned To | Enter the User name of the person assigned to the Automated Test. |
| Type | Select the test type from the drop down list. HP Quick Test Professional, IBM Rational Functional Tester,Selenium or Unit Test Results |
| Sub-Type | Only applicable for Unit Test Results. Select from the dropdown list the type of results you are importing |
| Default Path | Enter the path to a specific results file or folder. This is not required. When importing results you can manually select the file to upload. |
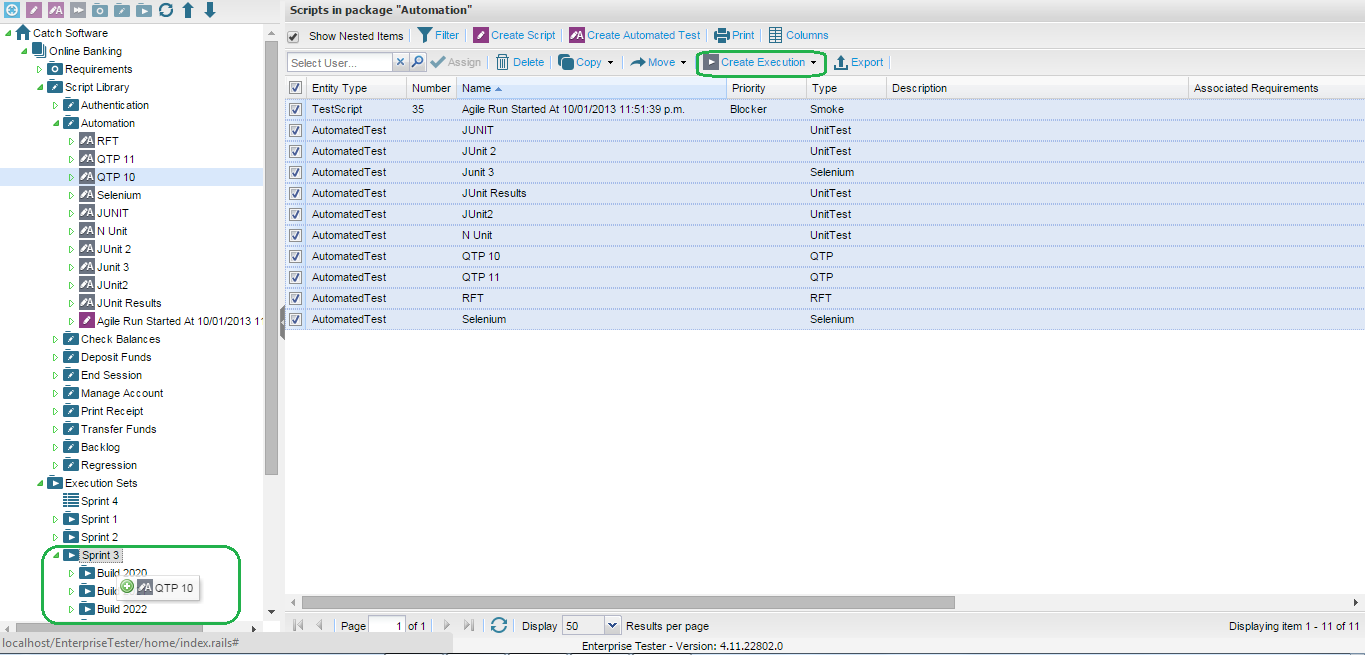
Once the Automated Test Script is created, you then need to add it to your execution set by dragging and dropping from the script library to the execution set package or by using the Create Execution button on the grid tool bar.
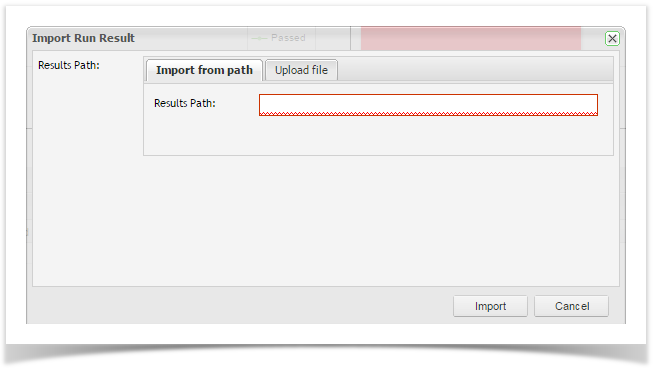
Import Results
A dialogue box will appear that displays the following two tabs:
Import from path - If you setup a default path in the Automated Test setup in the script library this will be displayed in the Results Path field. If the default path is still correct, enter your automated test results file name and click Import.
Upload file - You can select to upload your file.
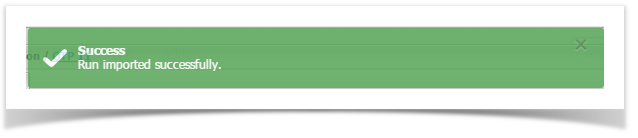
Progress information will be displayed followed by the Success message.