An unlimited number of projects can be created in Enterprise Tester. You can manage projects through the admin section of Enterprise Tester. To add a project:
- Open the Admin Tab tab of the tree view and expand out until you can see the projects folder.
...
- Right click on the project folder and select Add Project from the menu. The New Project Wizard will appear.

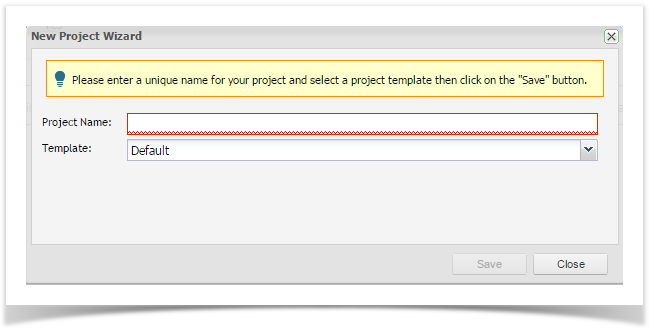
Enter a name for your project and select a template. The project templates available are:
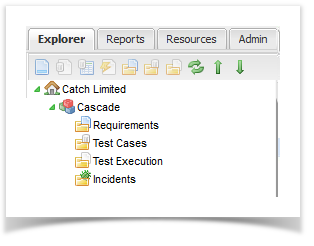
Default - This template is the ET standard project set up using the organisation picklist values. The project structure is as follows:

 Agile - This template provides an agile project set up option. The project structure is as follows:

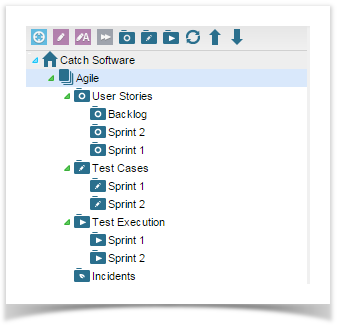
In addition, the agile project template also adds the number custom field, Story Points to User Stories (Requirements) and has the following set of picklist values:
...
Cascade - This template provides a hybrid option of classical and agile project set up. The project structure is as follows:
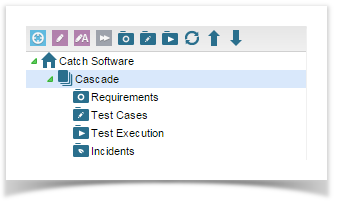
In addition, the Cascade project template has the following set of picklist values:
...
Once you have added you project name and selected the appropriate template, click save to open the add project Add Project screen.
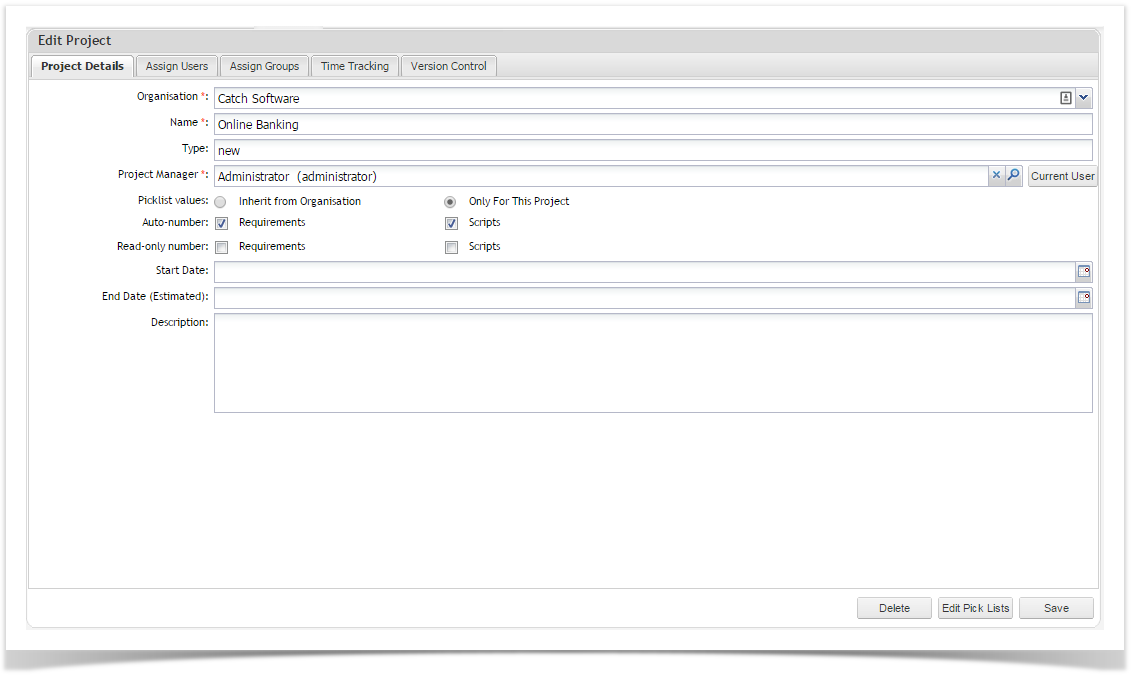
- Complete the project details:
| Field | Description |
|---|---|
| Organization | Select from the pick list of Organizations you have defined. |
| Name | A name that identifies the project. |
| Type | Enter a name that identifies the type of project. |
| Manager | Select the Project Manager from the pick list of users . |
| Picklist Values | Here you can select to either inherit your picklist values ( Inbuilt and custom fields) from the organization picklist or have an independent set of picklist values for your inbuild fields. |
| Auto-number | You can select auto-numbering of requirements and/or scripts |
| Read only numbers | You can configure the requirement and/or script number fields to be read only. |
| Start Date | The start date of the project. |
| End Date Estimate | The end date of the project. |
| Description | The project description. |
- Click on “Save” Save to create the project.

Assigning Users to Projects
...
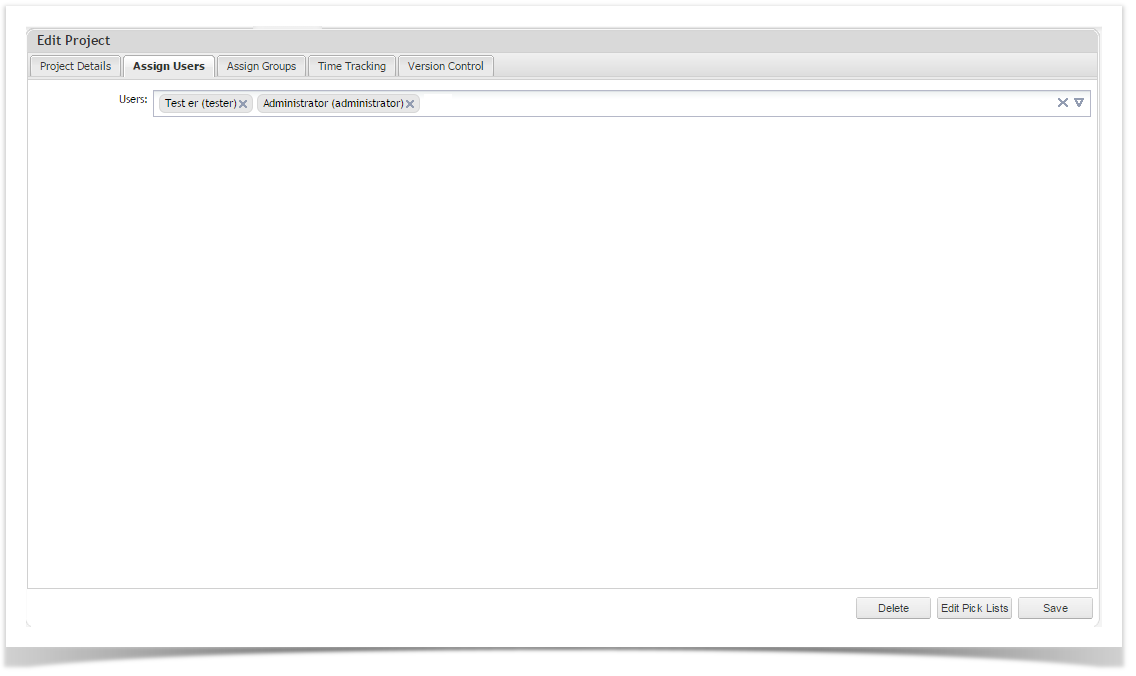
You can assign users to the project in the Assign Users tab of the project:
- Open the project by right clicking and selecting Edit Project or by double clicking the project.
- Select the Assign Users tab.
- You can then add users by simply typing in the user name and selected from the filtered results or by using the drop down and selecting the user.

Assign User Groups to a Project
...
You can also set the time to be used for tracking progress for a project by selecting the Time Tracking Tab tab.
Here you can select:
Working Hours Per Day The number of hours in a working day (1 - 24).
Working Days Per Week The number of days in a working week (1 - 7).
...