- TQL's will be saved under Manage > My Queries for the user that created the project.
- The owner of the Dashboard will also be the user that created the project.
- In bigger organisations System Administrators , not Project Leads may create new Projects. If this is the case then the Project creator will need to perform some additional steps, so that the Project Lead has ownership of the Dashboard and TQL's.
Dashboard ownership
To ensure that the Dashboard is owned by the project lead;
1) Edit the Project
2) In the Project manager: field select the project lead user.
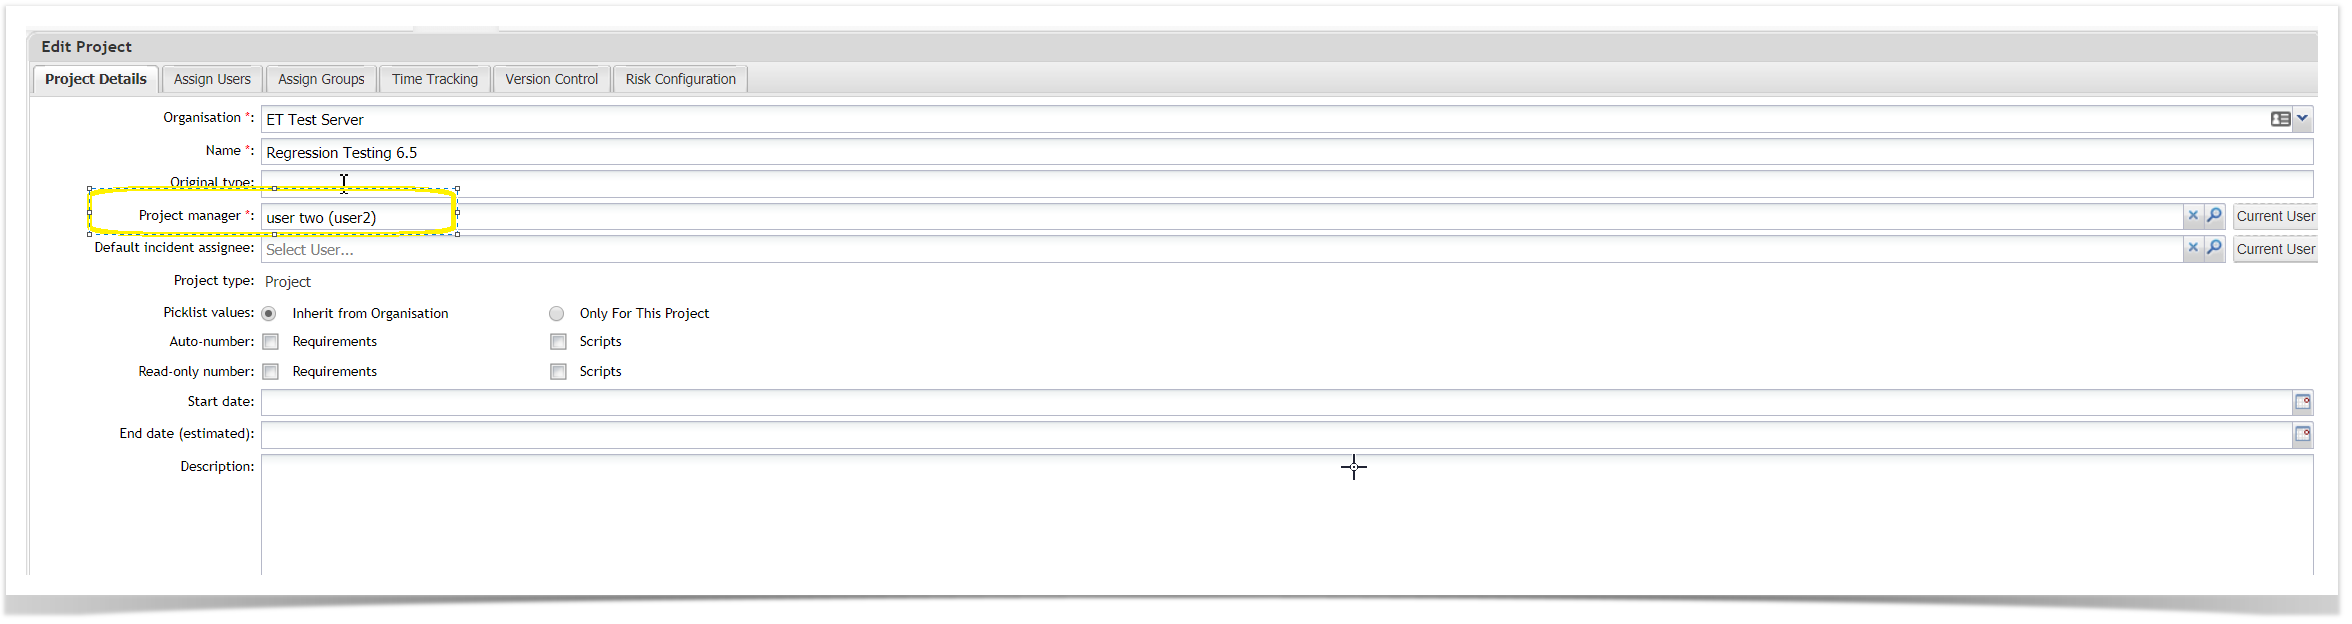
3) Select Save button.
TQL's assigned to project lead
The System Admin needs to share the three TQL queries automatically created when the project is created.
1) Select Reports from the main menu
2) Click on the arrow to expand TQL
3) Double click on My Queries. The three TQL queries automatically created are displayed.
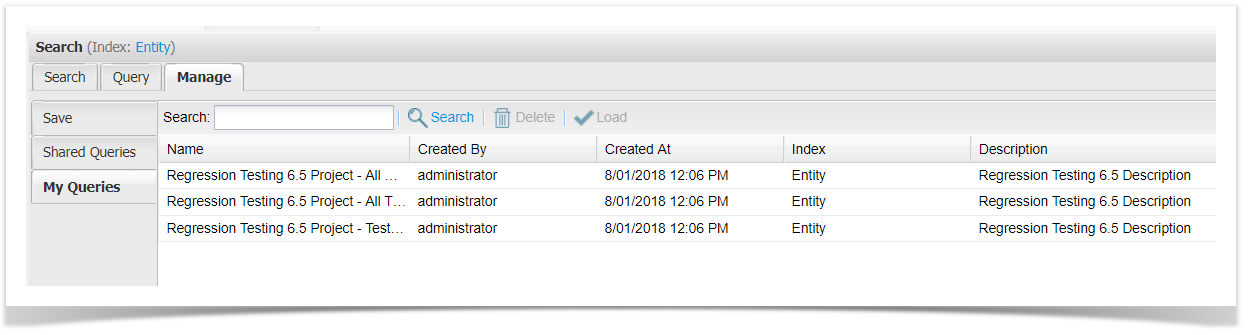
4) Double click on the first TQL Query. The query is displayed.
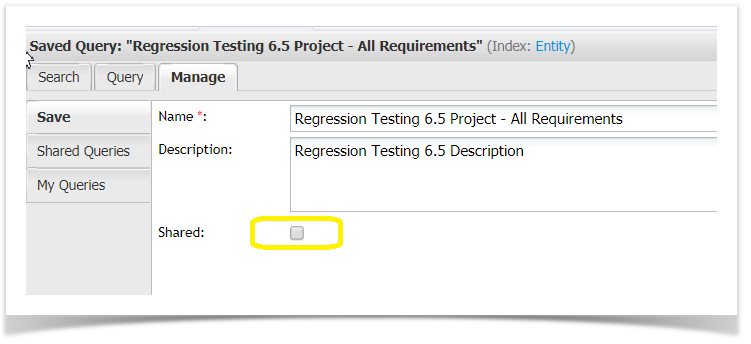
5) Select the Manage tab.
6) Select the Shared: checkbox.

7) Select the Save button.
8) Select My Queries (on the left hand side). There is now only two TQL queries displayed as the other one has been Shared and is no longer under Shared Queries.
9) Repeat steps 4 - 7 for the remaining two queries.
Project Lead steps
Once the System Admin has Shared the TQL queries the Project Lead / Manger then needs to take ownership of the queries so they are no longer shared.
The reason you don't want the TQL queries to be shared with everyone is because users will then have the ability to delete the queries ( as there are no permissions on TQL queries).
1) Login to Enterprise Tester as the Project Lead
2) Select Reports from the main menu
3) Click on the arrow to expand TQL
4) Double click on Shared Queries. The three TQL queries are displayed.
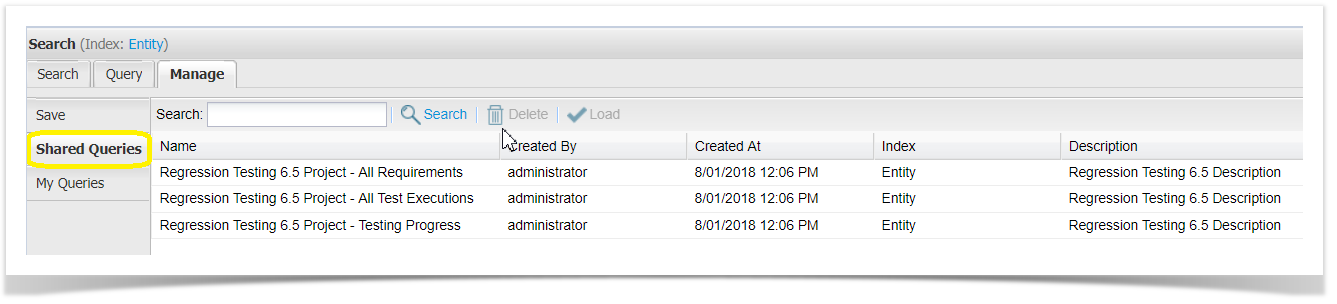
5) Double click on the first TQL Query. The query is displayed.
6) Select the Manage tab.
7) De-Select the Shared: checkbox.
8) Select My Queries (on the left hand side). The first TQL is now dislayed in My Queries and is no longer under Shared Queries.
9) Repeat steps 5 - 8 for the remaining two queries.