Project links External System Links can be copied which making makes it even easier to configure your project set up. Copying a project link synchronisations for new projects. Copying an External System Link will retain all of your configurations including mapping mappings (where fields are applicable in the new project), set tasks and schedules.
You can copy a project link an External System Link from either the External Systems configuration area in theAdmin Section or from the Resources Tab.
From the Admin Tab
- From the Admin
...
- tab, expand the Extensions folder and double click on External Systems.
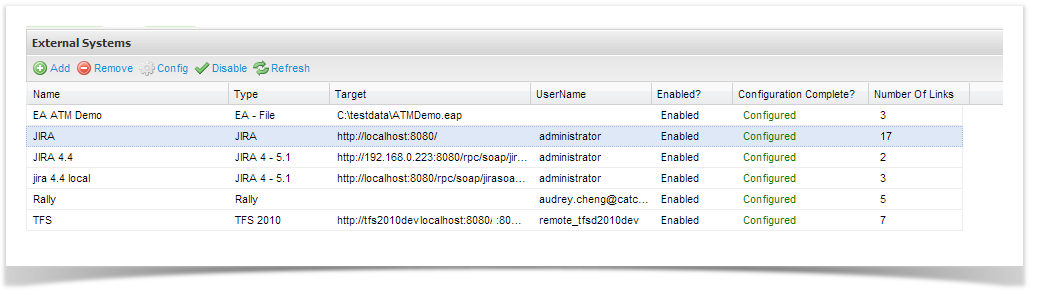
All External Systems that are integrated with Enterprise Tester are displayed in the grid.
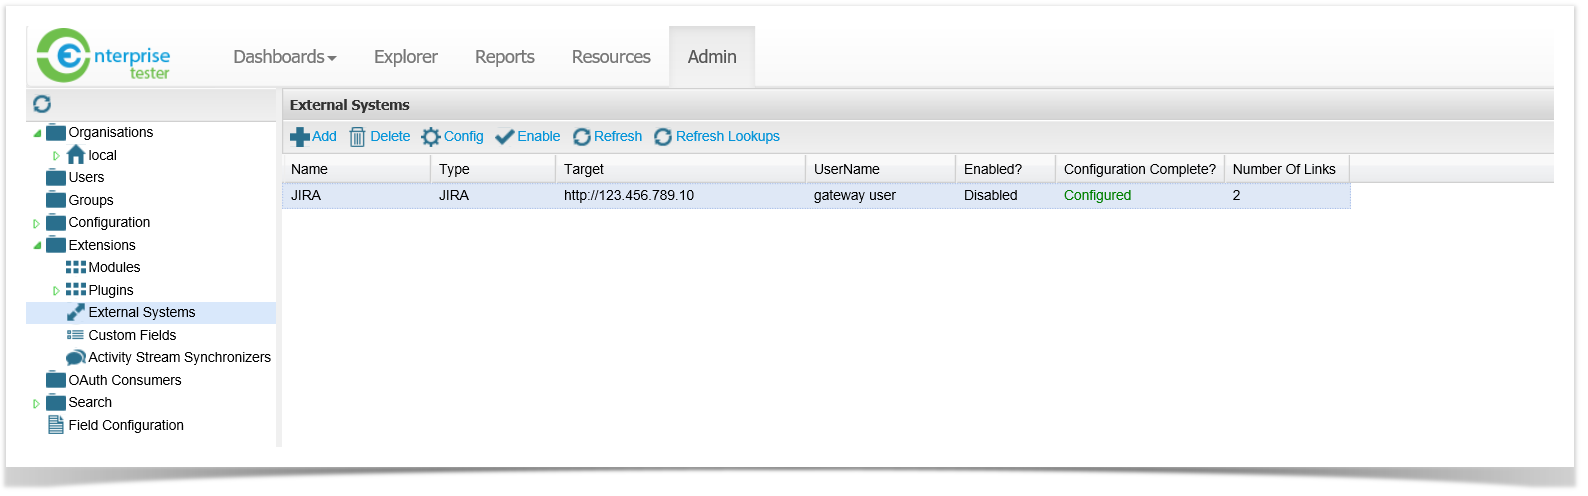
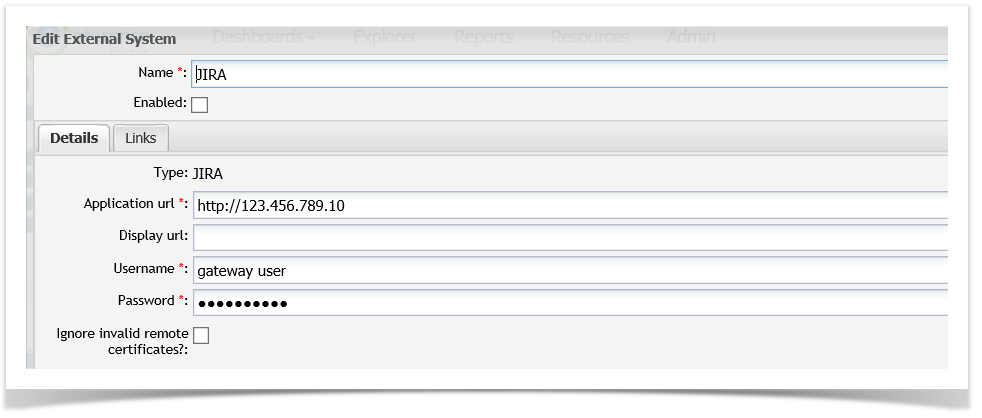
2. Double click to select your external system connection from the grid.
The The details of your connection will be displayed.
3. Click Click on the Links tab to display a . A list of all of your project links External System Links for your connection will be displayed.
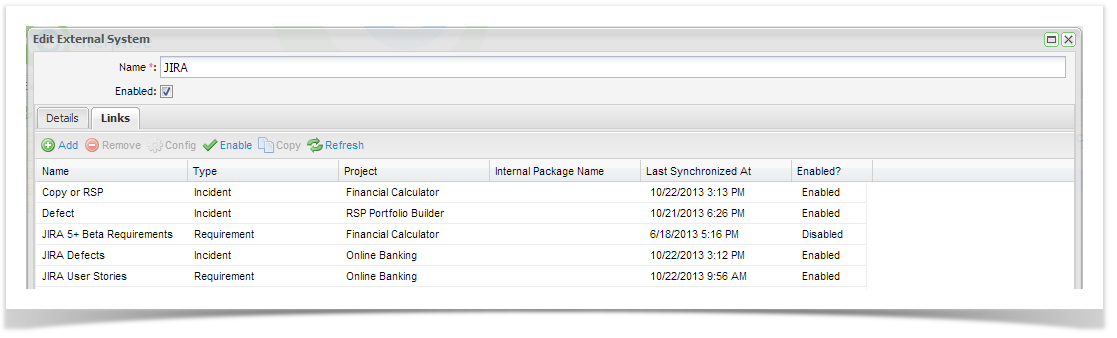
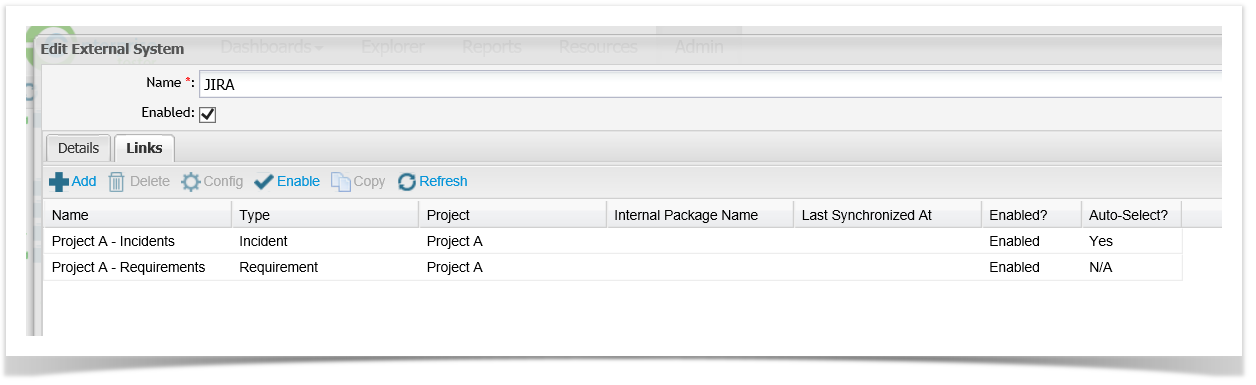
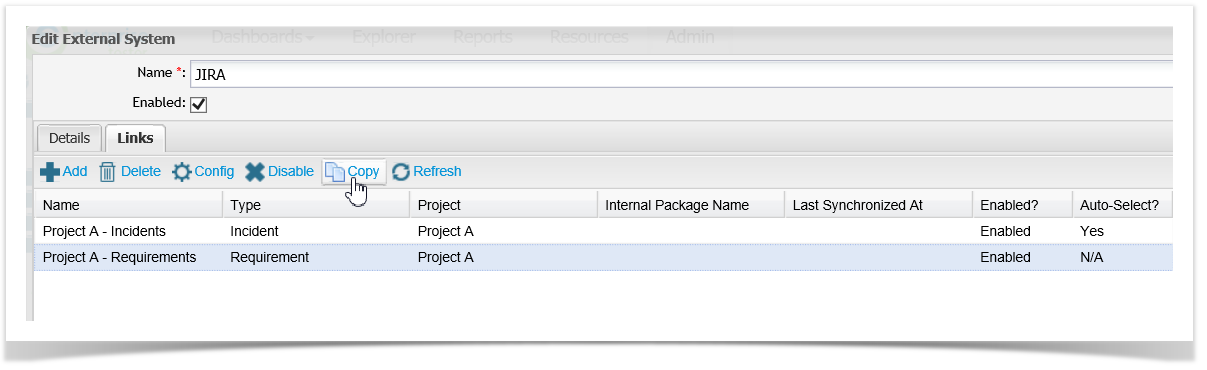
4. Select the link you wish to copy and click on Copy from the toolbar.
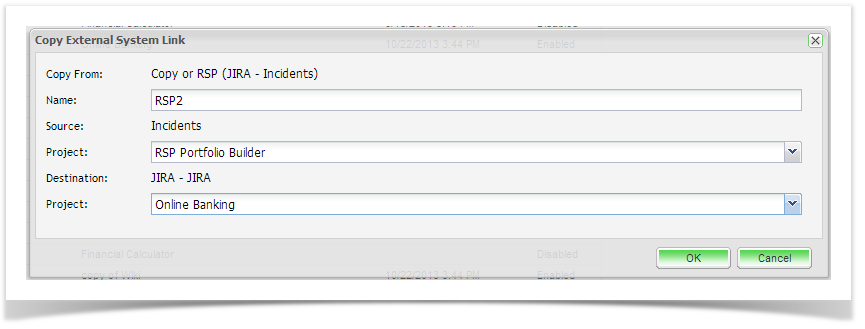
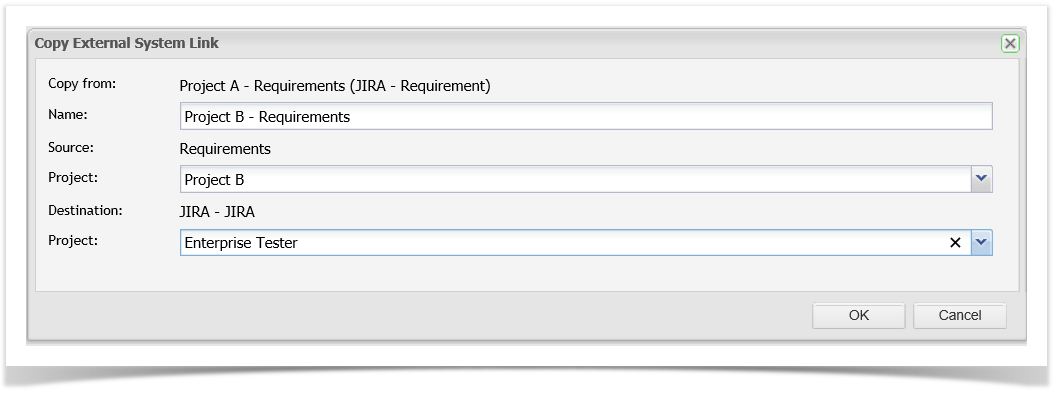
5. Add a Name You'll then be prompted to add a name for the new project link External System Link and select the ET and JIRA projects you wish to create a link for.
Click on OK button.
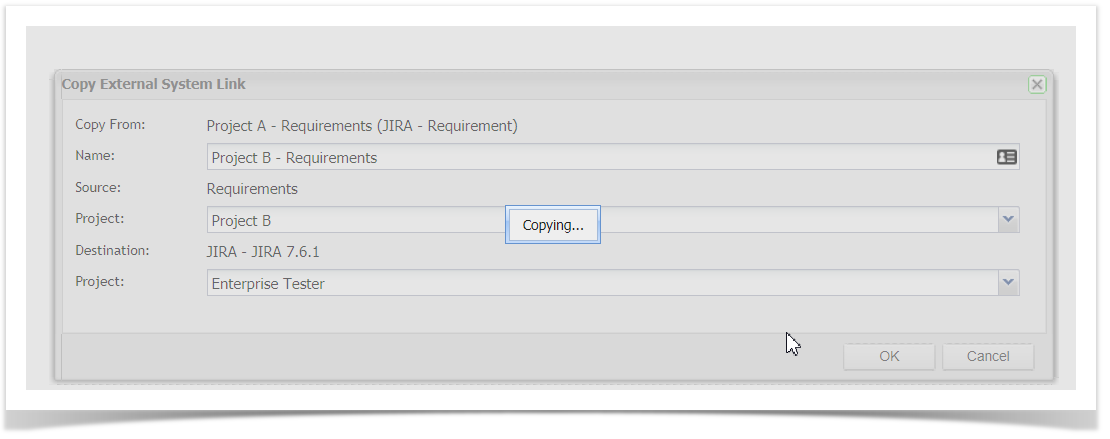
The project link configuration screens will display on screen with an information message indicating that the Link has been copied successfully.

Copying message will be displayed on the screen.
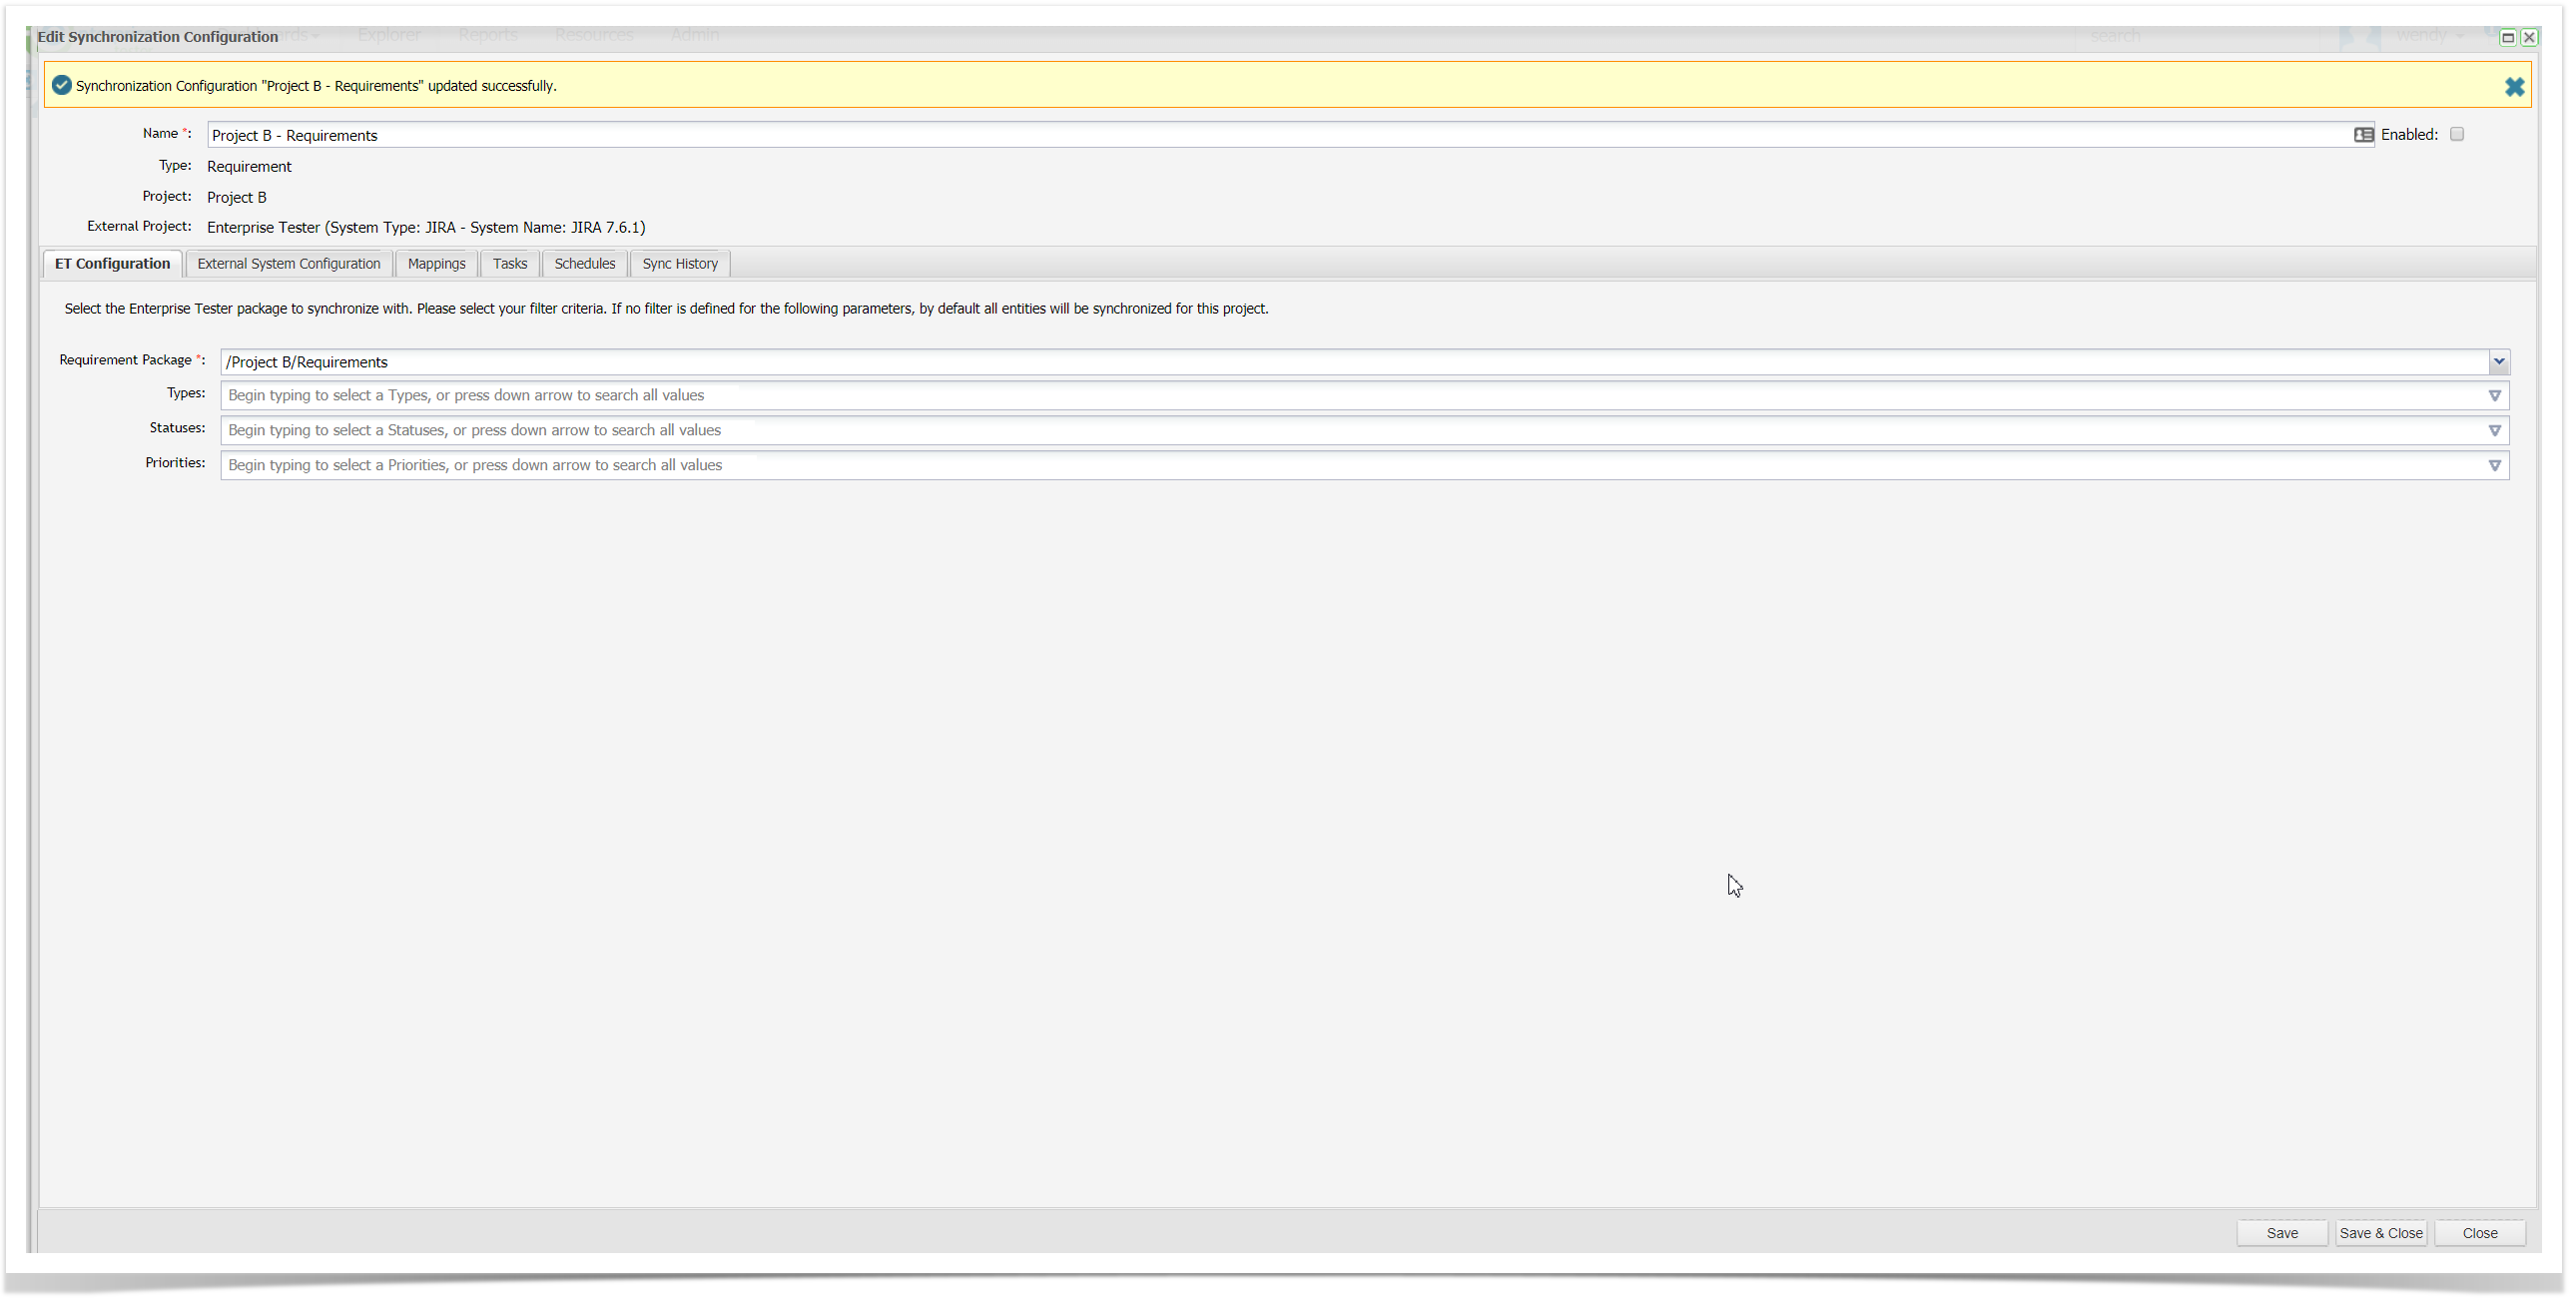
6. Once the copy is completed, the Synchorinzation Configuration screen is displayed. Select the Save button.
7. The External System Link is not enabled. To enable it select the Enabled check box on the screen and select the Save button.

You can now update any additional configurations you wish to make, for example adding additional custom field mappings or changing the synchronization filter criteria.
From the Resources Tab
- From the Resources
...
- tab, expand Project Links
...
- , double click on
...
- the Project that contains the link you wish to copy.
...
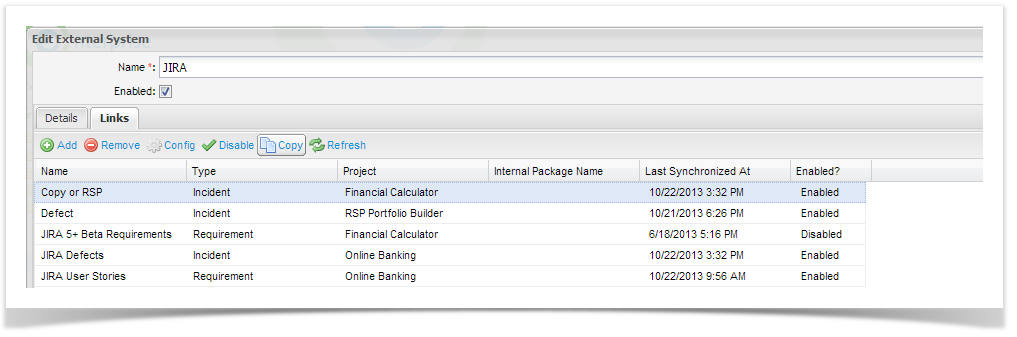
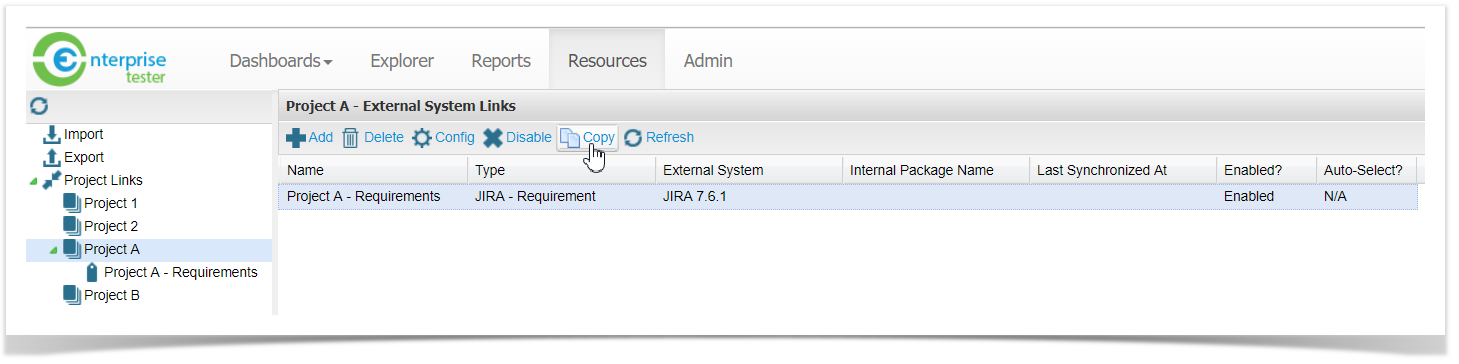
- All External System Links for the project will be displayed.
Click on the link you wish to copy and click on Copy from the toolbar.

2. Add a Name for the new External System Link and select the ET and JIRA projects You'll then be prompted to add a name for the new project link and the ET and JIRA projects you wish to create a link for.
Click on OK button.
The project link configuration screens will display on screen with an information message indicating that the Link has been copied successfully.
Copying message will be displayed on the screen
3. Once the copy is completed, the Synchorinzation Configuration screen is displayed. Select the Save button.
4. The External System Link is not enabled. To enable it select the Enabled check box on the screen and select the Save button.
You can now update any additional configurations you wish to make, for example adding additional custom field mappings or changing the synchronization filter criteria.