RoverX is supported on Windows Operating Systems. For detailed system requirements, please refer to the System Requirements section.
Installation Steps
Download the Application: Visit the Catch Software website to download the RoverX application zip file: https://catchsoftware.com/enterprise-tester-platform-edition/rover/.
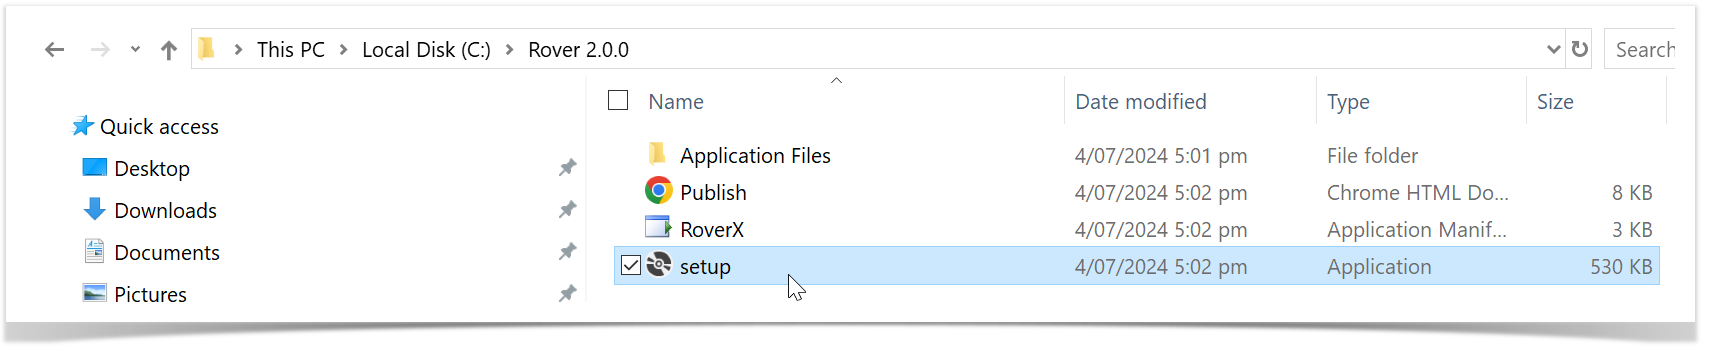
Unzip the Files: Extract the contents of the zip file to a location on your Windows machine or device.
Run the Setup File: Locate and run the Setup file from the extracted folder. This will automatically install RoverX on your machine and launch the application.
Installation Security Prompt
In RoverX 2.0 and earlier, Windows displayed a security warning stating "Publisher cannot be verified" when installing the application. This was because the installer was not digitally signed.
From RoverX 3.0.0.0 onwards, the installer is digitally signed with a certificate issued to Catch Software (Catch Limited). When installing, Windows will now display Catch Software as the verified publisher, confirming the software’s authenticity and integrity.
✅ Benefit: A signed installer ensures that the application has not been altered since it was published and verifies that it comes from Catch Software.
Select Install.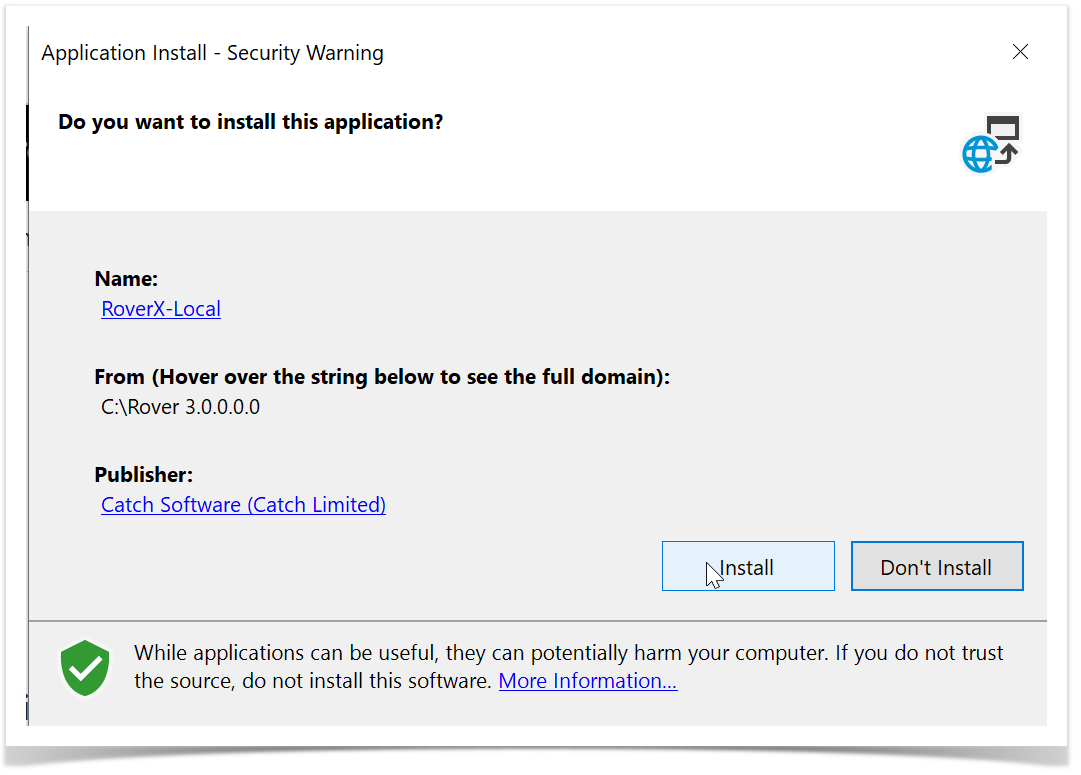
Initial Setup and Login
A valid Rover license must be applied to your Enterprise Tester server installation.
Note: If a Rover license is missing or has expired, a message will appear during use. Contact your Enterprise Tester system administrator to verify and update the license.
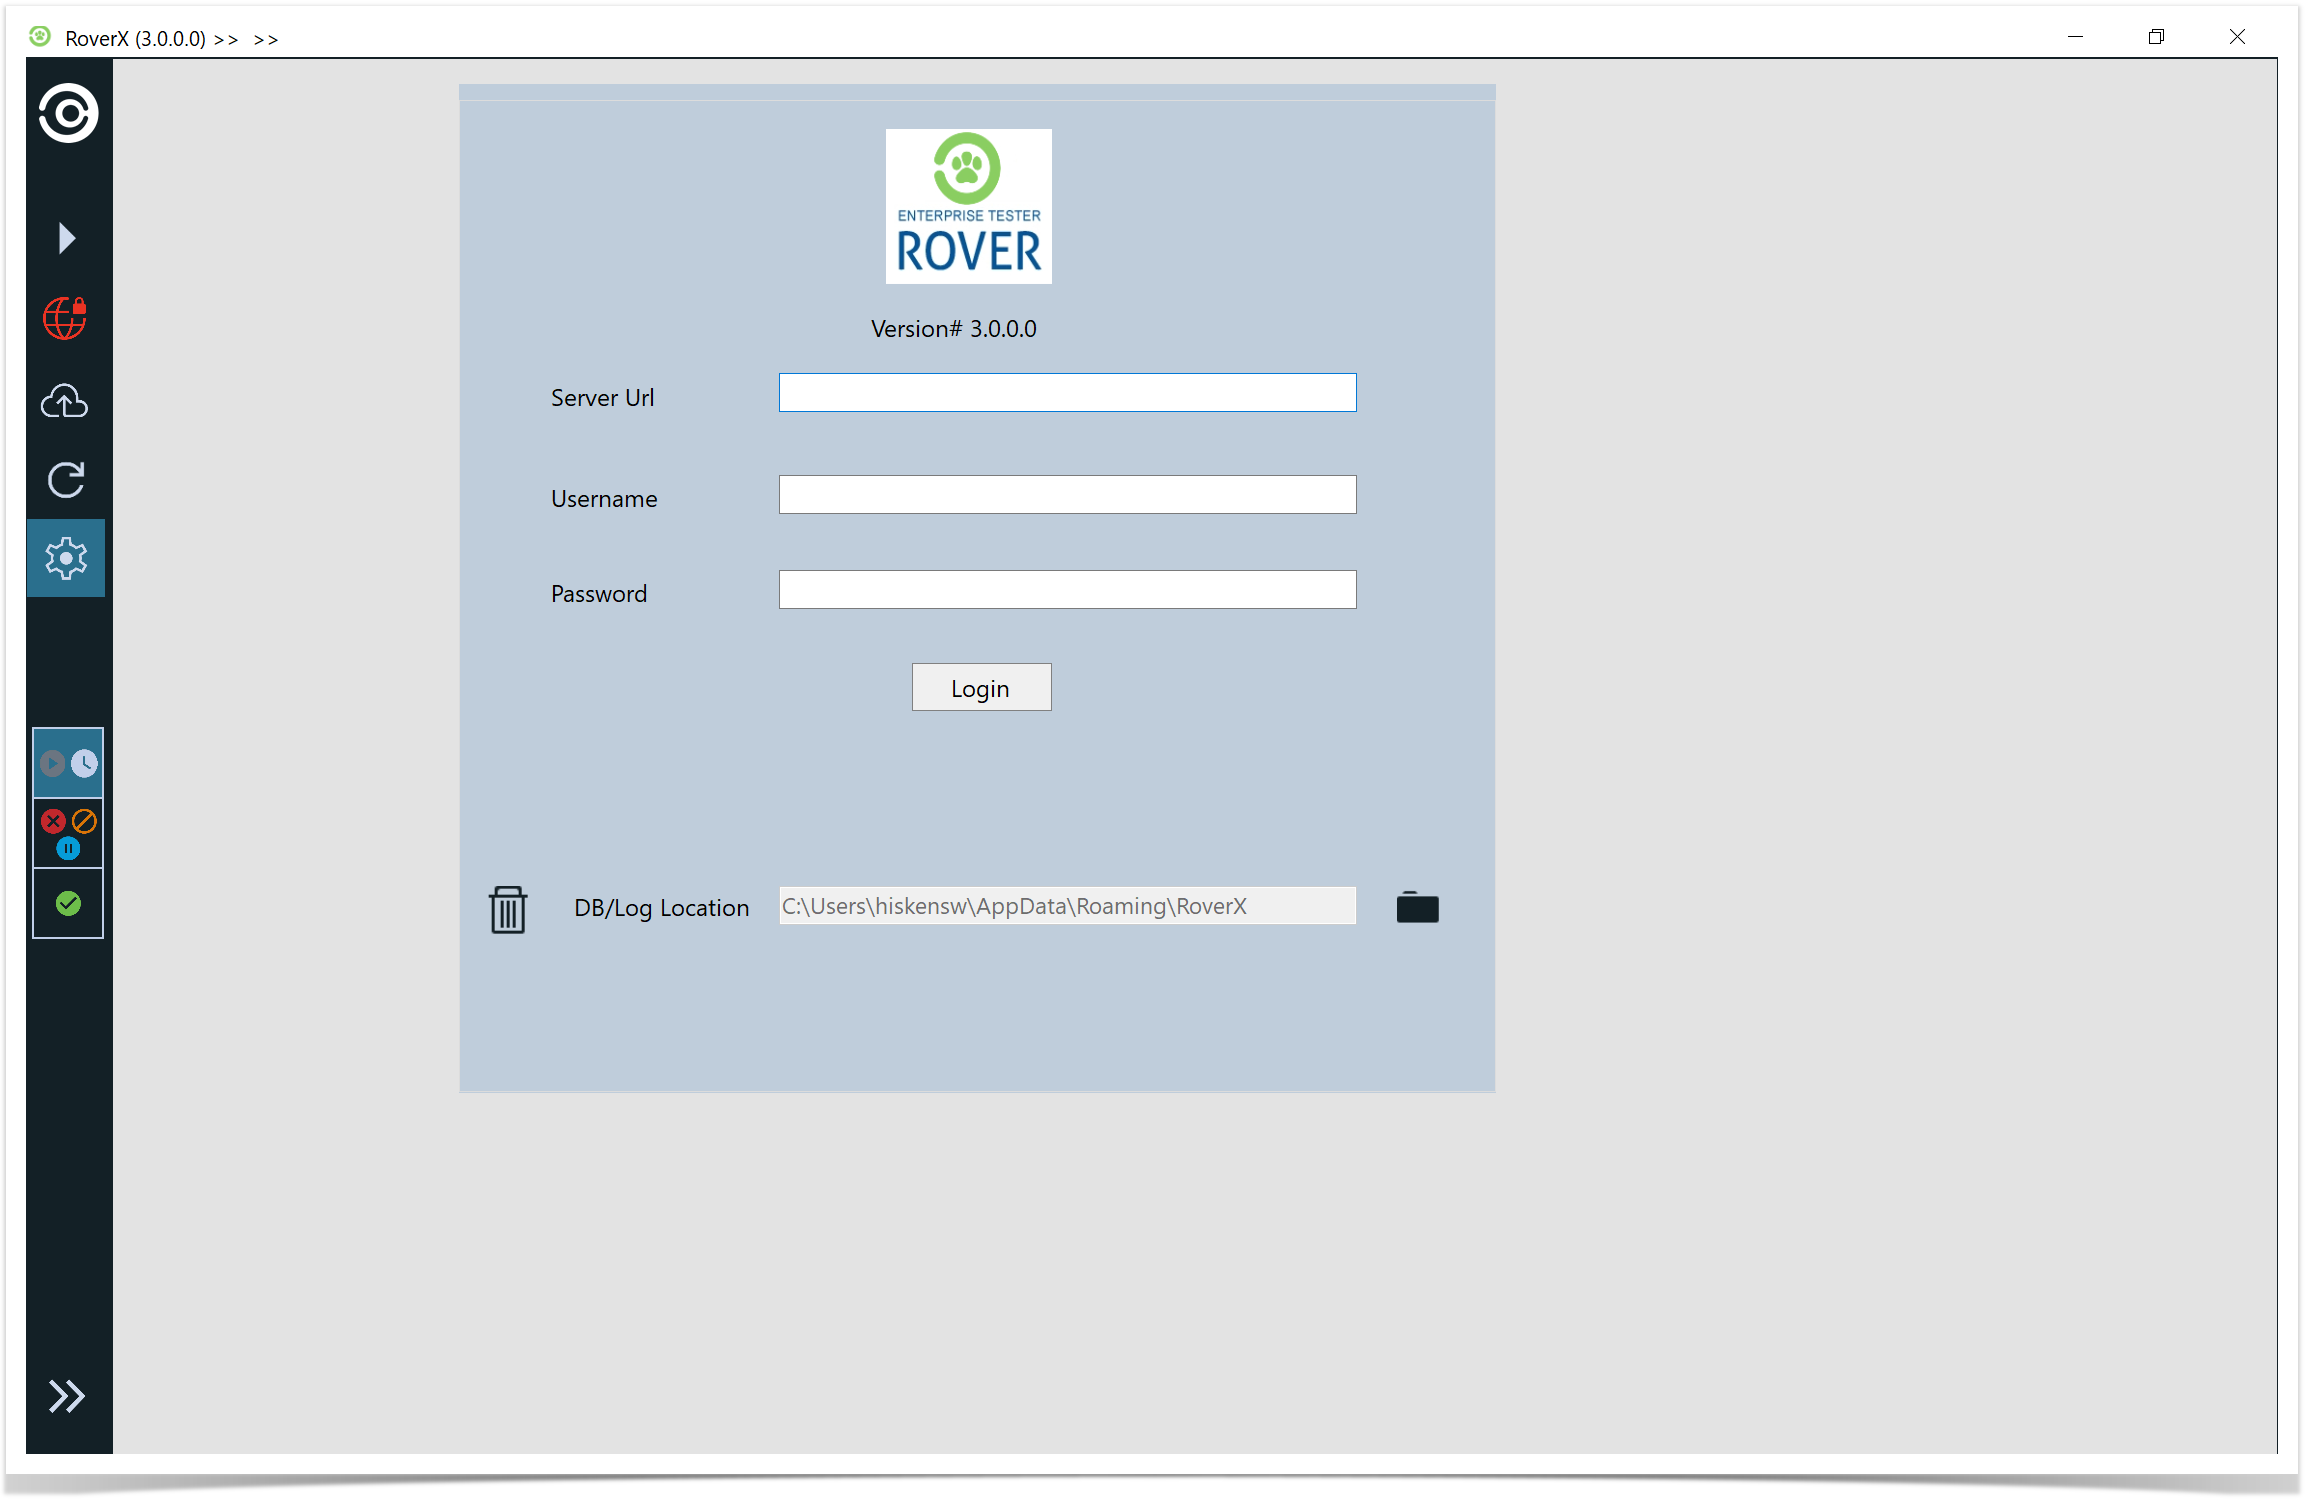
Launch RoverX: The Login screen will appear once the installation is complete. For easier access in the future, you can pin the application to your Start Menu or Taskbar.
Connect to Enterprise Tester: The first time you log in, ensure that you are connected to the internet or your corporate network to access your Enterprise Tester server.
Enter Login Details: On the Login screen, input your Enterprise Tester Server URL, username, and password. Then, click the Login button to access RoverX.
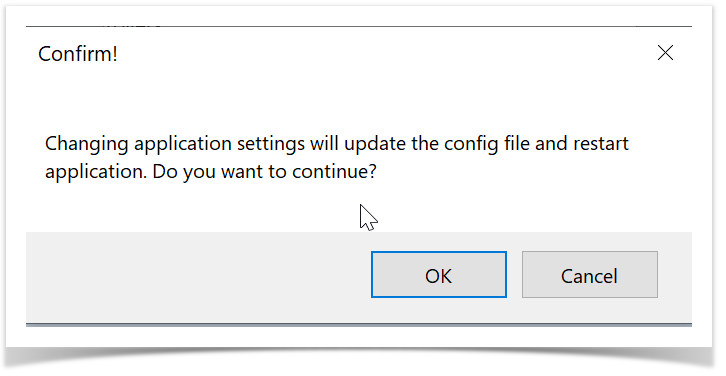
4. The following message will be displayed . Select OK button. 
5.RoverX will restart and by default will be in Offline mode.

6. Select the ![]() icon to go to Online mode. When in Online mode the icon will be green.
icon to go to Online mode. When in Online mode the icon will be green. ![]()

Note: Once you click the Login button when you are online this will download all active Enterprise Tester users. This will enable you to assign incidents to users.
If a different user wants to login to RoverX on your device the following message will be displayed.
Confirm the Restart: When prompted with the message "Select OK". RoverX will restart.