...
Steps to Import Requirements Using A CSV File
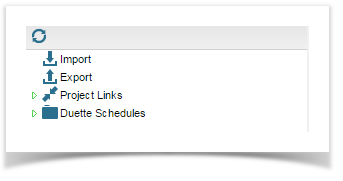
Select the “Resources” Resources tab and double click “Import” Import.
Follow the four step import wizard; starting with configuring where you would like your requirements to import to. Use the drop down boxes to select the destination project for your data and the type of information being imported e.g. requirements or test scripts.

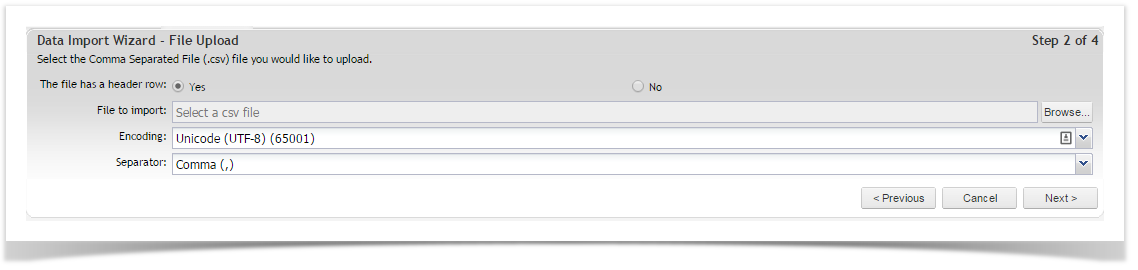
Browse to where your CSV file is stored and specify if the file contains a header row using the radio buttons provided, then click on “Next” Next.
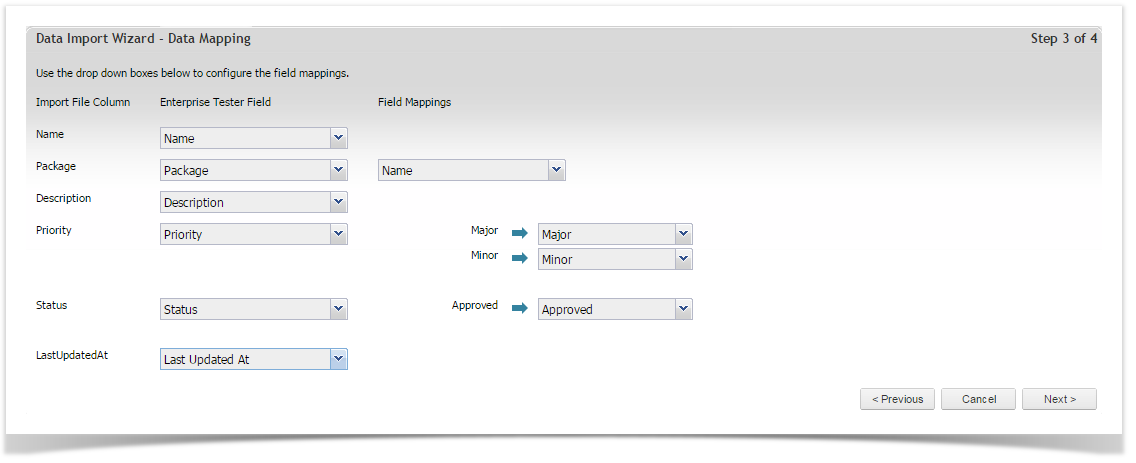
The application will read the CSV file and ask you to map the fields in Enterprise Tester to those in your CSV. Use the drop down boxes to map the fields in your CSV file to the fields in Enterprise Tester.
| Note | ||
|---|---|---|
| ||
Some fields will prompt you for additional information pertaining to that field e.g. you will be asked to indicate if the value in the CSV file is the package name or ID. Field mappings must be one-to-one e.g. one import field can be mapped to one (or more) ET fields. Two import fields cannot map to one ET field. |
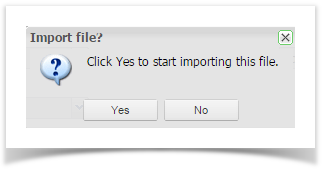
Once the fields have been mapped, click on ‘Next’ at the bottom of the page, followed by ‘Yes’ Yes to begin importing.
When the import is complete the following status window will appear. If there have been errors, click on the ‘click click here to view the error log’ log link for information on why the export failed. If the export was successful, click ‘Cancel’ Cancel.

To view the imported requirements, select the ‘Explorer’ Explorer tab and open the project requirements package you imported to. The requirements you have imported will be displayed here.
...