...
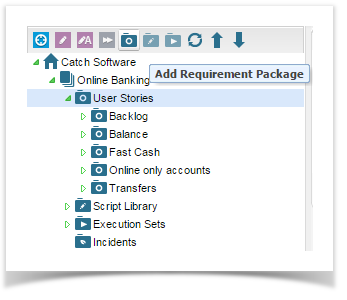
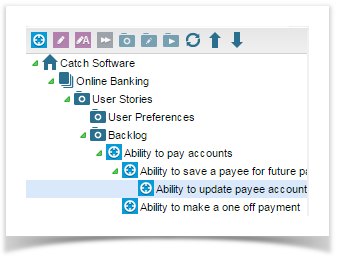
- Navigate to the requirements section of the project in the explorer view.
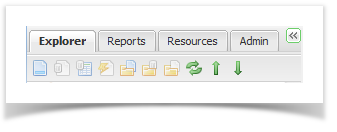
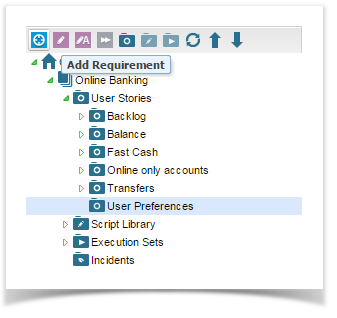
- Right click on the Requirements requirements folder or a package within it and select Add Package. Or select the Add Requirements Package icon at the top of the tree view.
 The Add Requirements Package dialog will appear.
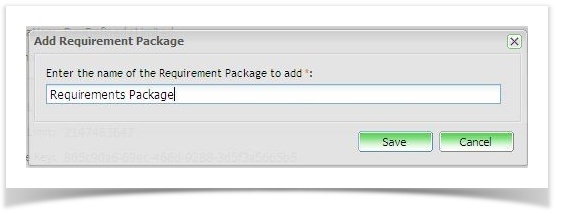
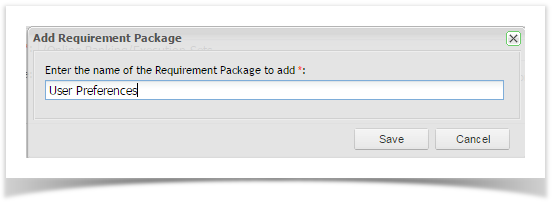
- Enter a name for the package and click on save.
...
You can move requirement packages if required. To do this:
- Expand the explorer Explorer view until you can see the requirement package.
- Select the requirements package and drag it to the required location by clicking and holding your mouse down.
...
- Right click a package and select to add a requirement or select the add requirement icon at the top of the tree view.

- The Requirements Screen will appear.
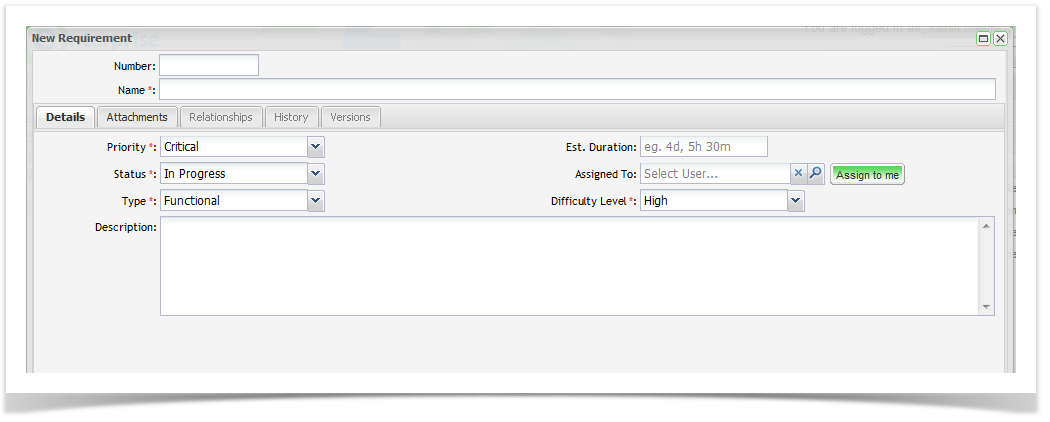
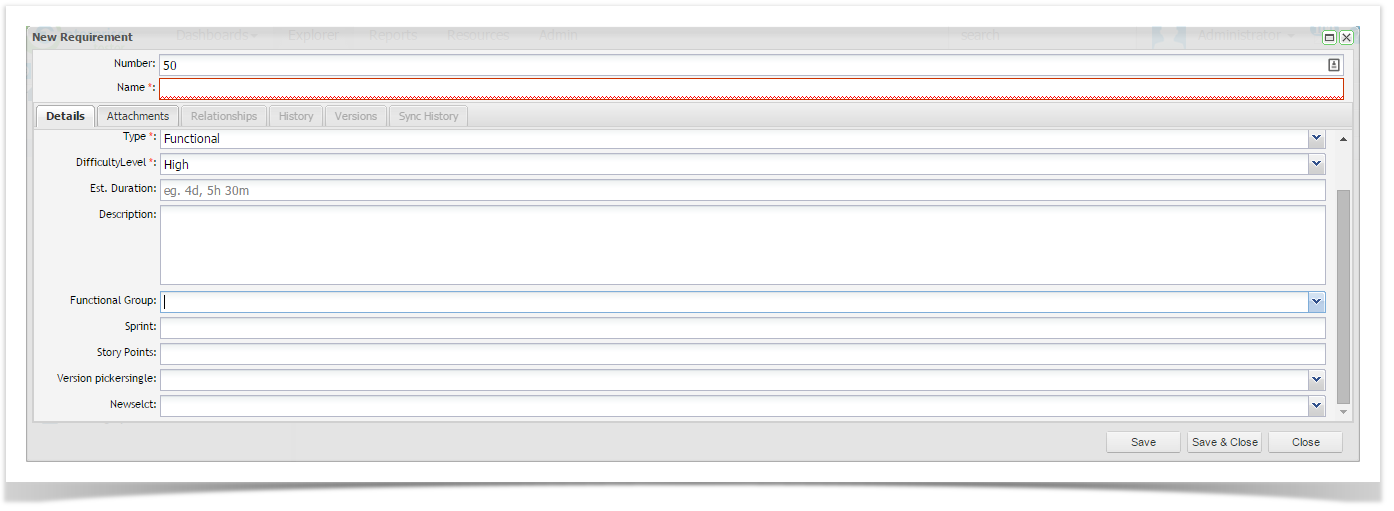
On the “Details” Details tab enter the requirements details:
Number
A number for the requirement
Note Auto numbering can be set as default.
Name
A short description of the requirement.
Type
Select from the pick list.
Priority
Select from the pick list.
Status
Select from the pick list.
Type
Select from the pick list.
Estimated Duration
Add a value such as 4d, 5h, 30m.
Assigned To
Select from list or click Assign to me.
Difficulty Level
Select from the pick list.
Description
A detailed description of the requirement.Click on ‘Save’.
- Click on ‘Save’ Save.
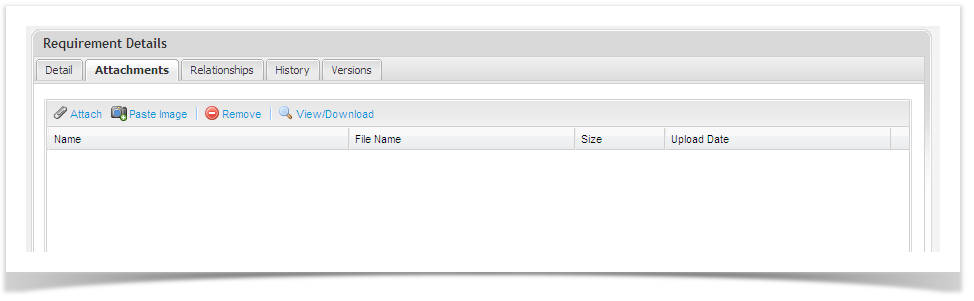
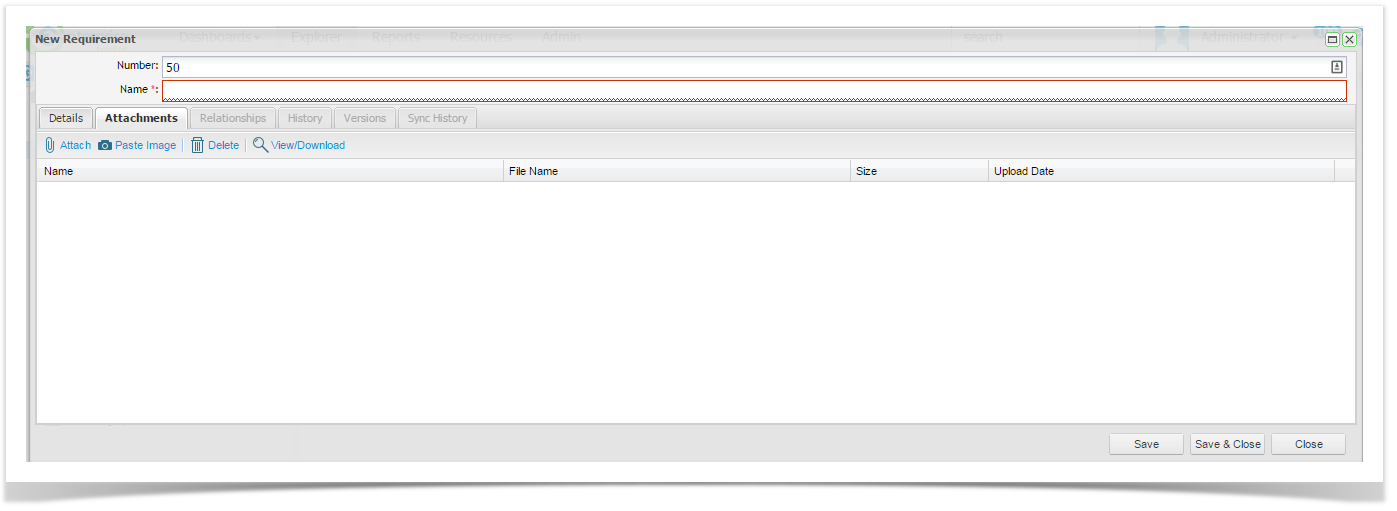
Adding Attachments to Requirements
You can add attachments to requirements by clicking on the Attachments tab.
- To add an attachment, click on the ‘Attach’ Attach button, attach the file and save.
- To add a screen shot, click on the Paste Image button, paste the image and save.
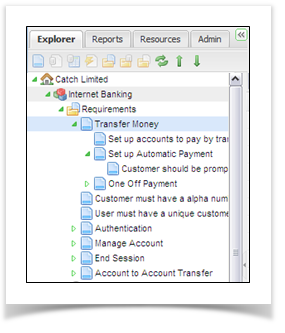
Nested Requirements
...
See the screen shot below where nested Grandparent, Parent and Child Requirements are displayed.
Viewing and Editing Requirements
...