...
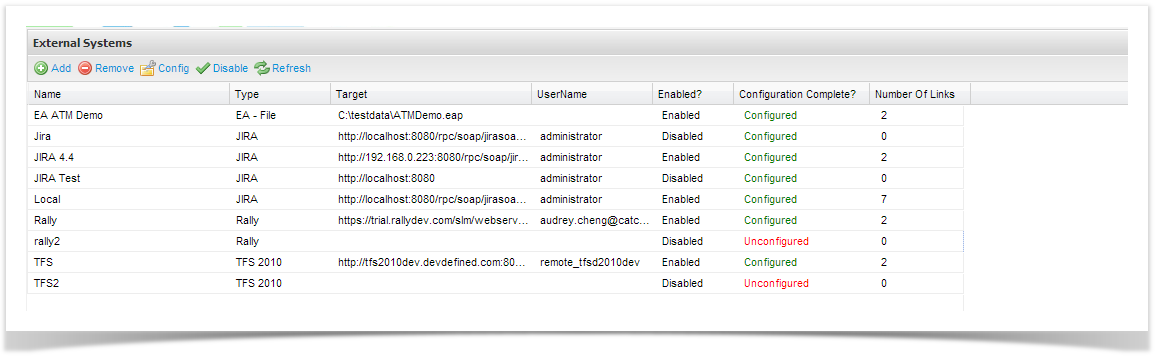
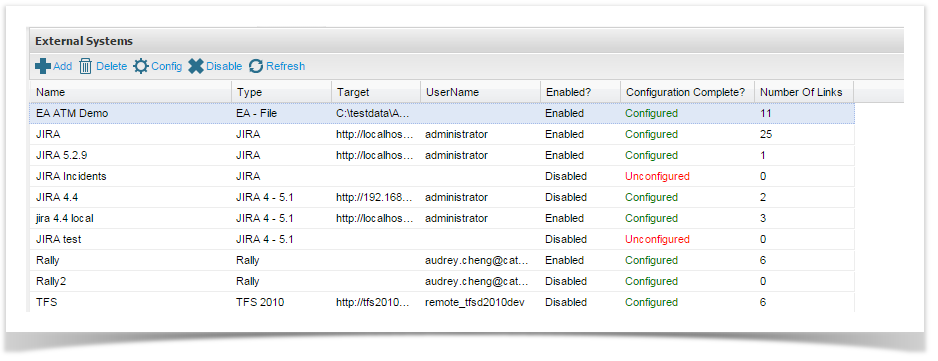
- From the External System summary screen, you can view all existing connections and view their enabled and configuration status. Click on add from the tool bar and add a Name for your external system connection and select the connection type "Rally".
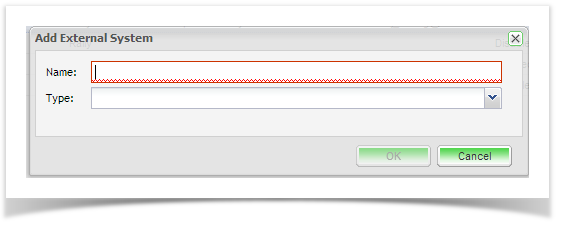
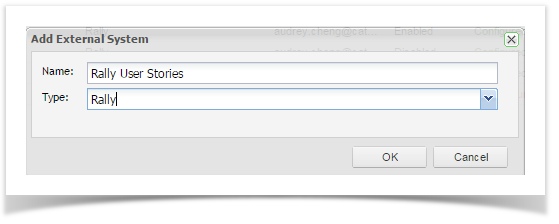
- The configuration screen of the external system type you chose will appear:
...
To do this you must followed these steps:
- Add "a web link" field field to Rally
- Add a new custom field to the workspace (within Rally, go to set-up -> workspaces and projects -> select workspace -> fields, select work item "User Story", then click "New Field".
- From this screen enter the Name and Display Name (we suggest "ETRequirement" and "ET Requirement").
- Set "Type" to "Web Link".
- Configure "URL" template for the Web web link field to be "http://${id}" (or if ET is exposed via HTTPS/SSL, use https://${id} instead).

- Leave "Display Preference" as "Display in new window".
- Click "Save & Close" to save the custom field.
- Configure mapping in ET
- Edit external system link for requirements between ET and Rally (if you have not created a link yet between your ET and Rally project, please follow these steps for information on how to do so).
- Click on "Mappings" tab.
- Click on "ET to External System" tab.
- Click on "Map Fields" stepField step, then click "Configure" toolbar button.
- Click "Add" toolbar button to create a new field mapping.
- Select "Copy field" as the type of the new field mapping.
- Select "URL" as the From field.
- Select "Custom Field - ET Requirement" as as the To field (if you gave the field a name other than "ET Requirement", you will need to select that field instead.
- Click OK.
- Close the configure mappings field.
At this point any requirement subsequently synchronized to Rally will have the "ET Requirement" field populated with a hyperlink back to the source requirement in Enterprise Tester.