...
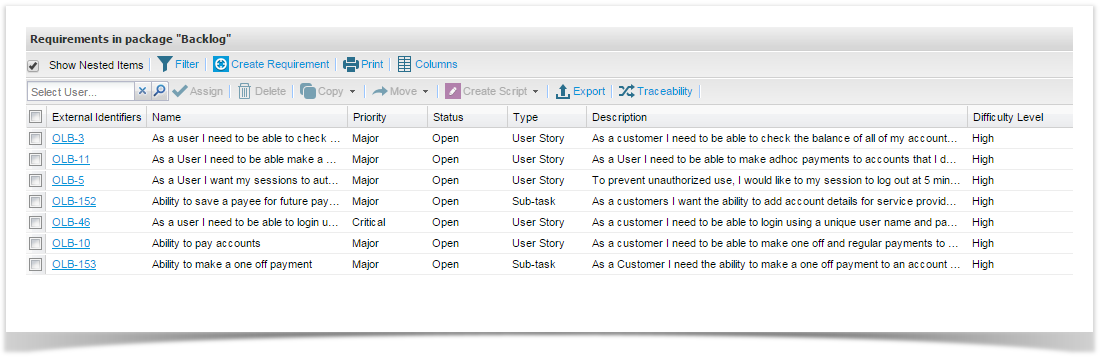
You can easily export from the entity grid by using the export function on the toolbar.
Requirements

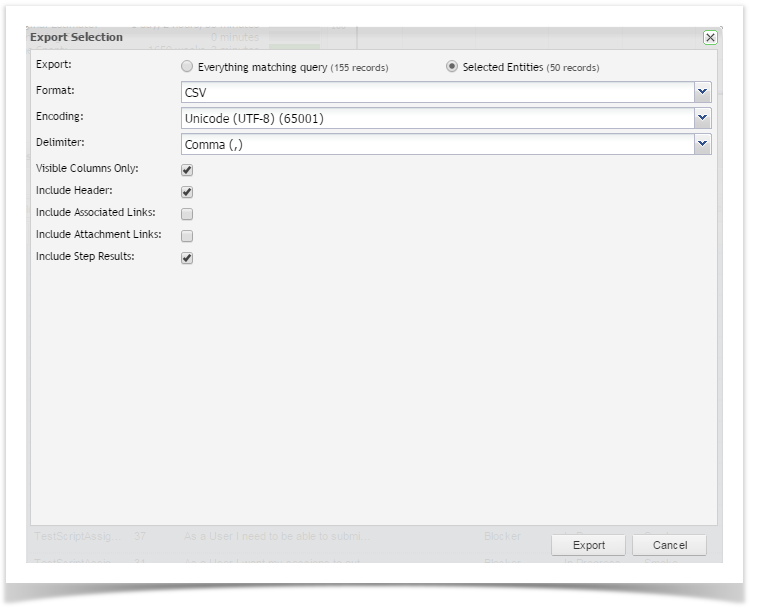
The Export Selection dialog will appear which provides the option to select the encoding and delimiter. These default to Unicode (UTF-8) (65001) and Comma (,) respectively. For a full list of supported encoding and delimiters please refer to the article Supported Encoding and Delimiters When Exporting Data.
...
| Description | |
|---|---|
| Visible Columns Only | When this option is selected, only the columns selected to be displayed on the grid will be exported. If this option is left unchecked, then all fields will be exported regardless of whether they are displayed on the grid or not. |
| Include Header | When this option is selected, the field name will be displayed as the column header |
| Include Associated Links | When this option is selected, the URL for all links ( to external systems (e.g. JIRA) or to other entities in ET (e.g. script relationships) will be included when these fields are included columns in the export. If this option is not selected only the ticket number or the name of the entity is included. |
| Include Attachment Links | When this option is selected, the URL back to the attached in ET is included when the Attachments field is an included column in the export. |

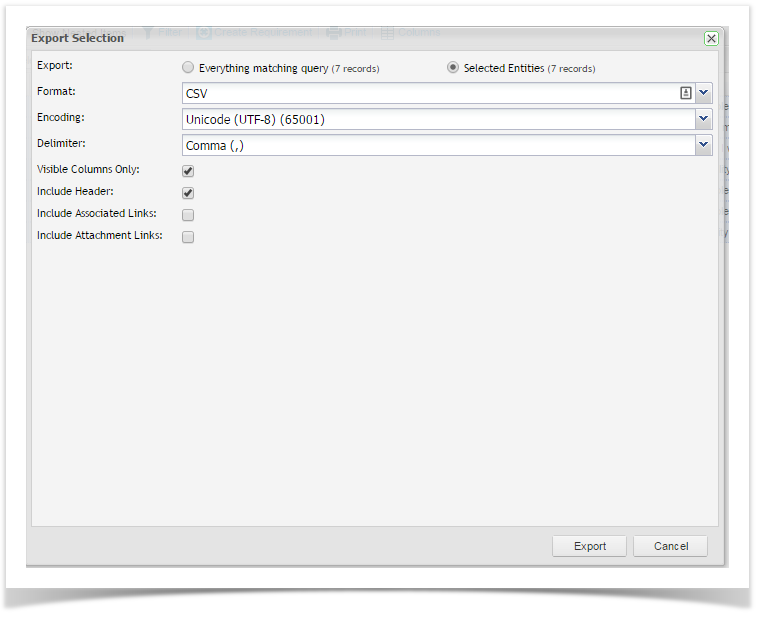
Once you have completed selecting your options, select Export at the bottom of the dialog.
Script Library


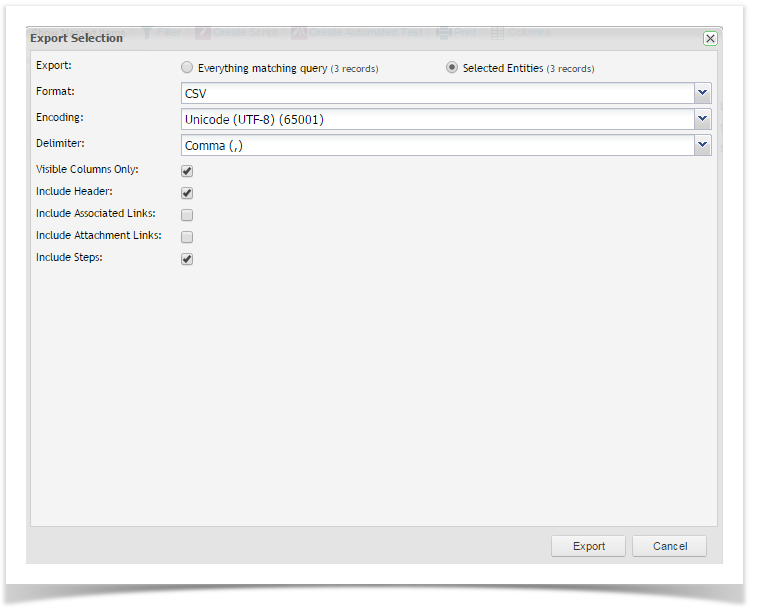
Export Selection Dialog
In addition to the options in the Export Selection dialog for requirements, when exporting scripts you also have the option to export step data. You can select to include step data by selecting the option Include Steps.

Execution Set

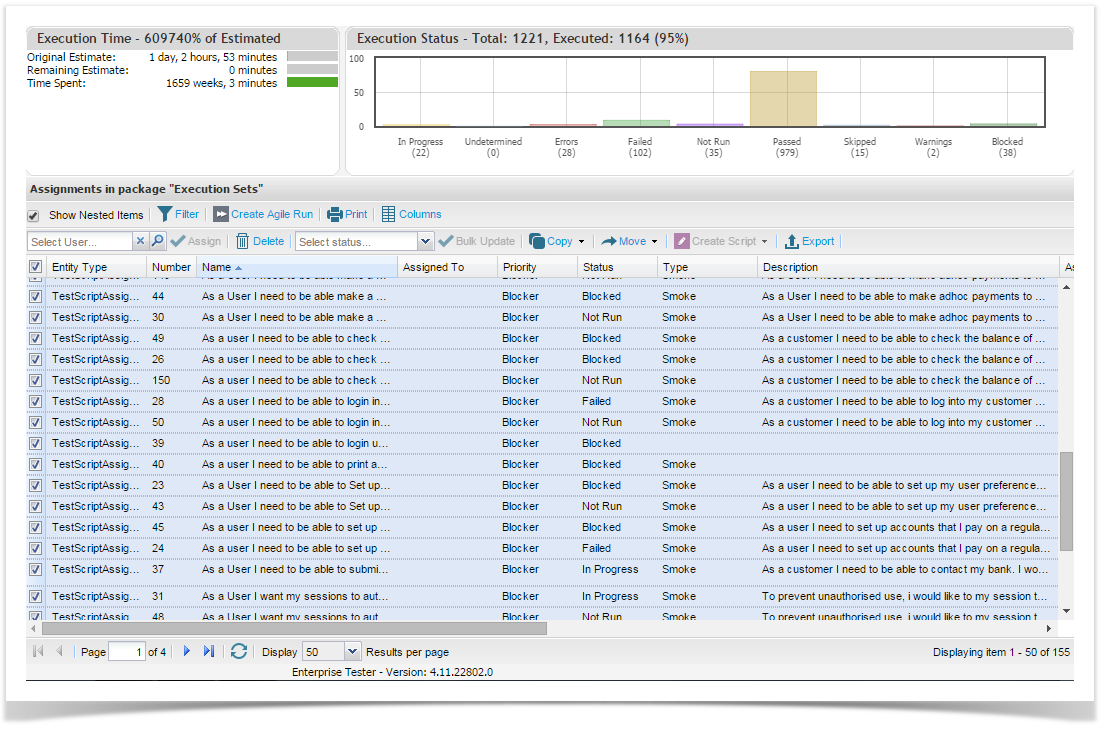
Export Selection Dialog
Similar to exporting scripts, when exporting script assignments you have the option to export individual step results. You can select to include step data by selecting the option Include Steps Results.

Incidents
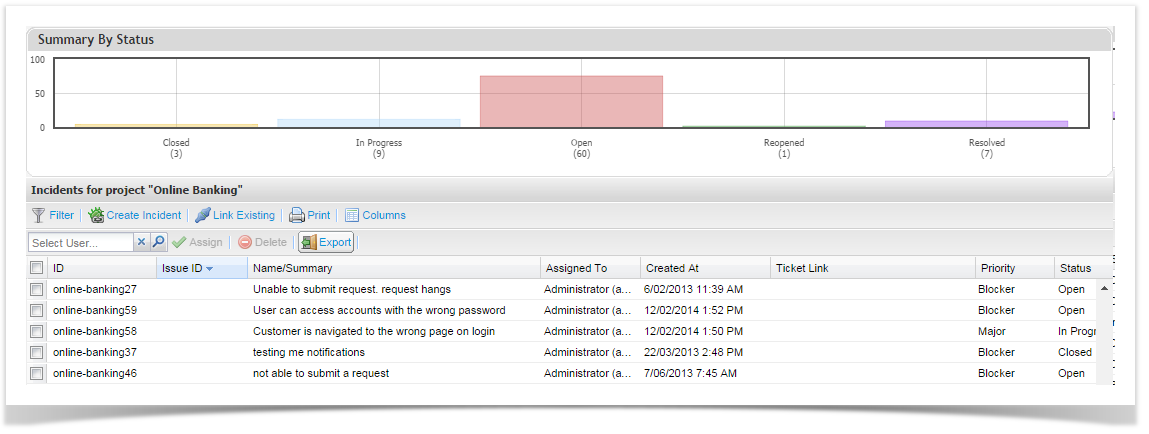
Export Selection Dialog
...
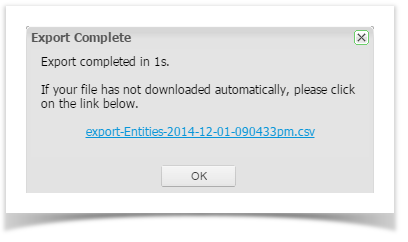
Once the export is complete you will see the Export Complete dialog with a link to the exported file.

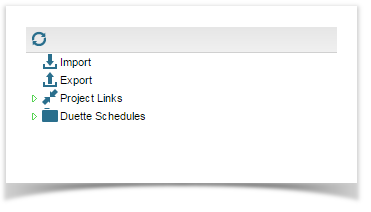
Exporting from the Resources
- Click on the Resources tab in the navigation pane and double click on Export.
- Follow the two step export wizard. Begin by selecting which project you would like to export from, followed by the data type e.g. incident, requirement or test script.
- Click on Next to move to Step 2.

- Select the encoding and the separator.

- Enterprise Tester will automatically begin exporting your data. Select to open the file or save.
exported. If the file does not automatically download, click on the download link.

When the export is complete, you will be prompted to either open or save the export CSV file. Select your preferred option to complete the export.