...
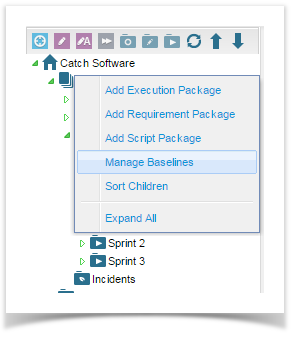
From the Explorer tab, right click on your project or package and select Manage Baselines.

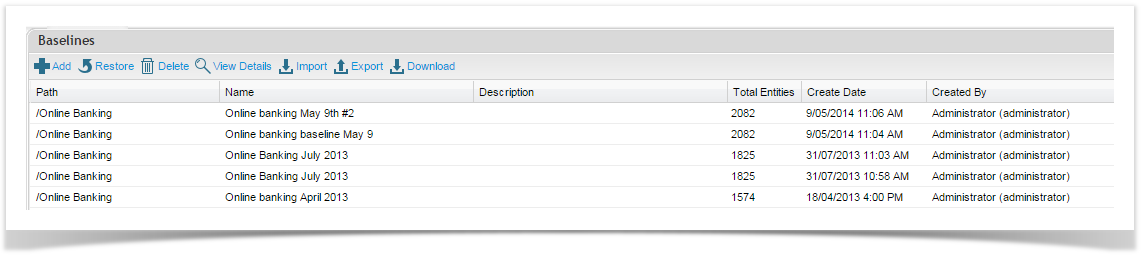
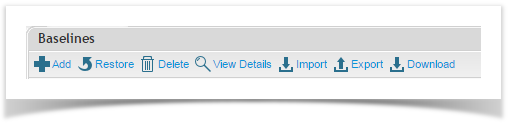
The Baseline screen will open. Click on Create from the toolbar.

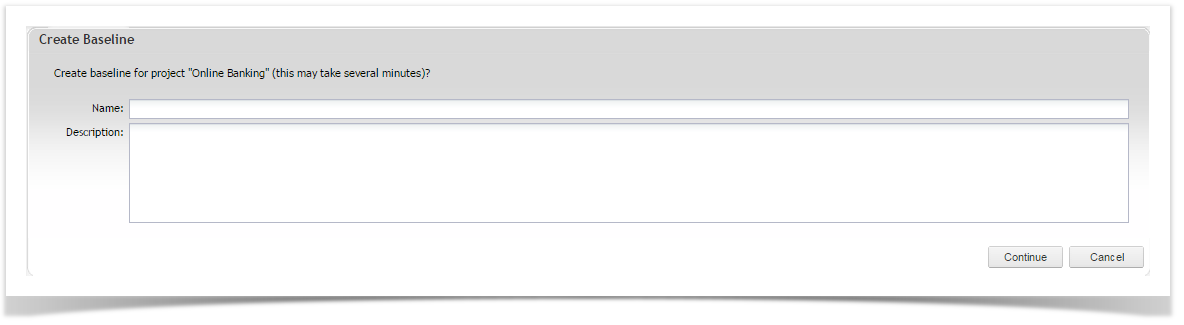
The Create Baseline screen will open. Add the Name and Description details in the appropriate fields provided and click Continue.

The Baseline has been created and will be visible in your Baseline list view.
...
From the Explorer tab, right click on the project or package you would like to restore a baseline for.
Click on Manage Baselines to open the Baseline screen.
Click to select the baseline you would like to delete.
Click on the Delete button on the toolbar. A confirmation message will appear. To proceed, click OK.


Restoring a Baseline
...
When the baseline has been successfully restored, the following message will appear:

Uploading and Restoring Baselines
...
From the Explorer tab, right click on the project or package you would like to restore a baseline for.
Click on Manage Baselines to open the Baseline screen.
Click on Import from the toolbar.

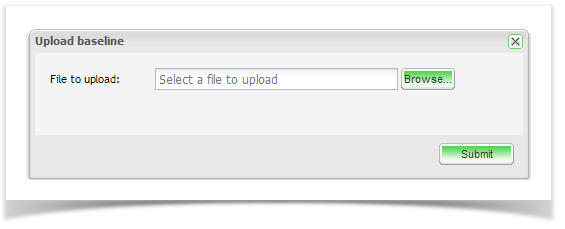
Select the baseline zip file to upload and click Submit.
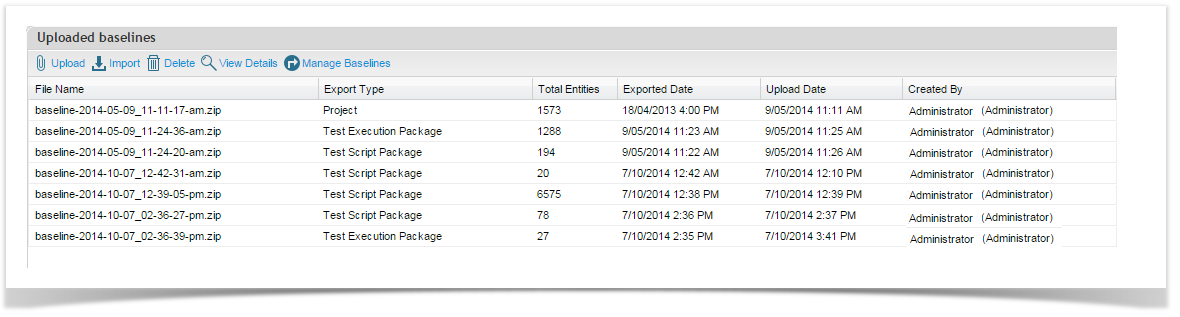
Once the file is uploaded it, select the file in the grid and click on Import.

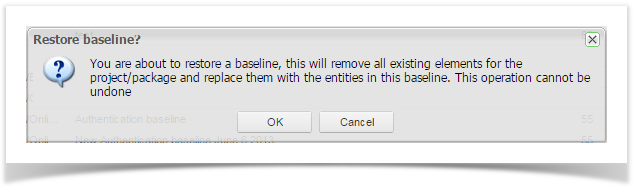
You will be prompted to confirm that you want to proceed as this process will overwrite all entities in your package (folder). Click OK to proceed.


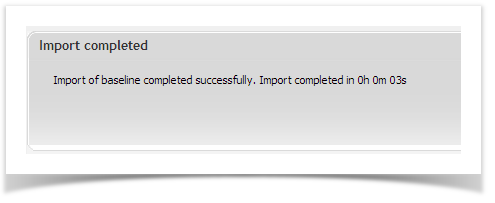
Once the baseline is restored, you will see an 'Import Complete' confirmation message.
Notes About Baselines
...