Installing Rover
RoverX is supported on Windows Operating Systems. For detailed system requirements, please refer to the System Requirements section.
Installation Steps
Download the Application: Visit the Catch Software website to download the RoverX application zip file: https://catchsoftware.com/enterprise-tester-platform-edition/rover/.
Unzip the Files: Extract the contents of the zip file to a location on your Windows machine or device.
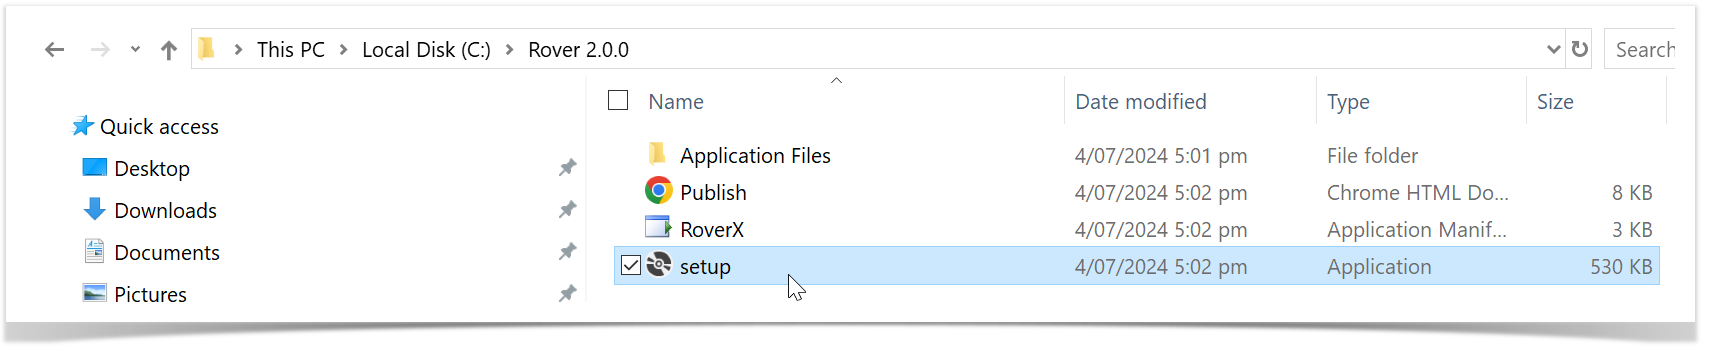
Run the Setup File: Locate and run the Setup file from the extracted folder. This will automatically install RoverX on your machine and launch the application.
If you get the following pop up while installing RoverX select Install.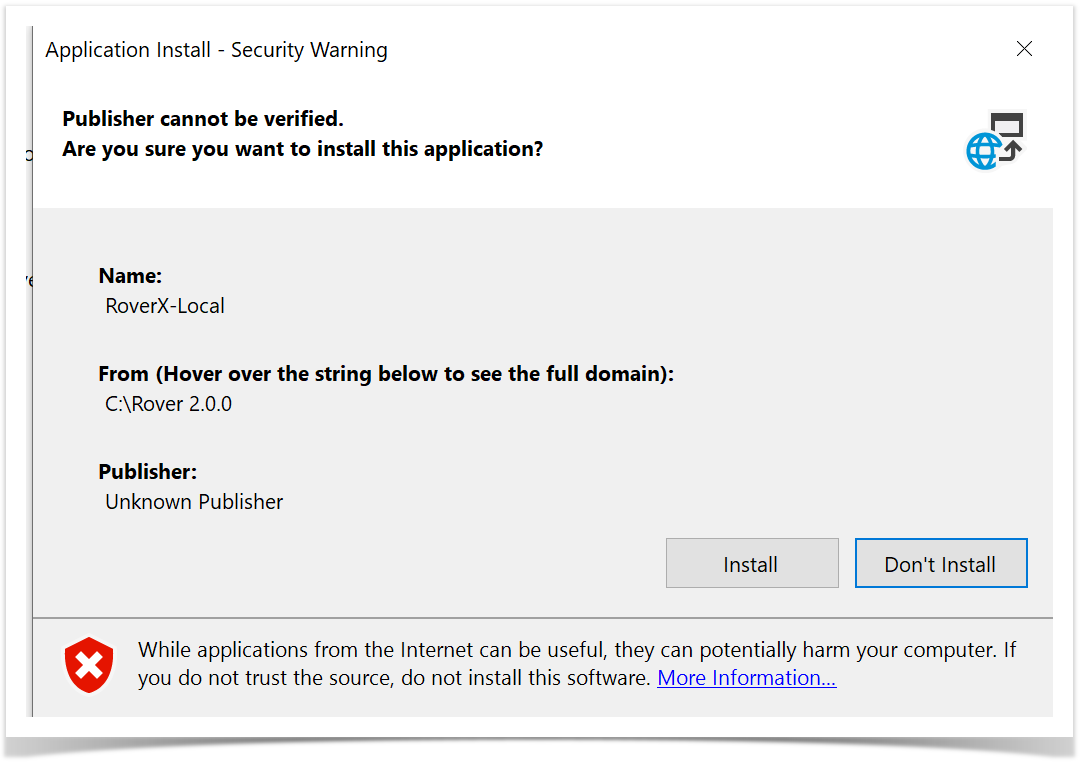
Initial Setup and Login
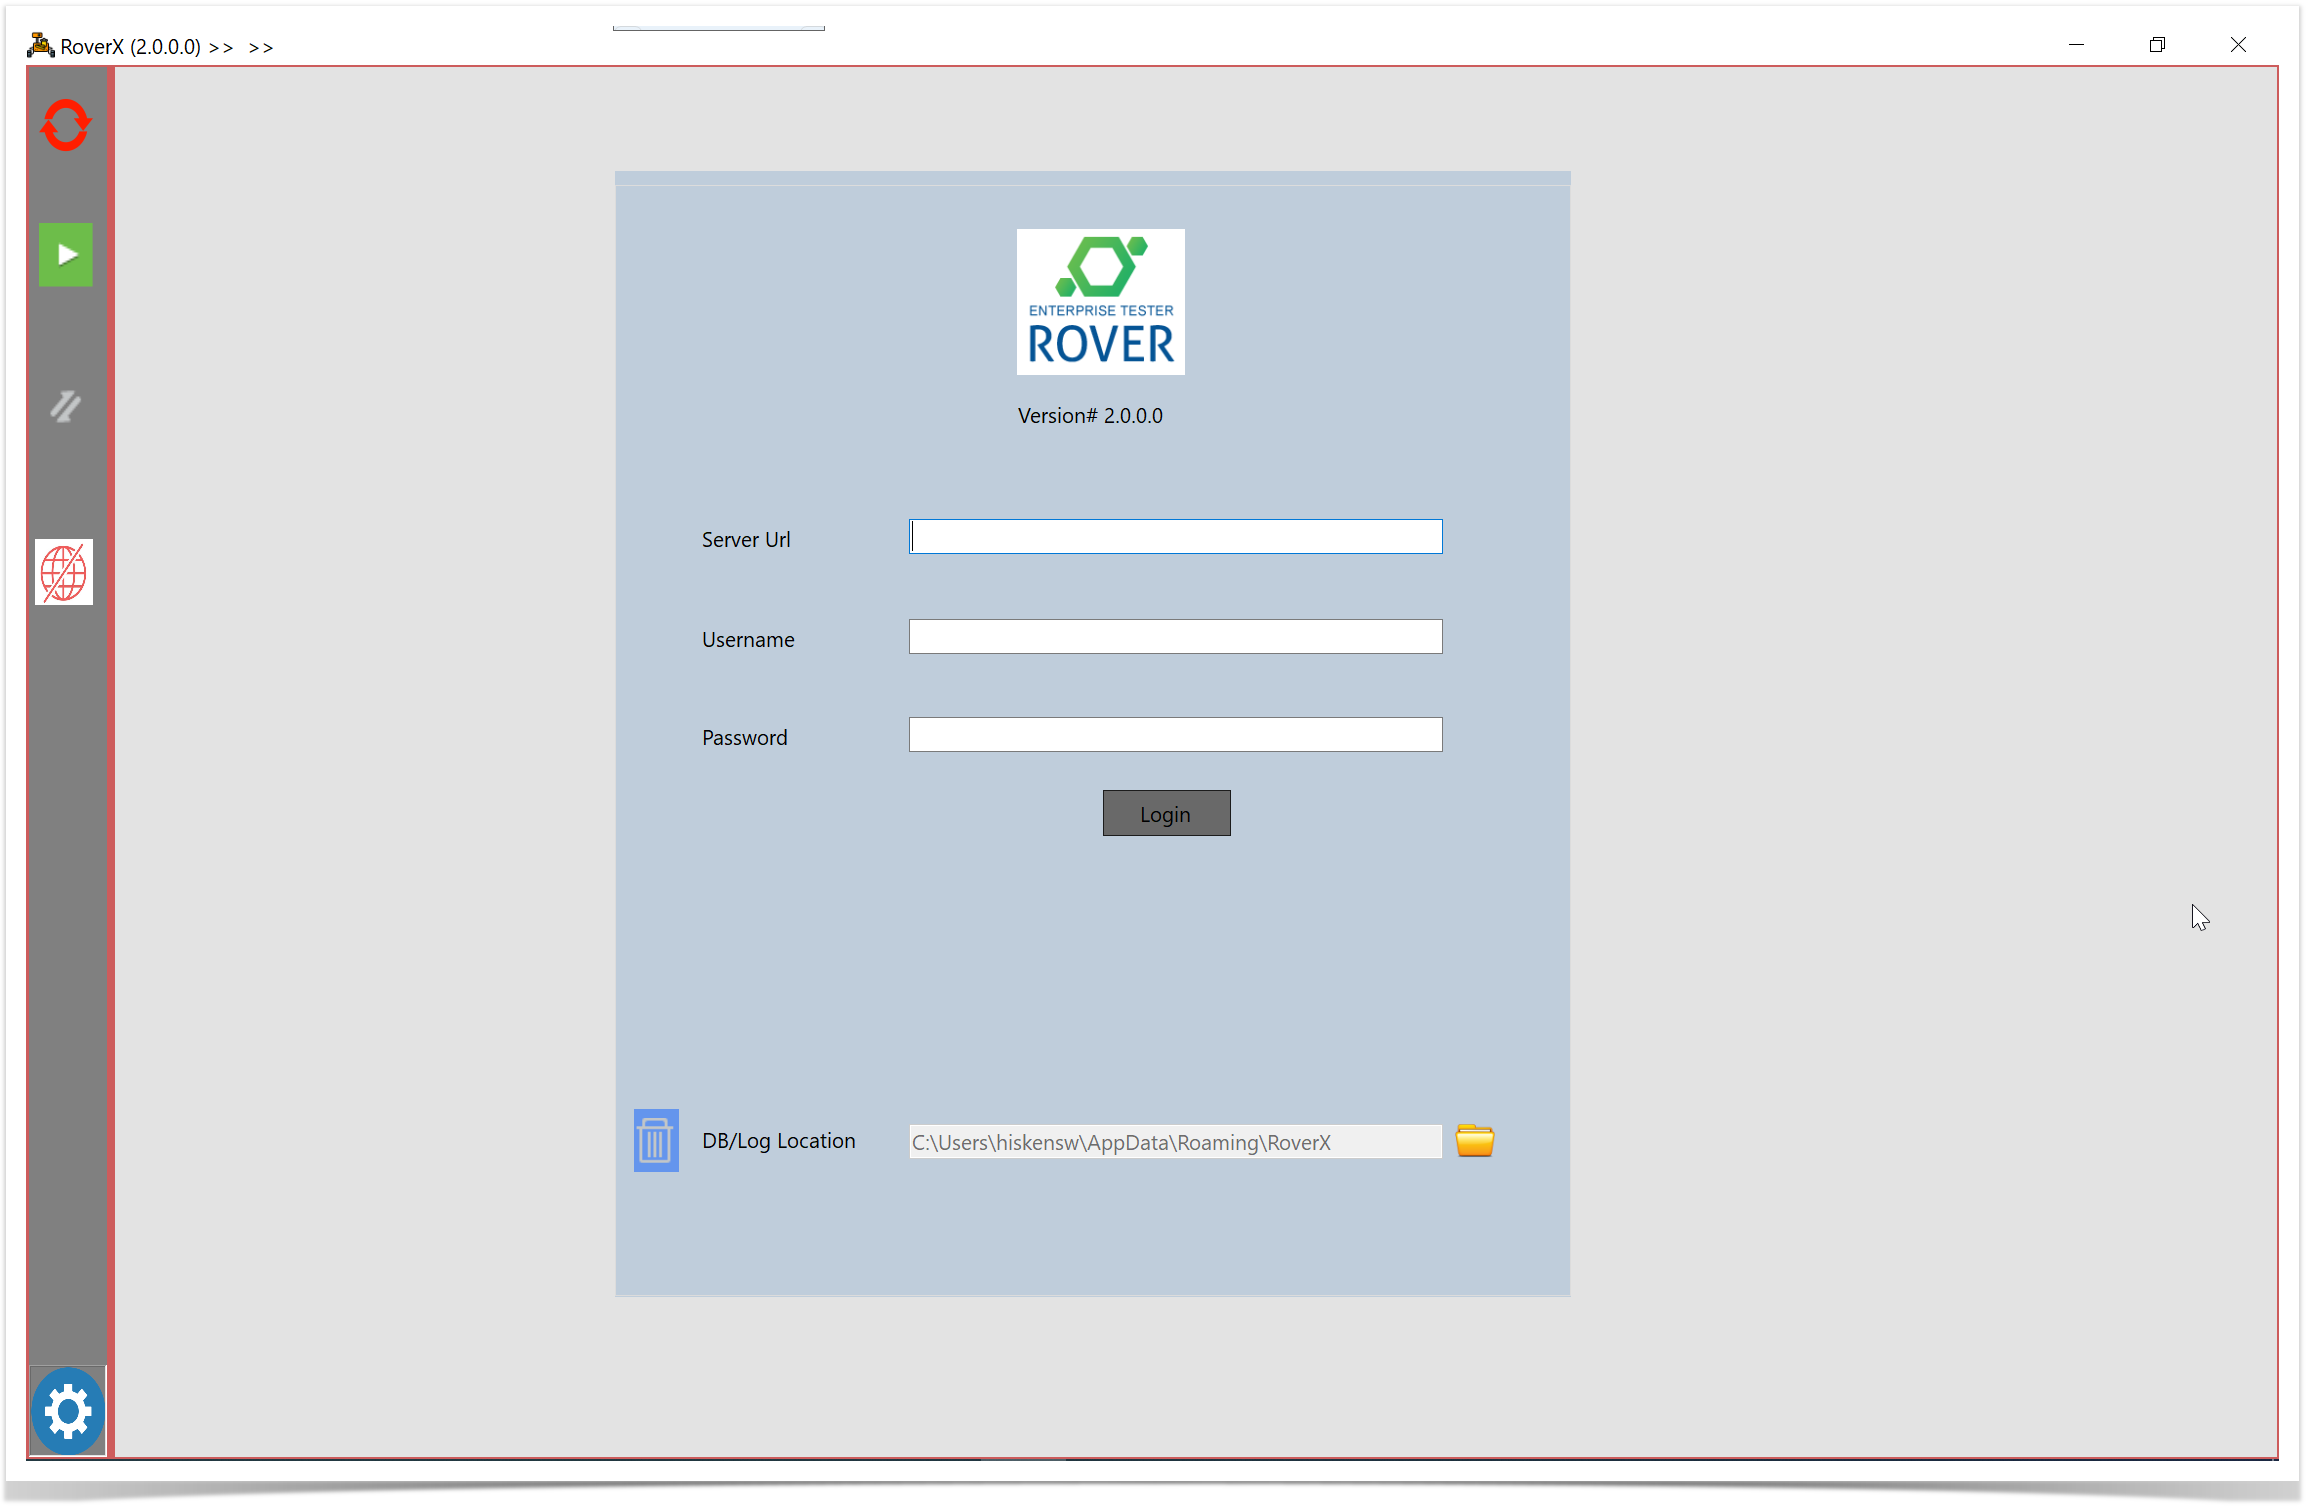
Launch RoverX: The Login screen will appear once the installation is complete. For easier access in the future, you can pin the application to your Start Menu or Taskbar.
Connect to Enterprise Tester: The first time you log in, ensure that you are connected to the internet or your corporate network to access your Enterprise Tester server.
Enter Login Details: On the Login screen, input your Enterprise Tester Server URL, username, and password. Then, click the Login button to access RoverX.
If you do not have a Rover license applied to your installation of Enterprise Tester on the server, a message will appear alerting you that the license is missing or expired. If you see this message please contact your Enterprise Tester system administration to check your Rover license.
The following message will be displayed . Select OK button.
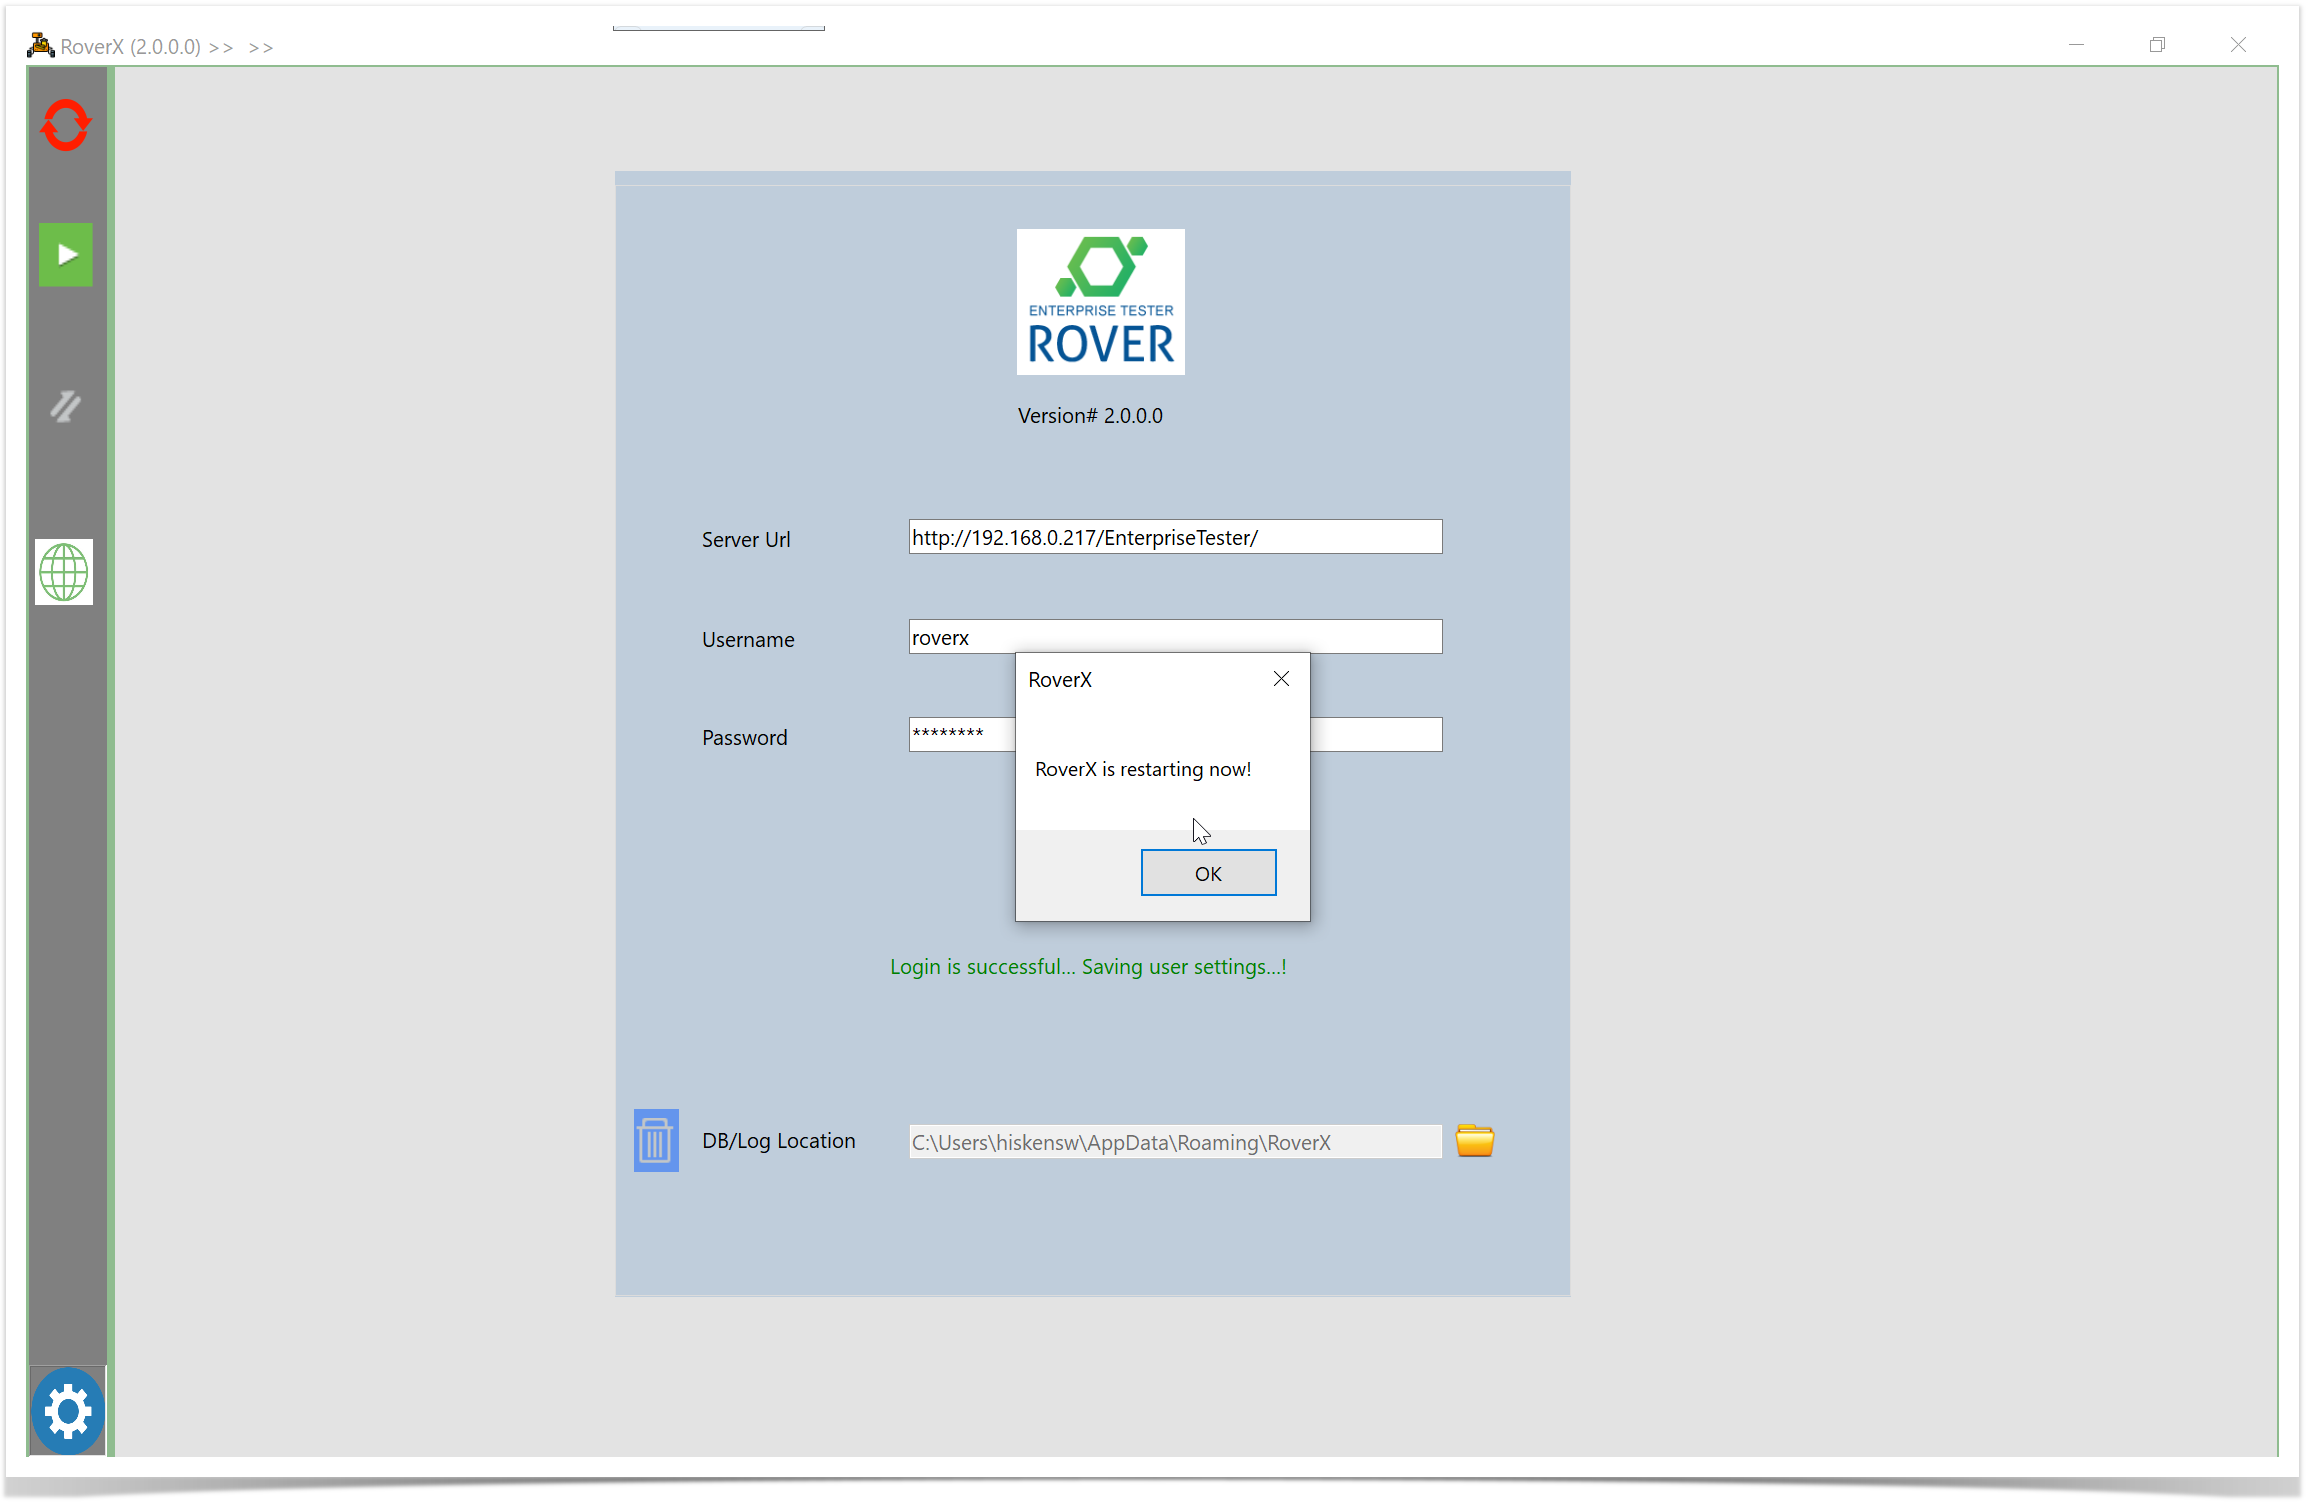
RoverX will restart and by default will be in Offline mode.
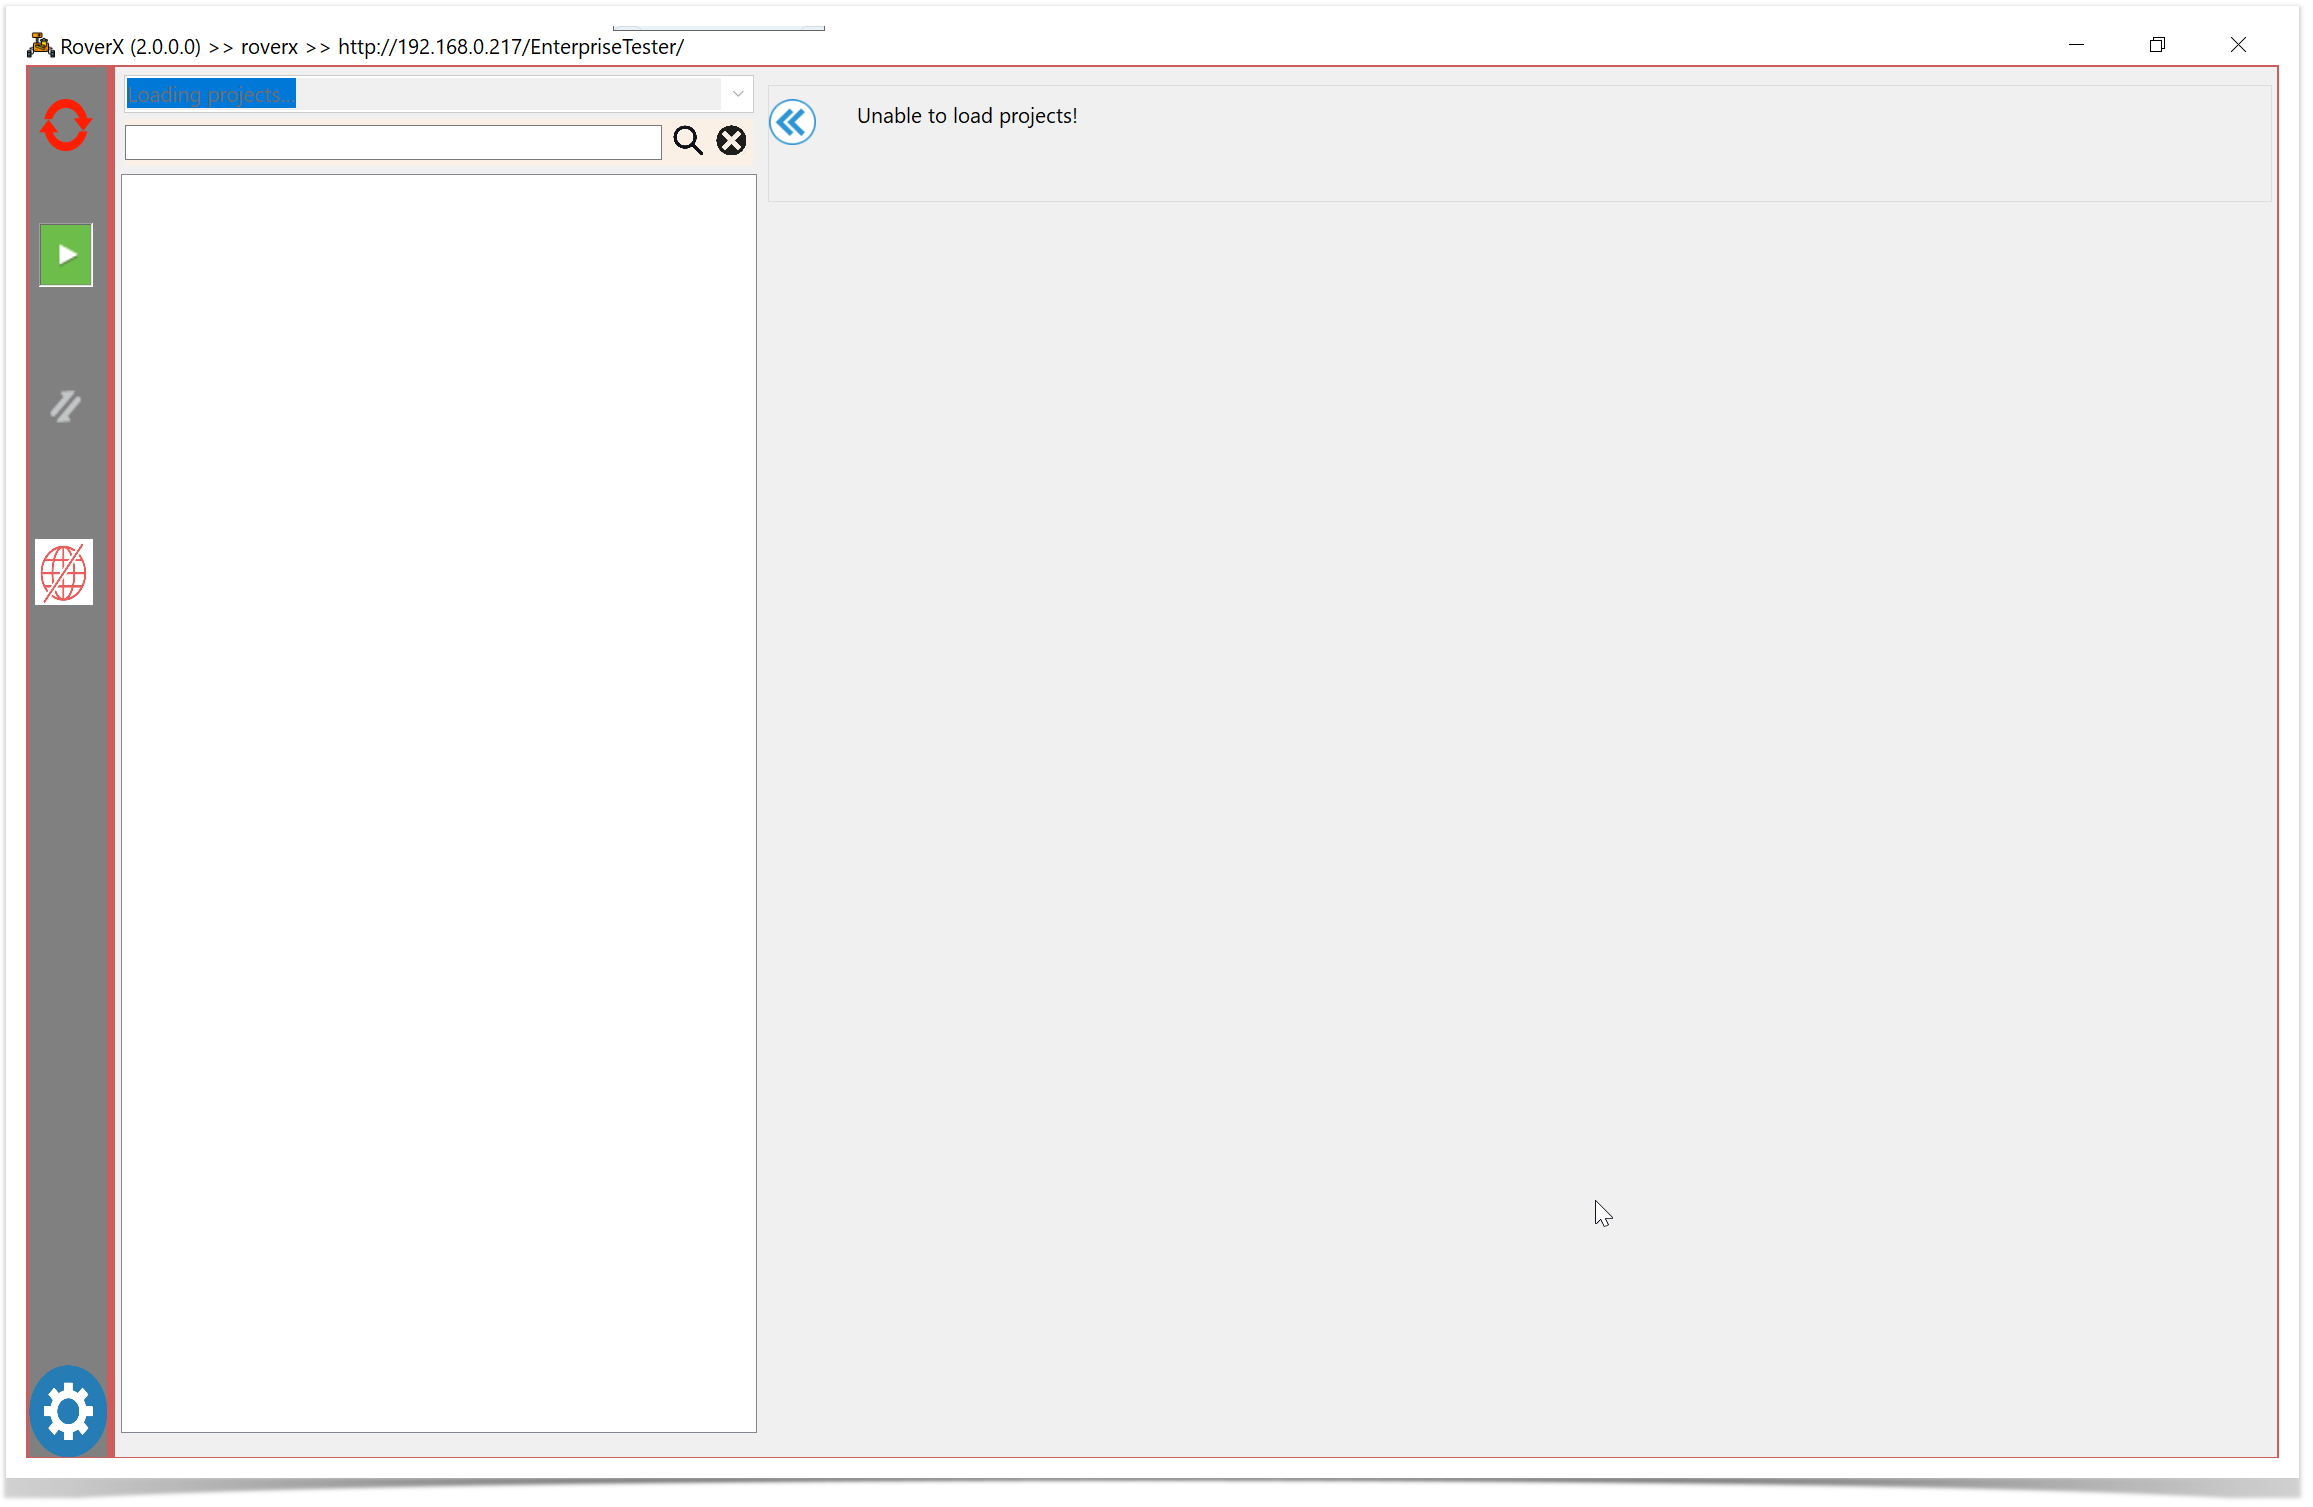
Select the ![]() icon to go to Online mode. When in Online mode the icon will be green.
icon to go to Online mode. When in Online mode the icon will be green.![]()
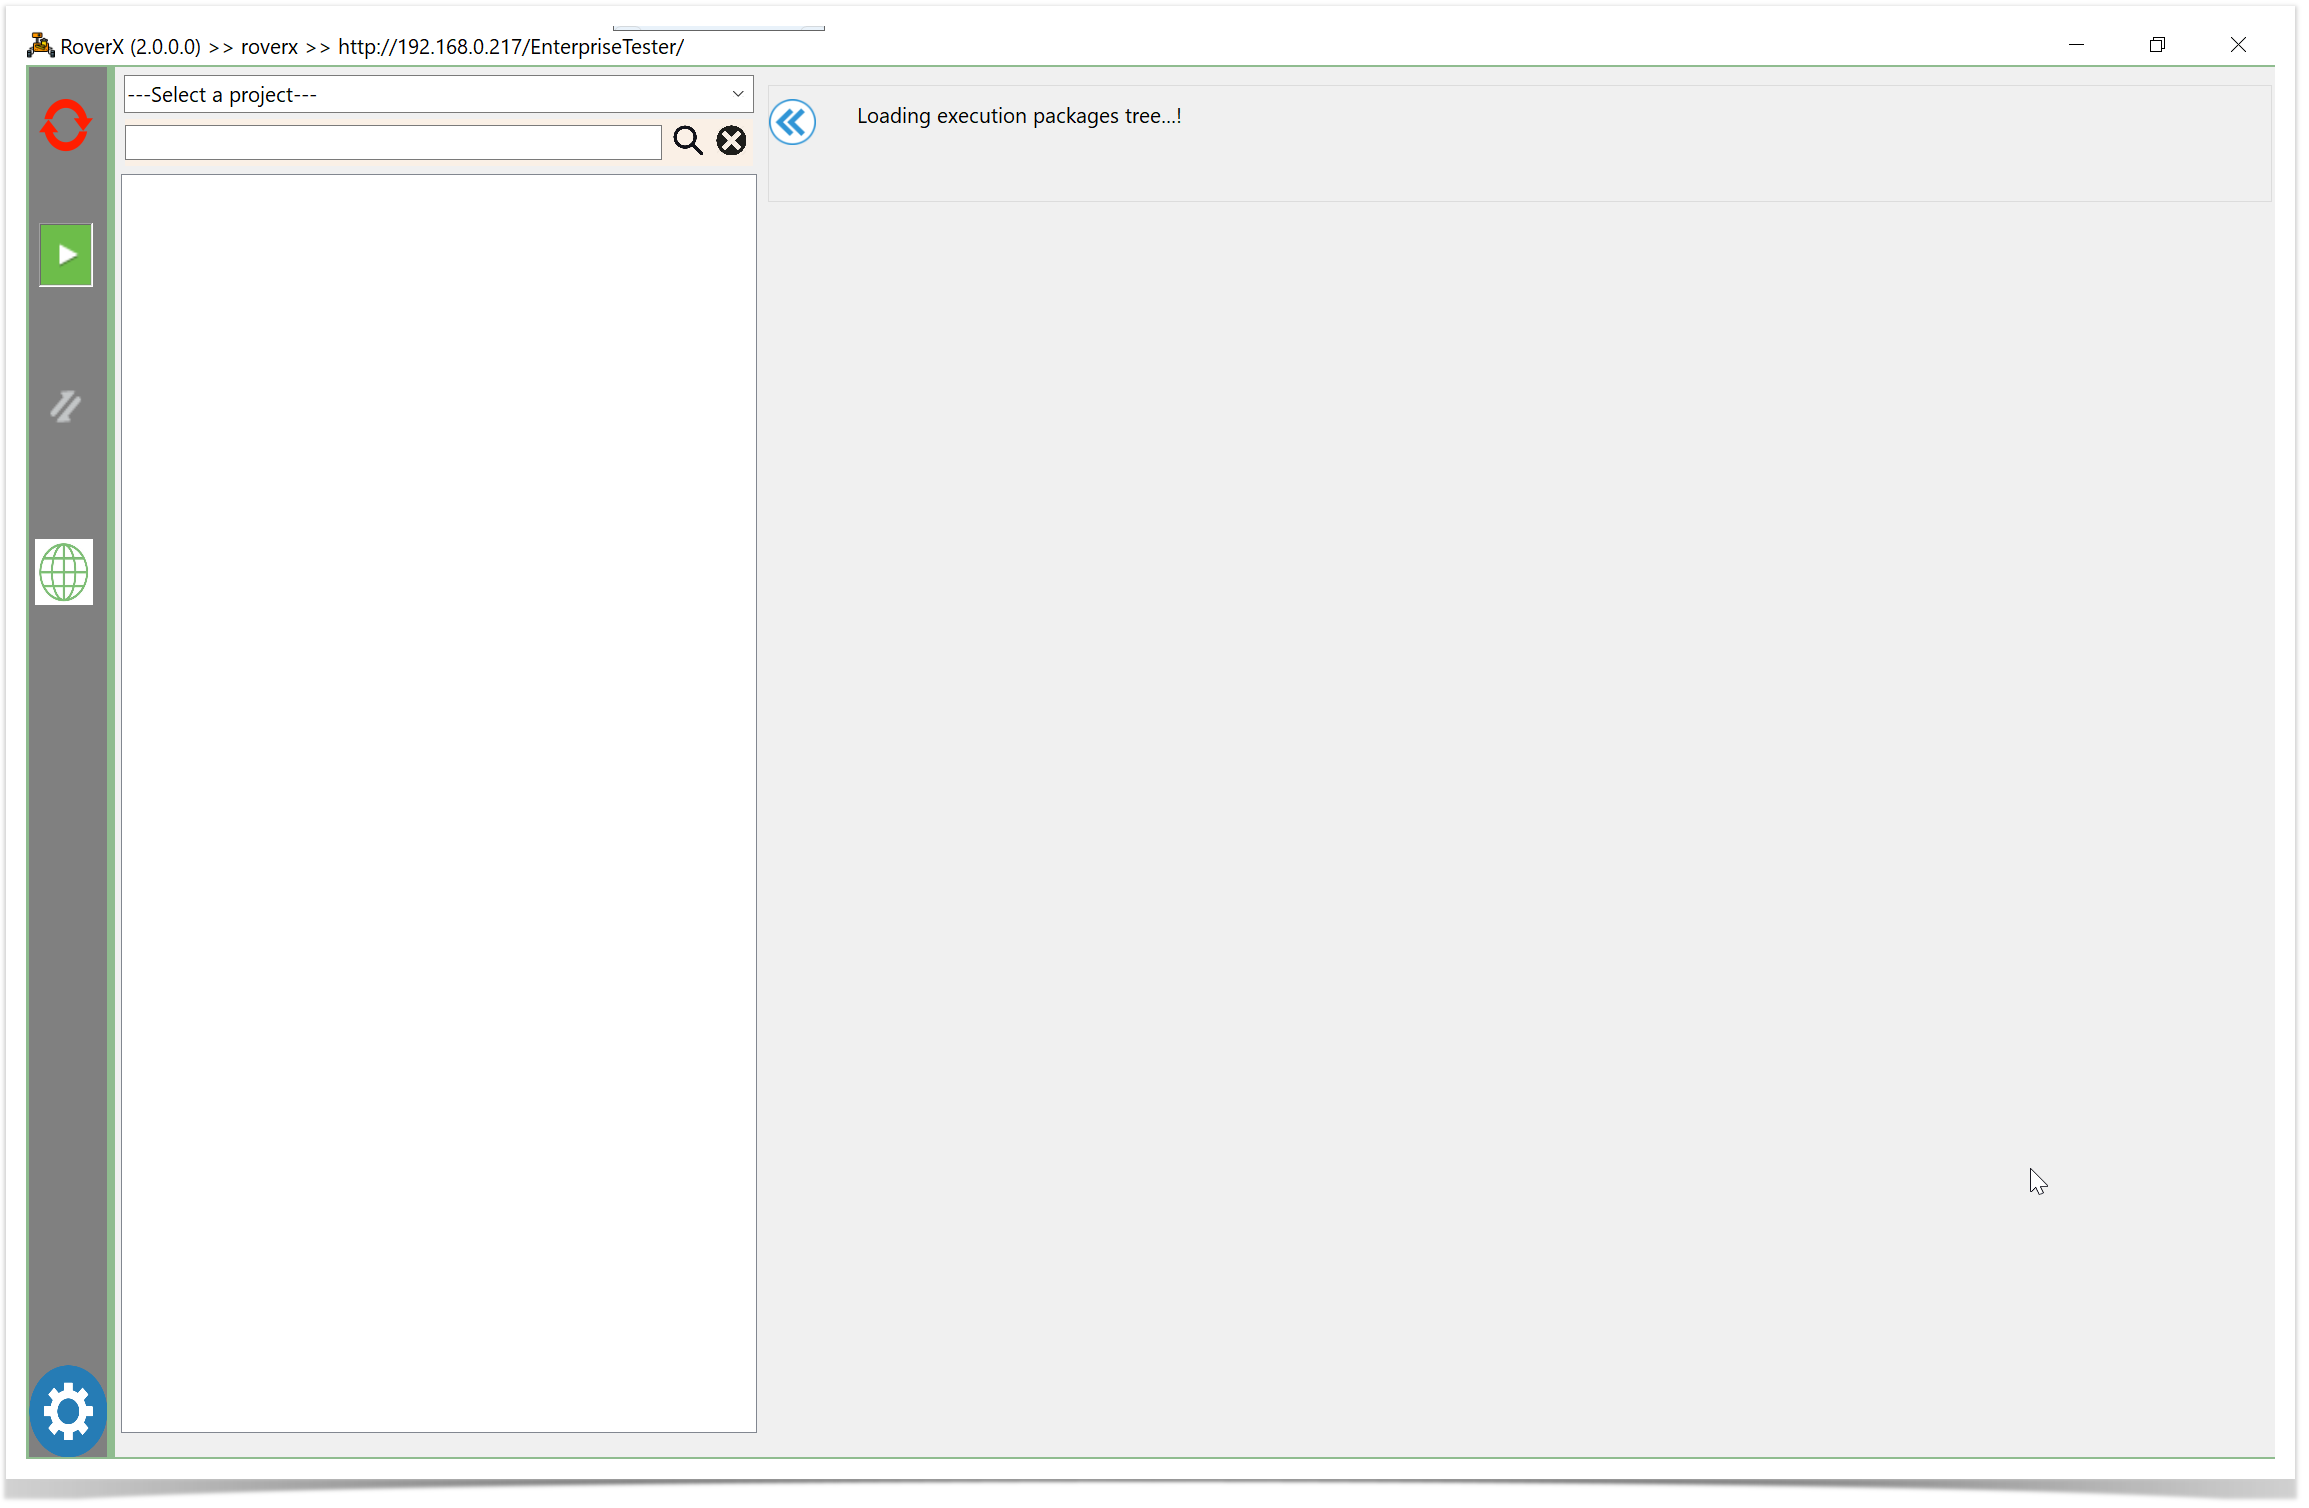
Note: Once you click the Login button when you are online this will download all active Enterprise Tester users. This will enable you to assign incidents to users.