Picklists for the ET standard fields can be managed at either the project level or at the organisation level. Pick lists allow you the flexibility to configure the drop downs information in specific fields to suit your organization or project. The pick lists available are:
- Component
- Incident Resolution
- Incident Status
- Incident Type
- Priority
- Requirements Difficulty
- Requirements Status
- Requirements Type
- Status
- Test Type
- Version
In addition, the drop down lists for the following custom field types can be configured here:
- Multi Select
- Check Box Group
- Radio Group
- Combo Box
Changes made to the organization level pick lists will only automatically update existing projects that are set as dependent on the organisation and new projects will adopt these changes. Projects set as independent of the organisation will need to be updated individually.
Components and Versions can be automatically updated with values from your defect tracking system.
- Components - The parts of the system affected
- Affected Versions - The release(s) that are affected by the incident
- Fix Versions - The release(s) in which you intend to resolve the incident
Automatic Update of Versions and Components
Enterprise Tester supports pulling Version and Component values from JIRA. This is a configurable option available when setting up your project links. For more information refer to Assigning Defect Trackers.
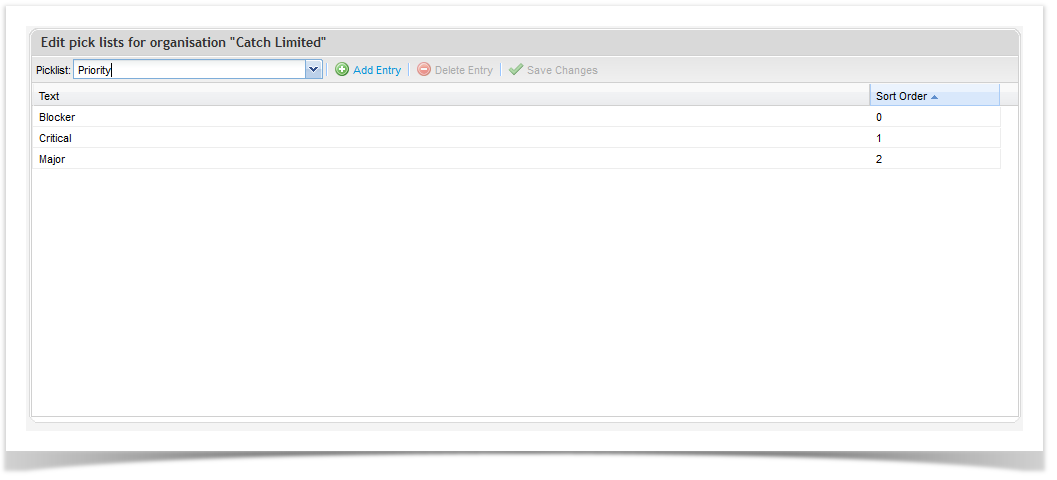
Managing Picklist Values at the Organization Level
Managing your picklist values at the organisation level is useful when you have standard field values that apply to the majority of your projects. When new projects are created, they will retain the organization picklist values when created. Note however, that changes to picklist values at the organisation level will only apply to new projects. Existing projects will need to be updated individually at the project level.
The picklist for custom fields are applied globally. This means there is only one set of values for a particular custom. It is easiest to manage your custom field values at the organization level.
To edit your organization picklist values, navigate to the Admin tab. Expand your organization, then either double click on your project or right click on your organization and select Edit Organisation from the menu.
On the bottom right corner of the Edit Project screen, select the edit picklist button. The edit picklist screen will appear allowing you to select the field that you wish to update or edit.
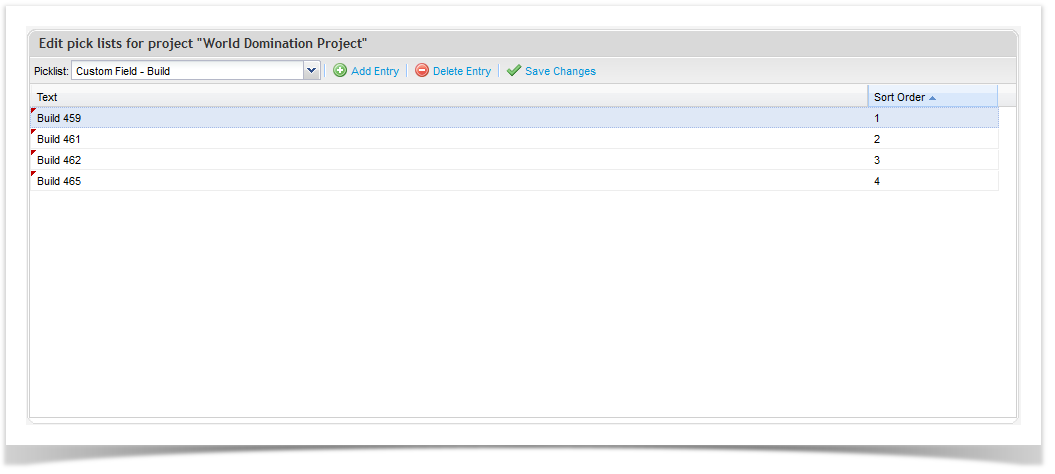
Managing Picklist Values at the Project Level
Managing your picklist at the project level is convenient when you have a different set of field values for your project than for your organization. From the project level you can add edit your standard field values to values specific for your project.
Note that there is only a single global list of custom field values and the picklist is best managed at the organization level. Updates can be made to Custom field picklist values at the project level but they will also apply to all other projects using that custom field.
To edit your project specific picklist values, navigate to the Admin tab. Expand your organization and then expand the Projects folder. Then either double click on your project or right click on your project and select Edit Project from the menu.
On the bottom right corner of the Edit Project screen, select the edit picklist button. The edit picklist screen will appear allowing you to select the field that you wish to update or edit.
Adding Pick list Entries
To add an entry:
- Click on ‘Add Entry’ – an open field will appear.
- Update this to the required value.
- Click on ‘Save Changes’.
Deleting Pick list Entries
To delete an existing entry:
- Select the item.
- Click on ‘Delete Entry’ from the tool bar. The value will be removed.
- Click ‘Save’.