This section outlines the process to upgrade Enterprise Tester.
These instructions are only applicable when upgrading to V4.6 and above. For information on upgrading to an earlier version, please refer to please refer to this upgrade guide.
An Enterprise Tester license allows for a development license. We recommend you upgrade your Development or Test environments prior to upgrading your Production installation of Enterprise Tester, particularly if your Production version of Enterprise Tester requires high availability.
From V4.6, a new install file for Enterprise Tester is available when upgrading. Download the Enterprise Tester installation files labelled " EnterpriseTester-X.X.XXXX-Standard-Setup.zip" from the Enterprise Tester Website. This set of installation files does not provide a database installation. Run the .exe file when upgrading this will elevate permission to "Run as Administrator" when required to ensure all upgrade files can be installed.
Enterprise Tester by default is installed in your x86 Program files directory, alongside any other programs you have installed. For 32bit editions of Windows operating systems, this is typically C:\Program Files\ and for 64bit editions of Windows operating systems it is C:\Program Files (x86)\. The folder can be configured to reside on a different drive depending on your system configuration; therefore throughout this document we refer to this folder using the word %ProgramFiles% to avoid confusion.
To Upgrade Enterprise Tester, perform the following steps:
Stop IIS
Back Up the following:
- ET Database
- For trial users this can typically be found in %ProgramFiles%\Catch Limited\Enterprise Tester\Data (backup the entire folder)
- Otherwise consult with your database administrator or database specific documentation provided by the vendor
- Logging.config & Web.config Files
- Typically located in %ProgramFiles%\Catch Limited\Enterprise Tester\Web
- Search Index folder
- Typically located in %ProgramFiles%\Catch Limited\Enterprise Tester\Web\app_data\Index
- Attachments if you store these in your File System
- The default location for storing attachments is %ProgramFiles%\Catch Limited\Enterprise Tester\Data\Attachments\
- ET Database
Verify IIS Settings
If you have changed these settings you may need to reapply defaults to upgrade via the installer and then reapply the settings after the upgrading:
IP Address: All unassigned
Port 80
No host header configured
Virtual directory named "EnterpriseTester"From V4.6, run the .exe file of the EnterpriseTester-X.X.XXXX-Standard-Setup.zip installation files. These files will not install a database. The .exe file will elevate permission to allow the installation of all files. When upgrading to V4.5 or earlier, please refer to this upgrade guide.
If you made any changes to IIS settings, reset these back to the original settings.
- Restart IIS
Start Enterprise Tester
Enterprise Tester may take some time to start up because it will be applying database schema migrations to update the database structure. But this process should take no longer then a couple of minutes.
Note
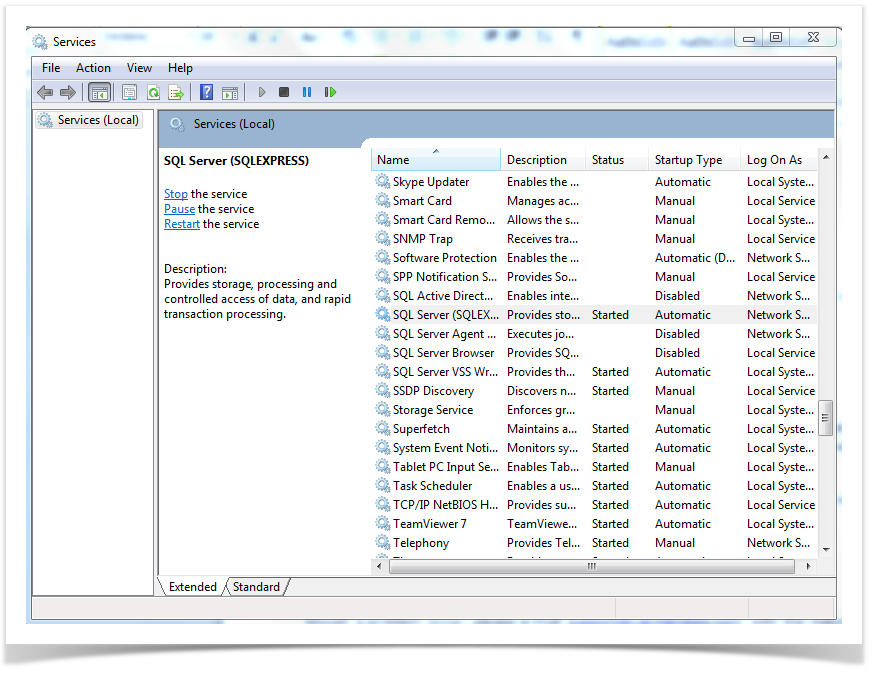
If you are upgrading a trial environment which uses the SQL Express database, you may get a “Named Pipes Error – Cannot Connect To SQL Database” on startup. To rectify this you can restart the SQL Server (SQLEXPRESS) service as pictured below.
Upgrade Issues
Should a problem occur, please e-mail support@catchsoftware.com with the following information:
Operating System
Browser
Old ET Version being replaced
New ET Version being upgraded to
Screen shot of error
Log.txt file - typically located in %ProgramFiles%\Catch Limited\Enterprise Tester\Web\App_Data